Introduction

  1. CBWJSCZkKmRc6yfV
    CBWJSCZkKmRc6yfV
    VNQGWKNVZQvFn4QW
    vNYKEJEnoUlXiiR1
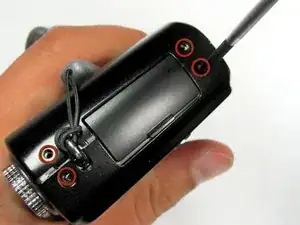
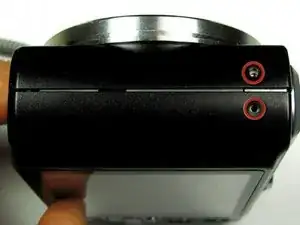
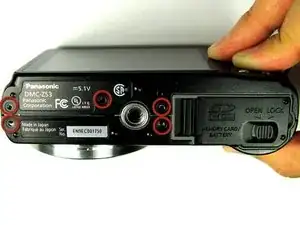
    • Remove the following eleven screws securing the covers to the ZS3

    • Eleven 3 mm Phillips screws

    • Using too much pressure when removing the screws may strip the screws and complicate screw removal at a later time.

    On some versions of this model, removing the back cover will suffice for this repair. The back cover is secured by only six screws.

    Alex Levine -

  2. xjFAS1DqKCFdgoXC
    xjFAS1DqKCFdgoXC
    YjGiN3sWfvgUcgAB
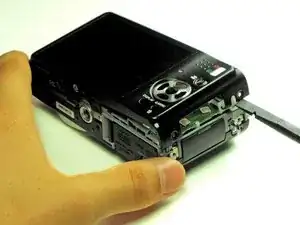
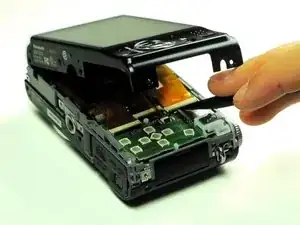
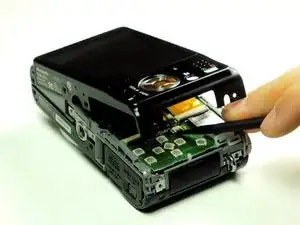
    • Use the flat end of a spudger to pry apart the back cover from the rest of the unit as shown.

    • Be sure to carefully and slowly lift the back cover. Forcefully lifting the back cover and fully separating it at this point may ruin internal connections.

  3. qoG2JfDBMJ6yHq6c
    qoG2JfDBMJ6yHq6c
    tQDRZU3XCBIqixD4
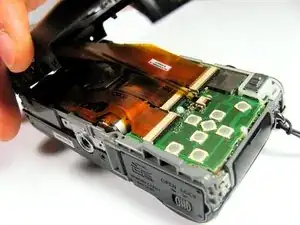
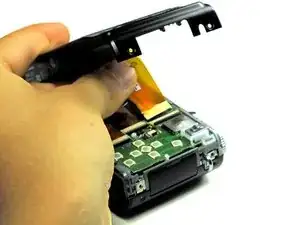
    • Using your fingernail or a spudger, flip up the ZIF locking flap on the two LCD ribbon cable sockets that connect the back cover to the rest of the unit.

    • Be sure you are opening the locking tab, not pulling against the socket mounted to the board.

  4. SN6UjZKSqv3plYMe
    • Remove the two LCD board ribbon cables out of their sockets.

    There are two ribbon cables: a wide one for the lcd display itself, and a thin one for the backlight. When reassembling, it is easy to reverse the polarity on the backlight cable, in which case the backlight will not work. Make a note of the polarity as you disassemble.

    Alex Levine -

    when I pried the small band's socket, the socket came off the board. What do I do now ? can I resolder it and where to ????

    Karen Kornbau -

  5. BH2TytmNMEKW2KT2
    BH2TytmNMEKW2KT2
    cwIKIYfK2KCURqmm
    UvVegafZdJpLpcZY
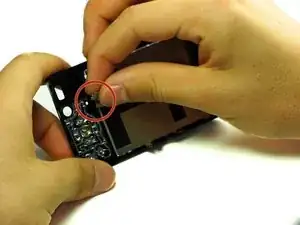
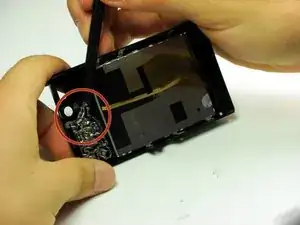
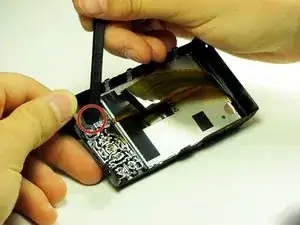
    • Use the flat end of the spudger to gently pry the buttons from the back panel.

    • Remove the buttons in three pieces, starting with the top left one, then moving to one next to it. Once this is finished remove the rest of the buttons.

    • The buttons are attached to the back cover using adhesive, and this may need to be reapplied to put them back on.

Conclusion

To reassemble your device, follow these instructions in reverse order.
Juan Pablo Quinonez Weston

Member since: 16/04/13

4 Reputation

0 comments