Introduction
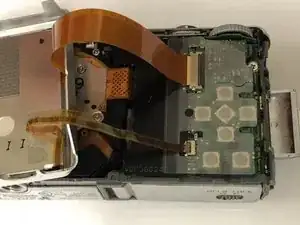
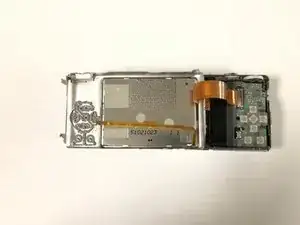
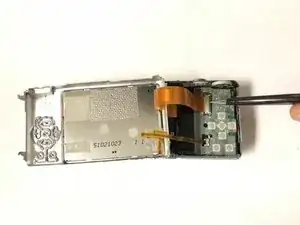
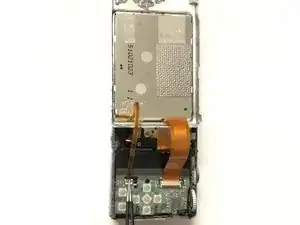
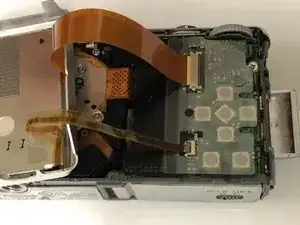
If your digitizer cable has failed in your Panasonic Lumix DMC-FX9 camera, follow this guide to replace. By following this guide you should be able to continue using your camera.
A digitizer cable is important to the camera as it sends the display signals to the camera screen from the motherboard. It is vital for both camera operation and a live view of the lens.
Be sure to remove the batteries from your camera prior to beginning this guide.
Tools
-
-
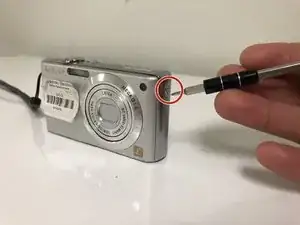
Remove the screw located on the right side of the camera.
-
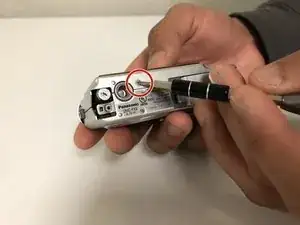
Remove the screw located on the bottom right of the camera, and remove the cover from the camera.
-
-
-
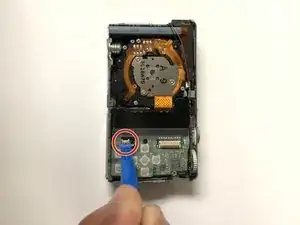
Once the ribbon is placed into the latch, carefully close the clamps by lowering the clamp into a down position. Repeat this step for both sides.
-
To reassemble your device, follow these instructions in reverse order.
