Introduction

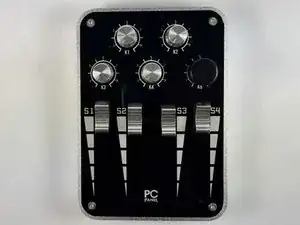
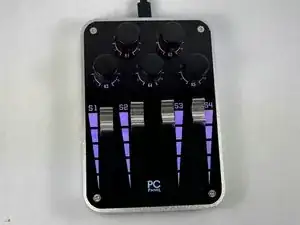
The original knobs that come with the PCPanel Pro MIDI Controller are plastic and can be prone to breakage. These knobs, however, can be easily replaced with higher quality, longer lasting knobs. Additionally, the knobs can be customized in any way you like, rather than sticking with the original silver color.

Once you have finished your repair, be sure to test all of the knobs properly.

  1. HHoCQgGVLccRjeUb
    HHoCQgGVLccRjeUb
    JMG4T1ZEoh4JrkER
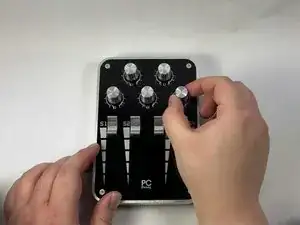
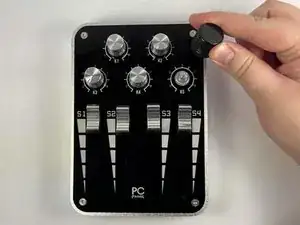
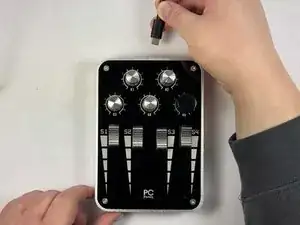
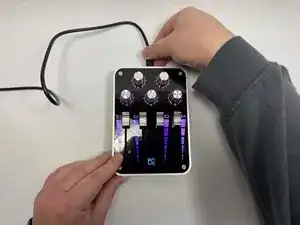
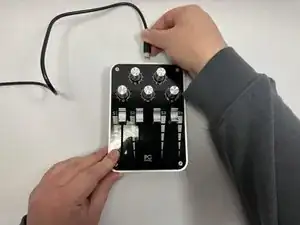
    • Unplug the device.

  2. 41eLoJyPrNQCvS6Y
    41eLoJyPrNQCvS6Y
    VSUJVpBBKhtCKAMR
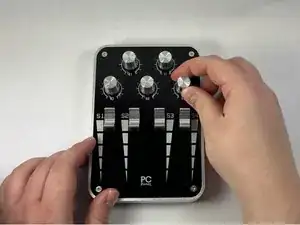
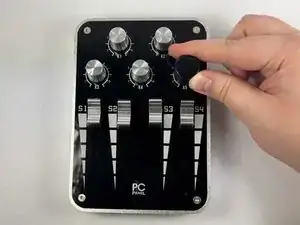
    • Turn the affected knobs counter-clockwise until they cannot move anymore.

  3. UYQNKJJDemX3fx4b
    UYQNKJJDemX3fx4b
    eny2DaUsRJtvZapP
    2ltuoH6MNiV3dTU6
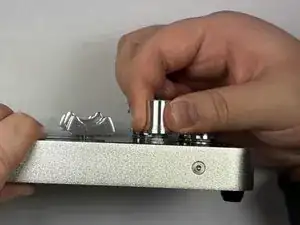
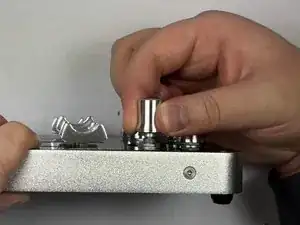
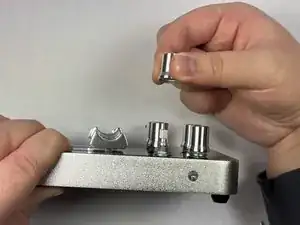
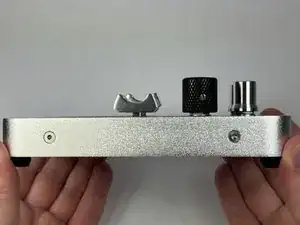
    • Slowly pull upwards on the knob until it slides off.

    • Not much force needs to be used.

  4. UZCXJlX4EVVOCNrd
    UZCXJlX4EVVOCNrd
    cWeCIHD1UJcnyMSC
    OLm6C1QFcsuTqRYu
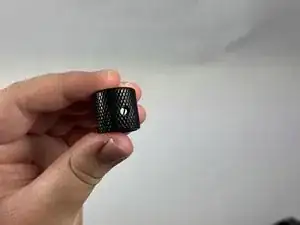
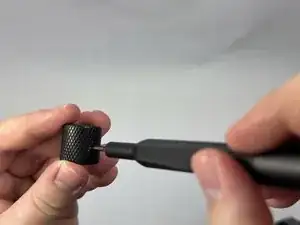
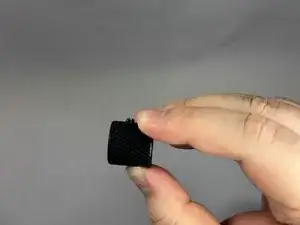
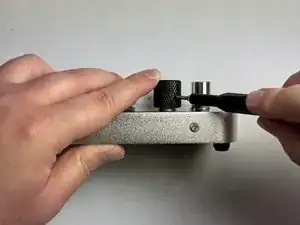
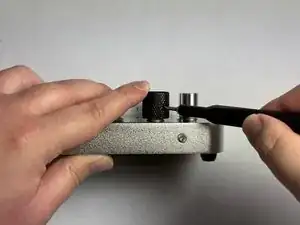
    • Unscrew the fastening screw on the new knob until it is loose.

    • Depending on the knob, you may need to use a different tool to unscrew it. For the knob we had, we used a flathead screwdriver.

  5. nGLmlRHEvGtkvrCL
    nGLmlRHEvGtkvrCL
    kMbbHyOqbMBAqQHk
    • Place the replacement knob onto the MIDI controller.

  6. LF5hGQZpfdW4PvFt
    LF5hGQZpfdW4PvFt
    n2T2mM2anrLHJ2LK
    ptrYhYPKxAeX2MnD
    • Screw the fastening screw into the MIDI controller. Make sure to leave a 2mm gap between the bottom of the replacement knob and the MIDI controller.

    • In this case, we used calipers to ensure the gap stayed at 2mm, however placing a few pieces of paper underneath the knob will be just fine. We are keeping this gap to ensure that the knob can still be pushed down.

  7. NmjOROdj1tkDXrwe
    NmjOROdj1tkDXrwe
    1G5Ng4ZT1jHtsBtK
    AF3yMaUNWDUQOyxl
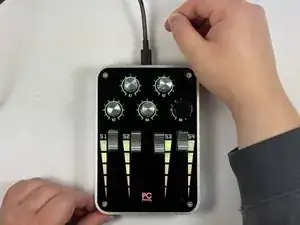
    • Plug in the MIDI controller and test the replacement knob. Ensure the knob can still be turned in either direction as well as pushed down.

  8. 2oBP4PWAvQu4ZHOv
    • Repeat the steps for any replacement knobs needed.

    • Make sure all replaced knobs can still be turned in either direction as well as pushed down.

Conclusion

Make sure all of the knobs function as intended. To remove the knobs and put the old ones on, simply do the steps in reverse.
William Orlopp

Member since: 15/04/24

157 Reputation

0 comments