Introduction

This guide will show you how to remove and replace the lens box unit on the Olympus VR-350.

  1. v2IDfjfmWpgNqHB6
    v2IDfjfmWpgNqHB6
    VyrNUD2NDELYlbpI
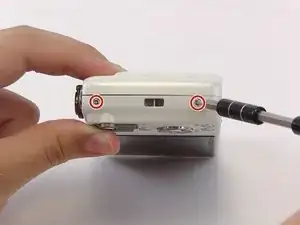
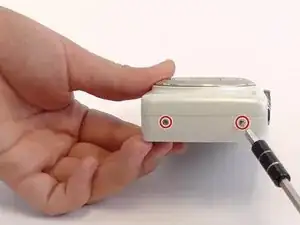
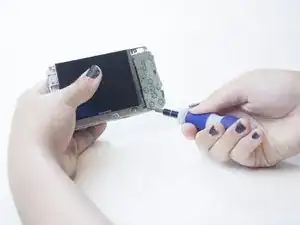
    • Remove the two 4mm screws from each side of the camera with a Phillips PH000 screwdriver.

  2. uRSrihr2sCXj3utt
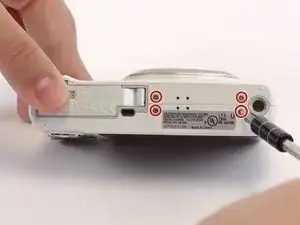
    • Remove the four 4mm screws from the bottom of the camera with a Phillips PH000 screwdriver.

  3. Ns2XHBZMvOFb5AIN
    Ns2XHBZMvOFb5AIN
    Bn6bAdTRRgU4MOBg
    QRj5oxsRFMKBiTpZ
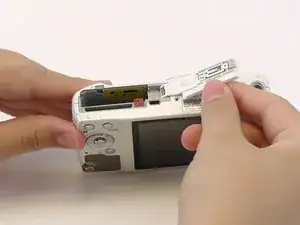
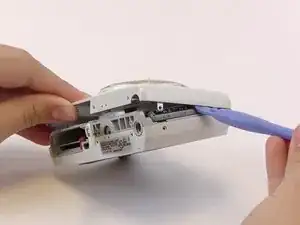
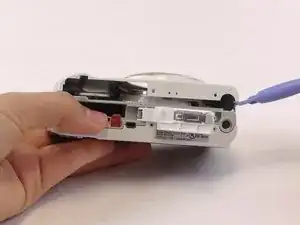
    • Use the plastic opening tools and your fingers to pry the front plate from the camera.

    • You might need to open the battery cover to remove the front plate.

  4. FVwJvNDbrXQdJKnV
    FVwJvNDbrXQdJKnV
    SNmPsHaXNYkZaea2
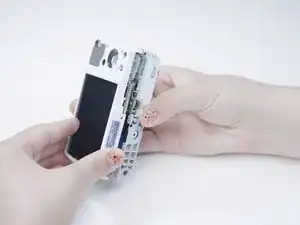
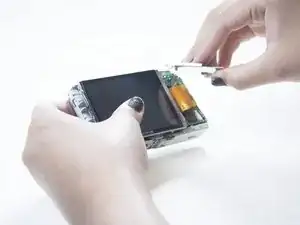
    • Use your fingers to pry open the back cover.

    • When you remove the back of the camera, the button membrane might fall out. Don’t lose this sheet.

    • The LCD screen is connected to the body of the camera by an orange ribbon cable. Don’t pull this ribbon cable out.

  5. QO5YQIrJ4XTcGIkB
    QO5YQIrJ4XTcGIkB
    1bXJIG3uCEHixFoI
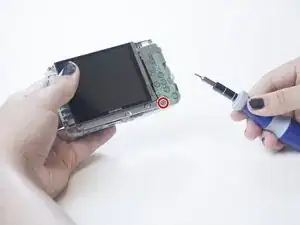
    • Using the Phillips PH000 screwdriver, remove the 4mm screw from the bottom left corner of the button plate located under the button membrane.

  6. WJBIg1LmwILSG4n2
    • Pull the button pad up to fully reveal the visible ribbon cable.

    • You might need to bend the button pad out of the way.

  7. MhHNmeSpVZXUedLE
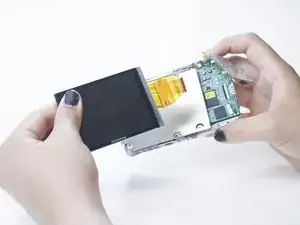
    • Pull out the LCD screen and the ribbon cable.

    • The ribbon cable should be easy to pull out.

  8. NZUKCJJre45ssBWM
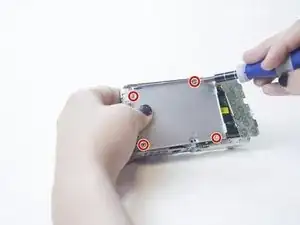
    • Remove the metal plate that was underneath the LCD screen by removing the four 4 mm screws with the Phillips PH000 screwdriver.

  9. 4MTlN3KTyIm5mBUt
    4MTlN3KTyIm5mBUt
    JOhpCwPEMsXTJWvC
    • Remove the orange ribbon cable from the connector on the left side of the motherboard.

    • To do this, gently lift up the small grey clasp and pull the cable ribbon.

  10. OdxXpCvQvV1AHMAj
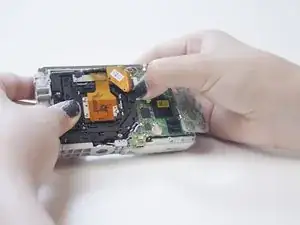
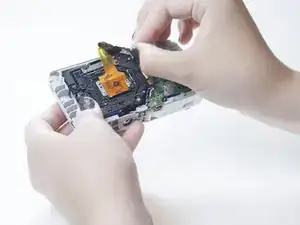
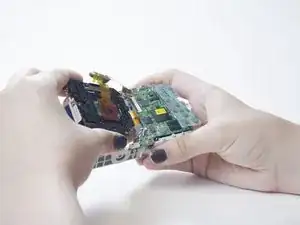
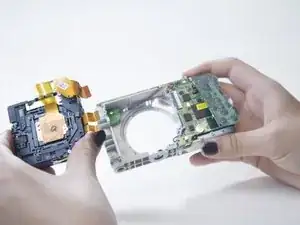
    • There are two other small ribbon cables under the motherboard connected to the lens box. Pull them out from the motherboard.

    • You may need to use force to pull out the ribbon cables.

  11. IxiHWTnSxi6QONhq
    • Pull the lens box up and out to remove it.

Conclusion

To reassemble your device, follow these instructions in reverse order.

Brooke

Member since: 23/02/15

278 Reputation

One comment

Worked for a SH-21, with a couple of extra screws to remove. Thank you!
Rick Allies -