Introduction
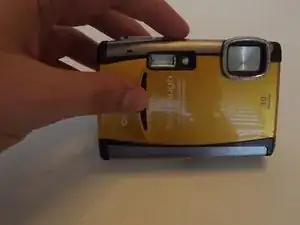
I will be providing clear and easy steps on how to replace your Lens Cover on your Olympus Stylus Tough-6000 Digital Camera.
Tools
-
-
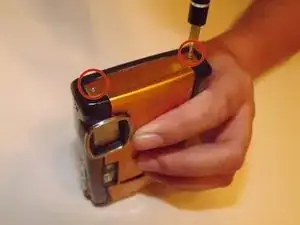
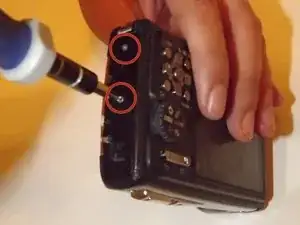
There are two screws on the right side of the camera.
-
Use your Phillips #00 screwdriver and unscrew both screws.
-
-
-
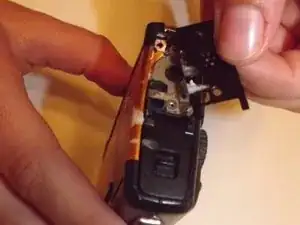
You will be able to pull the speaker hat off.
-
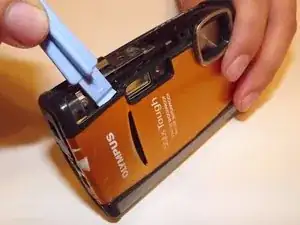
You must pull the speaker hat off to be able to pry the front shell of the camera apart.
-
-
-
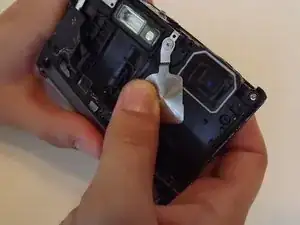
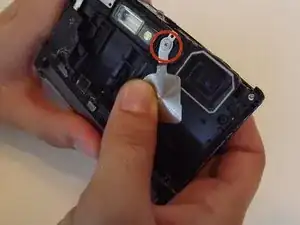
Once you have the camera shell cover off you can see the lens cover.
-
Unscrew the lens cover with your Phillips #00 screwdriver to replace it with a new lens cover.
-
Conclusion
To reassemble your device, follow these instructions in reverse order.
If your camera can display pictures and can connect to a computer, but any picture taking mode fails, this procedure might be the solution. It fixed mine. My symptoms were the camera would emit many rapid beeps, too fast to count when any picture mode was selected and then the camera would power down. Before you start see if you can free up the lens cover with a straight pin poking the lens cover at the top outer corner and pushing the lens cover down. Carefully not to scratch the lens screen or bend the lens cover. It should move down with a fair amount of force and then snap back. If the lens cover can be moved down but does not snap back or it can't be budged this procedure might fix the camera. You might find that after forcing the lens cover open the camera will begin to function. The manufacture says not to use any solvents or cleaning products, but I found that Windex with the ammonia dissolves the calcite. If the lens cover does move and does snap back, then a stuck lens cover is not the problem.
Qiloff -