Introduction

  1. u63BMKAgMnUAl5bq
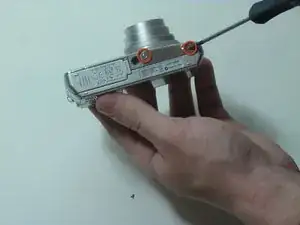
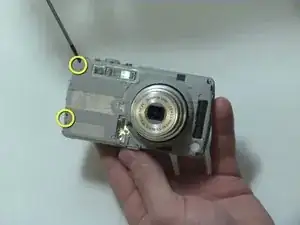
    • Remove the 2 screws from the bottom of the camera

  2. e6MwxupeLjQDpMQH
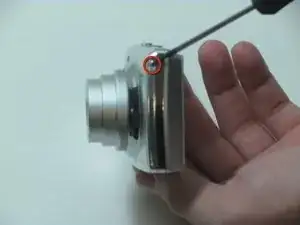
    • Remove the screw from the right side of the camera.

  3. PRiDpTQBBEjOkJSr
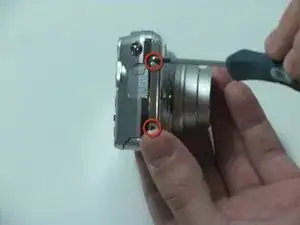
    • Remove the two screws from the left side of the camera

  4. ZtV6UYmmtiyEVGTP
    ZtV6UYmmtiyEVGTP
    EYW6rBSWObpSlX6p
    AkwQYTXyhDelqbWM
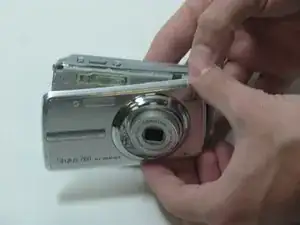
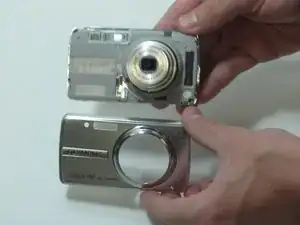
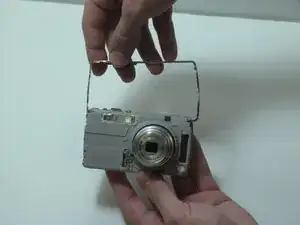
    • Separate the front casing from the back using a plastic opening tool, gently.

    • Silver band and buttons will become loose when you remove the two pieces.

  5. GJdOOoh6tf4JSYNf
    GJdOOoh6tf4JSYNf
    gWh6HS1Q2DoHpkDZ
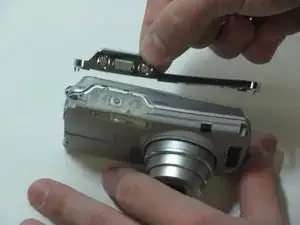
    • Pull the silver bracket and buttons off of the camera

  6. sGM1g1UZdm4ckXfy
    sGM1g1UZdm4ckXfy
    XIWSlPtWmtAPaCSv
    UOuLxFT3ydO2EpY5
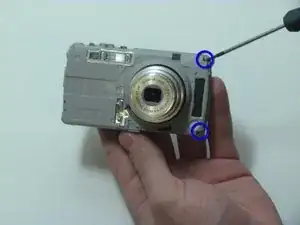
    • Remove the 2 screws on the right side of the camera.

    • Remove the 2 screws on the left side of the camera.

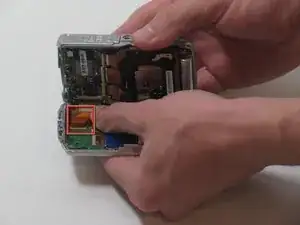
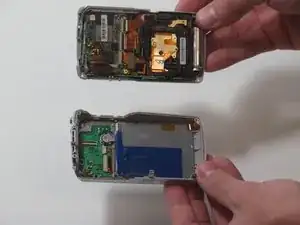
    • Circuit ribbon is attached at the top-left of the camera. Be careful when separating the front and back of the camera.

    • Pull the camera apart into 2 separate pieces.

  7. kTCwVKUTmJUiyQMi
    • Flip up clip on circuit ribbon, carefully

    • Detach the ribbon from the rear to the front and pull it out, gently.

  8. AFFwvvOZ2aHQrWEi
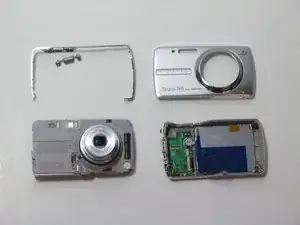
    • You will be left with four major pieces

Conclusion

To reassemble your device, follow these instructions in reverse order.
Tracy Donovan

Member since: 10/02/12

13 Reputation

0 comments