Introduction
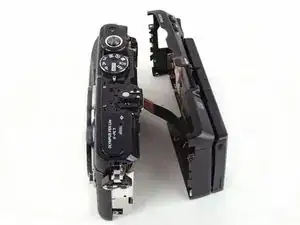
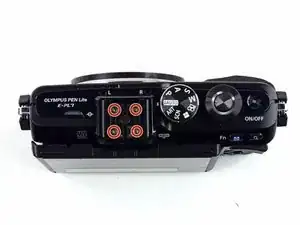
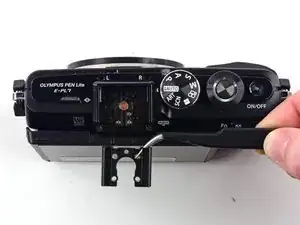
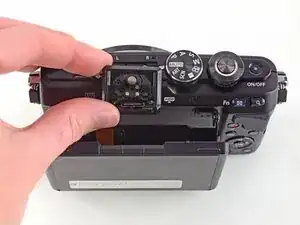
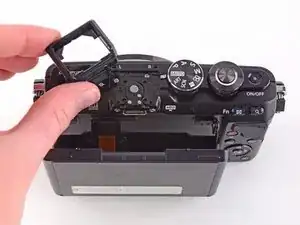
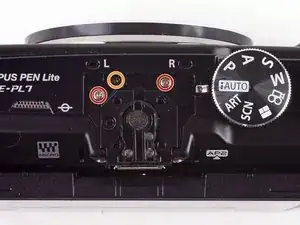
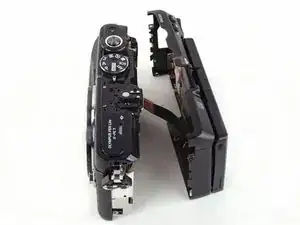
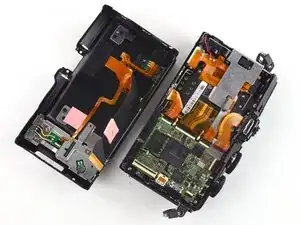
Use this guide to replace a damaged back case, or open the case to access other components of your camera.
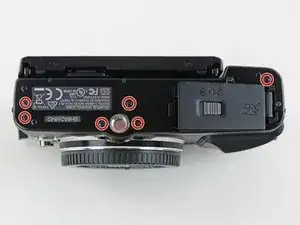
We highly suggest you use a magnetic project mat or an organization tray. This camera has many different types of screws and keeping them organized is key to proper reassembly.
Tools
-
-
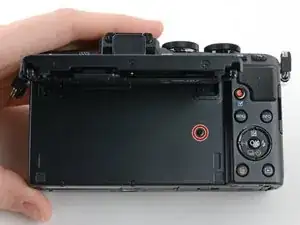
Flip open the LCD.
-
Use a Phillips #00 screwdriver to remove the 2 mm screw beneath the LCD assembly.
-
-
-
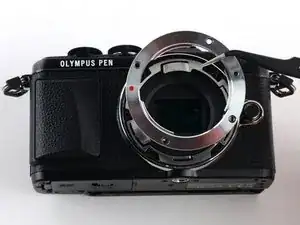
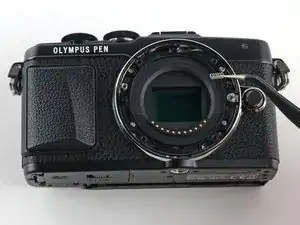
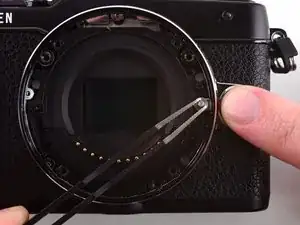
Press and hold the lens release button while using tweezers to remove the lens hook.
-
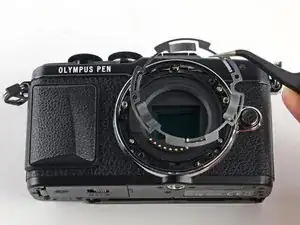
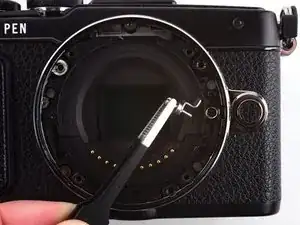
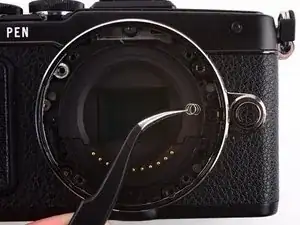
Use tweezers to remove the spring underneath the lens hook.
-
-
-
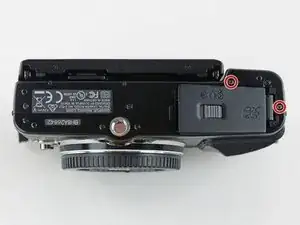
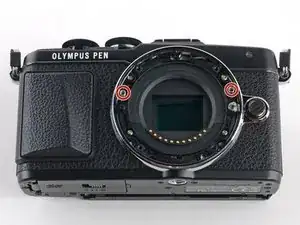
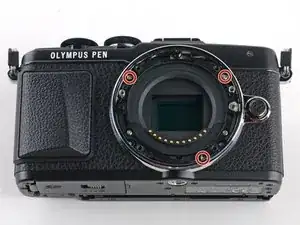
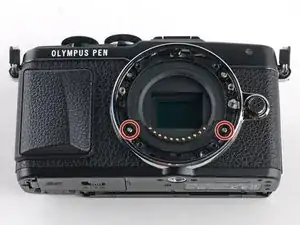
Use a Phillips #00 screwdriver to remove the two 6.4 mm screws.
-
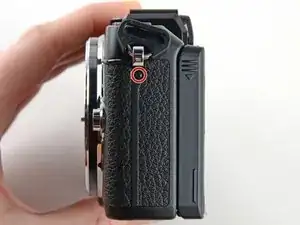
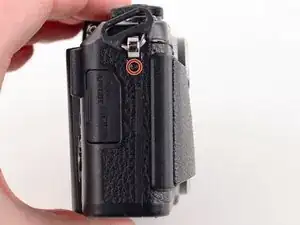
Remove the 2 mm Phillips screw.
-
-
-
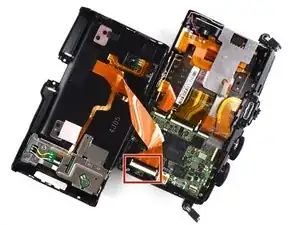
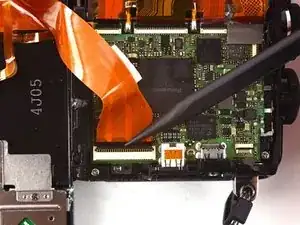
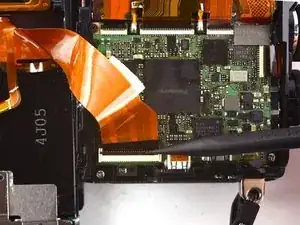
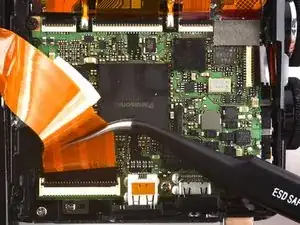
To remove the ribbon holding the back case to the camera, use the pointed end of a spudger to flip back the top bar on top of the ZIF connector.
-
To reassemble your device, follow these instructions in reverse order.
One comment
Loads of screws that don’t need to be removed just to remove the rear case.
Omit step 3,
Omit steps 6 to 13
Omit step 18
Take great care not to pull on ribbon cables
