Introduction
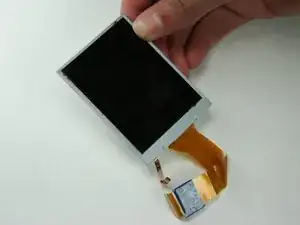
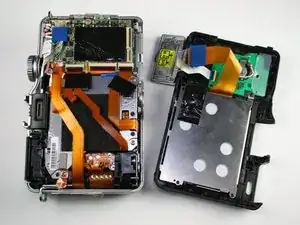
This guide will show how to replace the LCD display screen on the back panel.
Tools
-
-
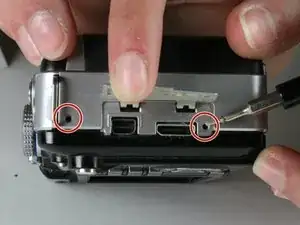
There are a total of six screws that must be removed using the the #000 Philips screwdriver.
-
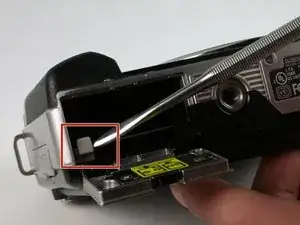
As per picture one: there is one 4.9 mm Philips head screw on the left side of the camera.
-
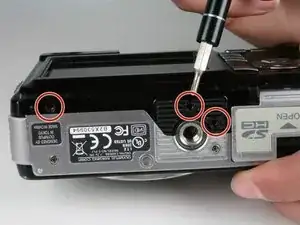
As per picture two: on the bottom of the camera, there are three 3.4 mm Philips head screws; these are located on the darker area of the case.
-
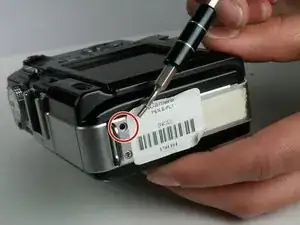
As per picture three: there are two 5.3 mm Philips head screws on the right side, one is beneath the USB cover.
-
-
-
As per picture one: peel back the black strip.
-
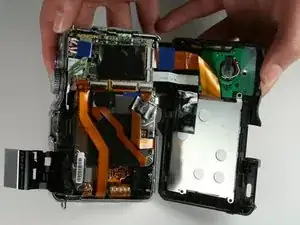
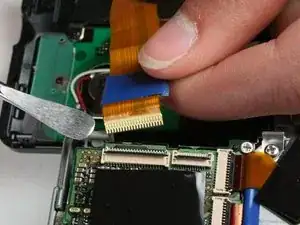
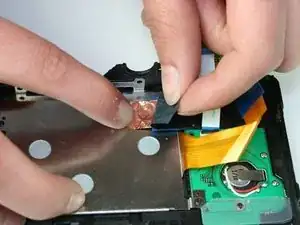
As per picture two: peel back the Copper strip.
-
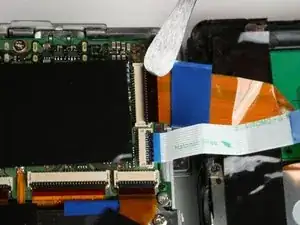
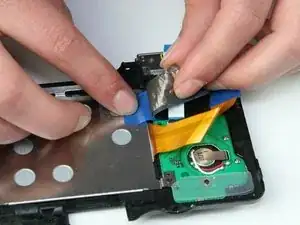
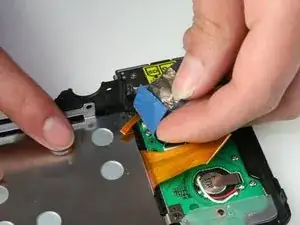
As per picture three: peel back the blue tape.
-
-
-
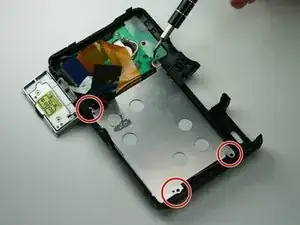
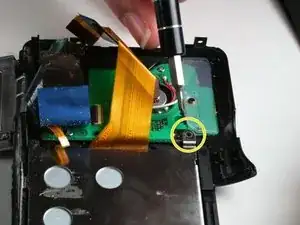
There are four screws that need to be removed using the #000 Philips screwdriver.
-
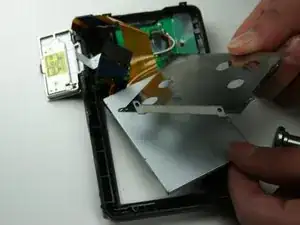
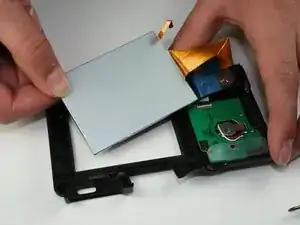
Remove the three 3.4 mm screws on the silver panel.
-
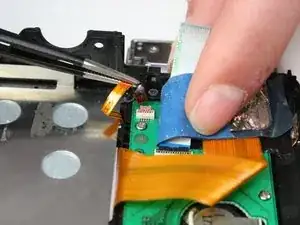
Now remove the 4.3 mm screw located on the green board.
-
To reassemble your device, follow these instructions in reverse order.
5 comments
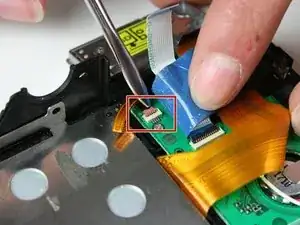
Could you direct me as to where to find a new replacement screen? I bought one from eBay, but for some reason it does not have the small brown ribbon cable removed in step 9. I can't find one that does?
Abby B -
Same thing happened to me. Avoid purchasing DHcamera replacements, either the small ribbon is missing or the large ribbon is too short. In addition, the model missing the small ribbon is the glass only, and does not have the metal housing.
BTW, your instructs are perfect!!! Good work. Now, if I only knew where to find the right part.
Hello,
is it possible to remove the backlight from the broken lcd and then mount it over the new lcd screen?? If so, how? Thanks...
roberto -
