Introduction

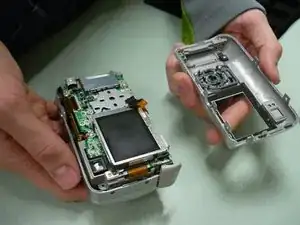
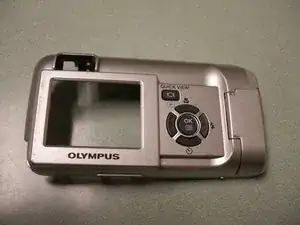
Step by step instructions to clean or replace the control buttons on the camera.

  1. jO5uGADKjwnV3WxF
    jO5uGADKjwnV3WxF
    OBoDOG2SGuZ5ZWeP
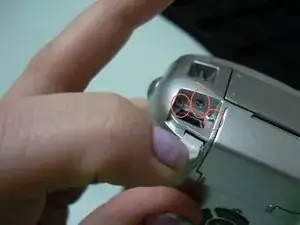
    • Before disassembling your camera, be sure it is powered off.

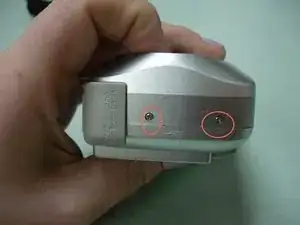
    • Remove two screws from the video port located at the side panel of the camera.

    • Remove three screws from the bottom panel of the camera.

  2. bqyKJCROQZdfaYJM
    bqyKJCROQZdfaYJM
    6cNH1NQBWw2J1iEL
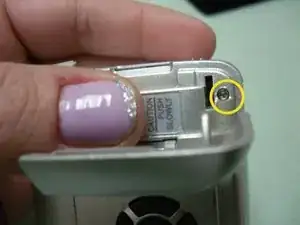
    • Open the USB port cover, and remove three screws from inside.

    • Next, open the memory slot cover and remove the screw.

  3. BCI5RFnWSOxvsTYn
    BCI5RFnWSOxvsTYn
    SVPY6yLEY3fvN4Dr
    JTOcdEjHqU4pPwis
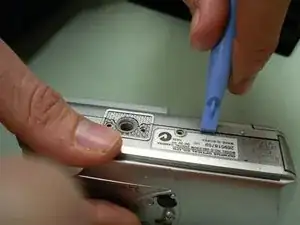
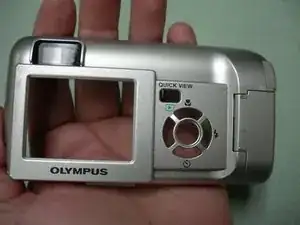
    • Use the blue opening tool to loosen and separate the back cover from the camera.

  4. QSRbJ3y4bqunjMty
    QSRbJ3y4bqunjMty
    TDRMdf53NTFXl3VM
    XDxG5S4KpxZLeHYC
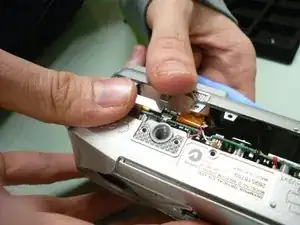
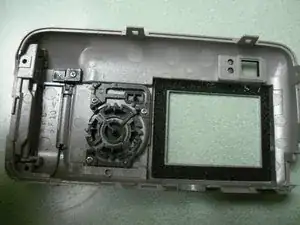
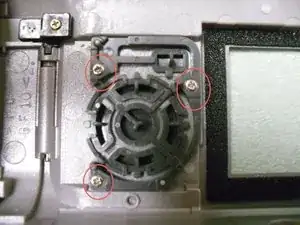
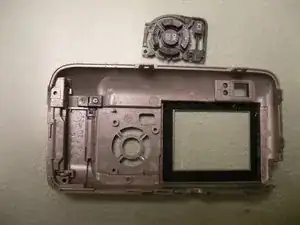
    • Locate and unscrew the three screws inside the back cover body (picture 3) .

    • Remove button pad assembly from the back cover.

  5. RVASfAtTi2yuPDwC
    RVASfAtTi2yuPDwC
    vwNxEx2pUPI4NSsg
    lmRs1tJhD5s6qwcZ
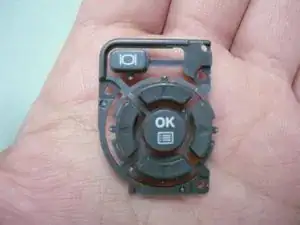
    • The button assembly is now separate from the back cover.

    • Inspect for broken areas. Replace or clean the button parts.

Conclusion

To reassemble your device, follow these instructions in reverse order.
GradStudents2011

Member since: 08/09/11

30 Reputation

0 comments