Introduction
A quick guide on how to swap out the fan if it dies or for a more quiet fan
Tools
Parts
-
-
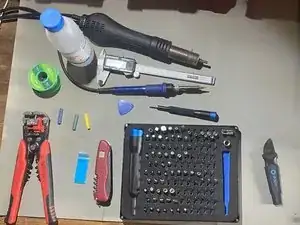
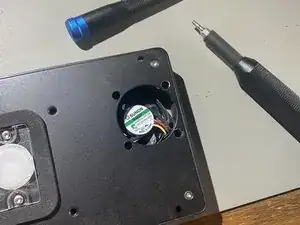
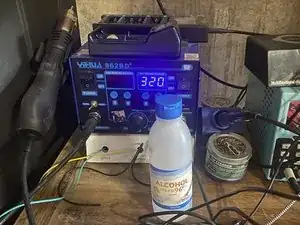
Here are all the tools I used for this replacement, I listed them all in the description of the guide
-
Ignore the caliper I was using that to measure parts inside.
-
-
-
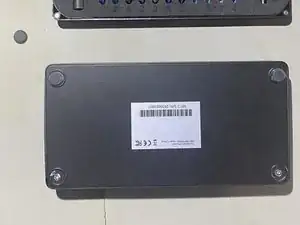
Using your fingers or a plastic spudger pry away the top cover from the main chassis, it might resist a bit as it is glued on to the top LED.
-
-
-
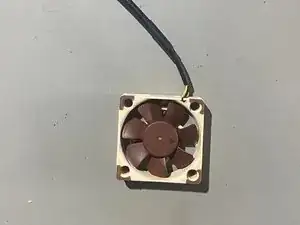
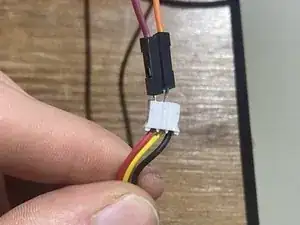
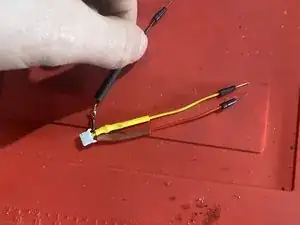
Take your fan out of its packaging and take note of the polarity of the wires, check the second photo for a diagram.
-
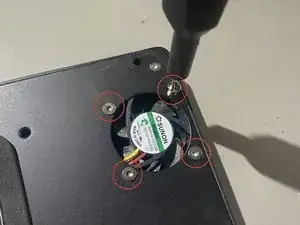
Using a TORX TR10 bit and the scews you just took out screw the fan back in. Make sure of its orientation, id recommend having it as exhaust (like in the photo) so it sucks air in through the heatsink. Putting it as intake might not work as well, i would just follow how the manufacturer did it.
-
-
-
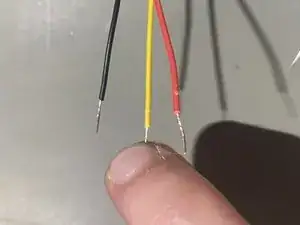
Then cut off the end of the old fan, im doing this because I want to preserve the new fan in its current state and be able to use it in the future
-
-
-
Solder everything together, you shoudnt need to add much solder as you already tinned both sides
-
Use a heatgun / source of heat to shrink the heatshrink and seal your work.
-
-
-
Get some 2mm thick thermal pads to swap out the old ones. The old ones measured in at 1.75mm so the closest is 2mm (round up to guarantee contact as 1.5mm would have no contact)
-
Cut the thermal pad to size and send it
-
-
-
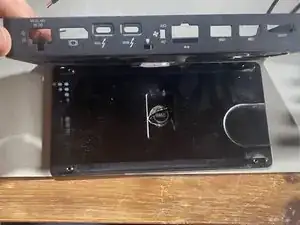
Line up the top case as in the photo making sure the fan is on the correct side so it can breathe
-
-
-
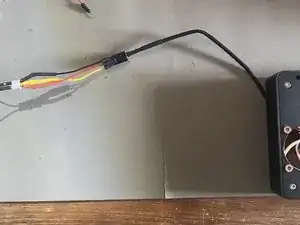
The whole point of this was to make sure your dock shuts up and lasts longer so you wanna make sure the fan is on.
-
To reassemble your device, follow these instructions in reverse order - or dont... i aint judging.
