Introduction
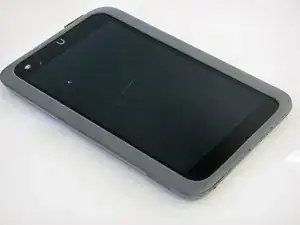
We will take apart the Nook HD's paneling to reveal the internal components. This guide may be used as a prerequisite for other Nook HD guides.
Tools
Parts
-
-
Be sure the device is powered off. Clean the device to prevent any dirt and dust from entering into the device.
-
Use the plastic opening tool to gently pry the plastic screen frame away from the screen. Run the plastic opening tool along the interior edge of the screen until the screen frame is completely separated from the glass.
-
The screen frame is held onto the Nook by a set of tab that run around the outside of the frame. There may also be a line of rubber cement around the Nook under the screen frame. If your Nook has this, you will have to dig deep to separate the frame from the Nook.
-
-
-
Use the plastic opening tool to gently unclip the wire from the pins by pulling the white connector up.
-
To reassemble your device, follow these instructions in reverse order.
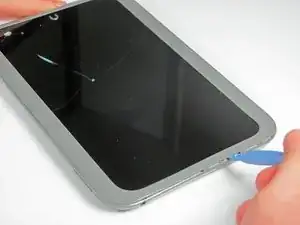


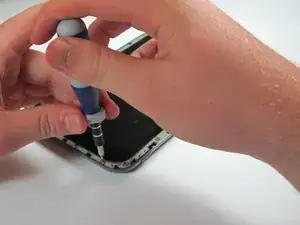
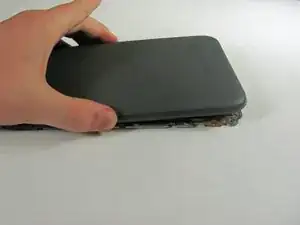


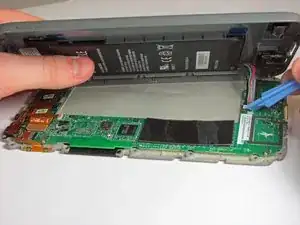
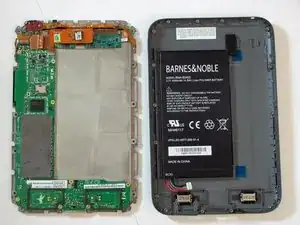
This is by far the hardest step, if your Nook is like mine. There was a line of rubber cement around the Nook under the cover. If you have trouble removing the cover, do not be afraid to dig deep with your plastic prying tool. BTW, do not try this without the plastic prying tool!
David Gauntt -