Introduction

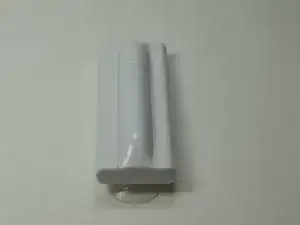
If your flashlight no longer charges its battery, it might be time to change your solar panel with this guide.

  1. ZffJCUEtjKlsnxYD
    ZffJCUEtjKlsnxYD
    ZPtYmlruQIkEj1ZJ
    Jbpa2RCW2s6VAl3T
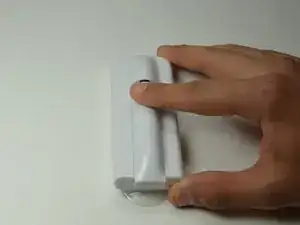
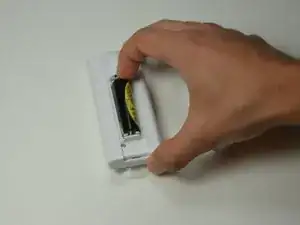
    • Press down firmly to remove the battery cover and display battery.

    • Then remove the battery.

  2. 5GCpBDY2gtLIHbPc
    5GCpBDY2gtLIHbPc
    k5FxGHrYDAjkPcAl
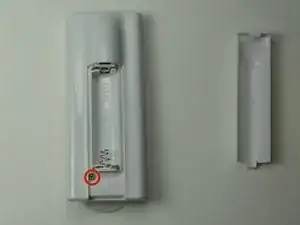
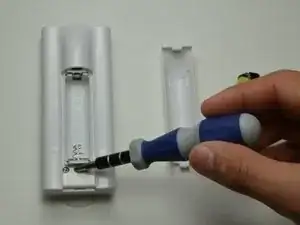
    • Remove the 7mm Phillips #1 screw.

  3. ApXtUE4BbwUpAleR
    ApXtUE4BbwUpAleR
    mHVDGYLkiBB3nAZm
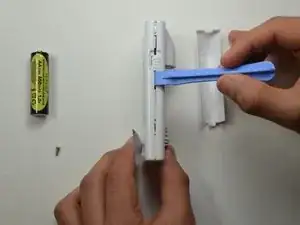
    • Place the plastic opening tool in between the two plastic panels and slowly work your way around the device.

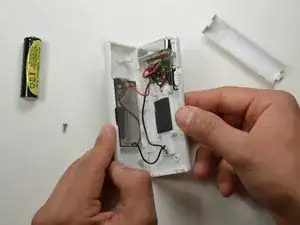
    • Unlatch the clips on the inside and pull device apart.

    • Some clips will break when forced open.

  4. QAmgs3bt64qbZygG
    QAmgs3bt64qbZygG
    1M42XwOOLZ1ynogF
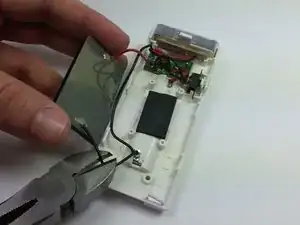
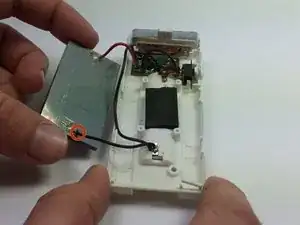
    • Pull the panel away from the rest of the assembly and cut the red and black wires coming from the panel

    • Be careful not to cut the ground-wire for the motherboard, it is the same color and goes to the exact same place as the solar panel wire.

    • For reassembly you will need to either splice, or solder the wires onto the replacement.

Conclusion

To reassemble your device, follow these instructions in reverse order.
Daniel Bumiller

Member since: 20/01/15

201 Reputation

0 comments