Introduction
The Nexus 7 uses a pair of microphone to cancel out ambient noise to improve voice recognition. A broken microphone is really annoying, so be sure to use this guide to help you replace the upper microphone.
Tools
Parts
-
-
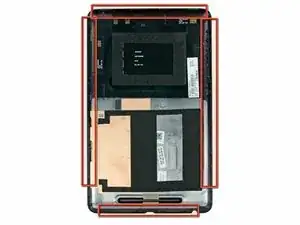
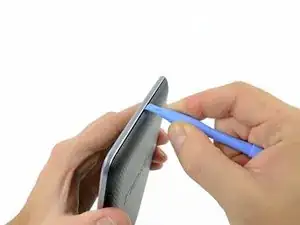
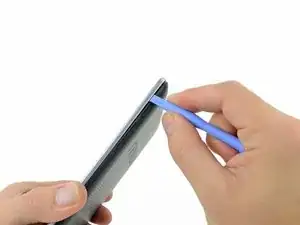
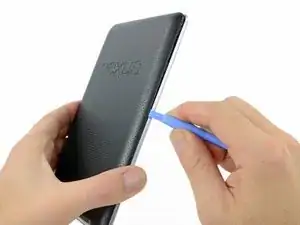
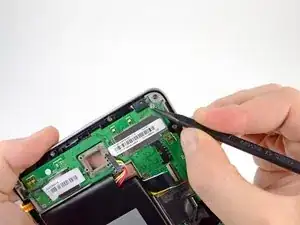
Gently insert a plastic opening tool near the top of the Nexus 7 between the rear panel and the front panel assembly.
-
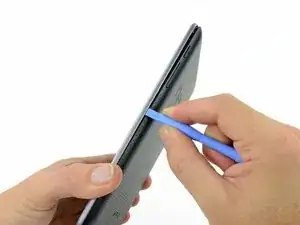
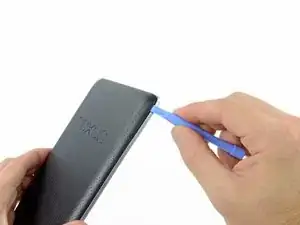
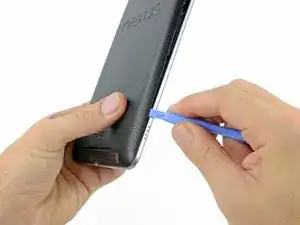
Carefully run the plastic opening tool along the top edge to pry the rear panel away from the front panel assembly of the Nexus 7.
-
-
-
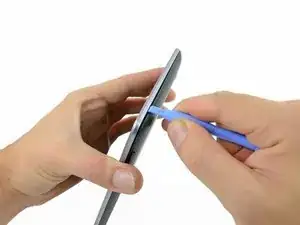
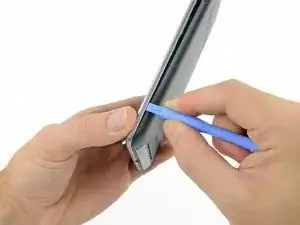
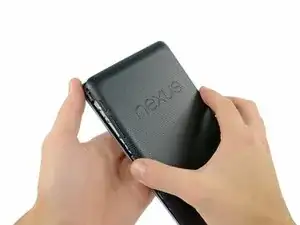
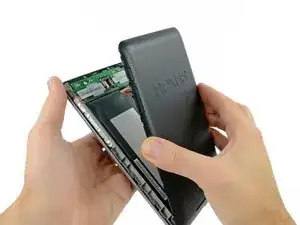
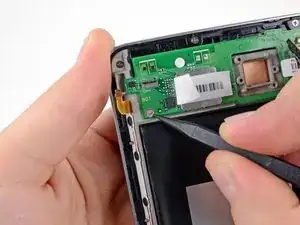
Insert the plastic opening tool between the rear panel and the front panel assembly near the power button and pry up at several points along the right edge of the Nexus 7.
-
-
-
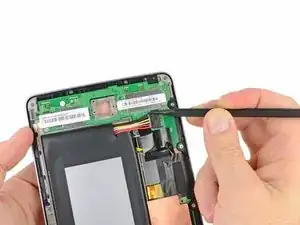
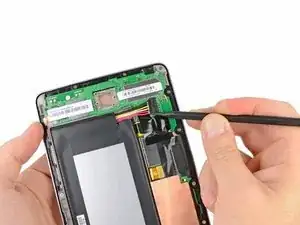
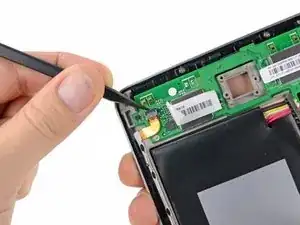
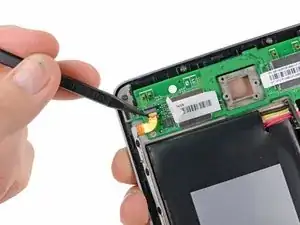
Using the tip of a spudger, push first on one side then the other to "walk" the battery cable straight out of its socket on the motherboard.
-
-
-
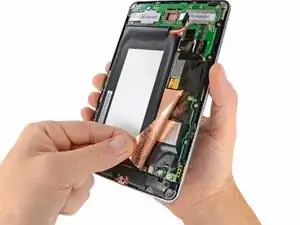
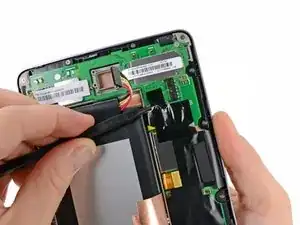
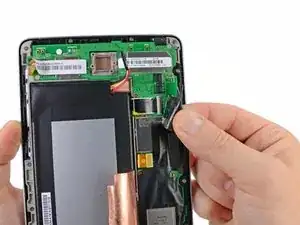
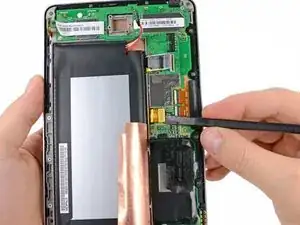
Peel back the copper ESD shielding covering the bottom of the motherboard.
-
If you're just replacing the micro usb charge port, there is no need to peel back the copper heatsink like in the photo, the speaker assembly can simply be moved out of the way once unscrewed. If the speakers are to be replaced simply peel back the bottom corner to expose the speaker connection. Leave the rest of the heatsink shield alone.
-
-
-
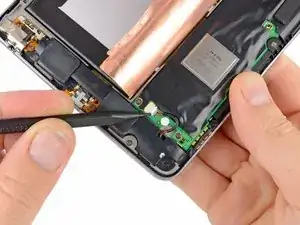
Using the tip of a spudger, push the speaker cable straight out of its socket on the motherboard.
-
-
-
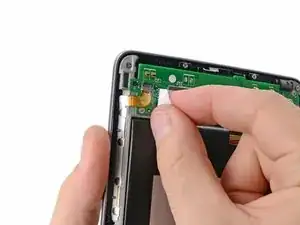
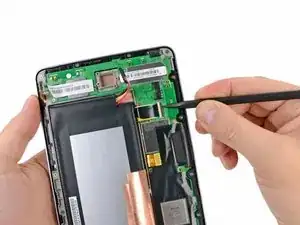
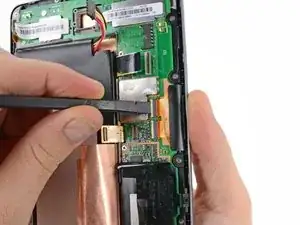
Use the tip of a spudger to carefully flip up the retaining flap on the power and volume button ribbon cable ZIF socket.
-
Use the tip of a spudger to pull the power and volume button ribbon cable straight out of its socket.
-
-
-
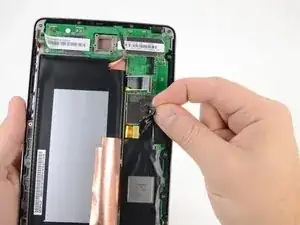
Carefully peel back the adhesive tape covering the I/O board ribbon cable socket on the motherboard.
-
-
-
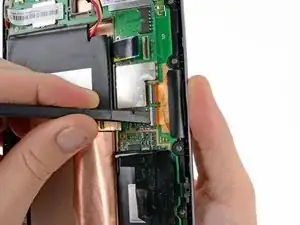
Use the tip of a spudger to carefully flip up the retaining flap on the I/O data ribbon cable ZIF socket.
-
Use the tip of a spudger to pull the I/O data ribbon cable straight out of its socket.
-
-
-
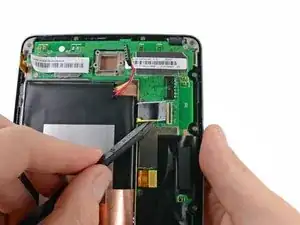
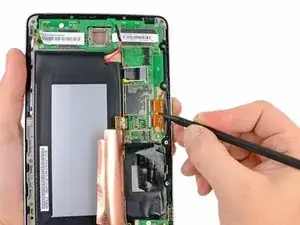
Use the flat end of a spudger to pry the display data cable straight up off its socket on the motherboard.
-
-
-
Use the flat end of a spudger to carefully flip up the retaining flaps on the digitizer ribbon cable ZIF sockets.
-
Use the tip of a spudger to pull the digitizer ribbon cable straight out of its socket.
-
-
-
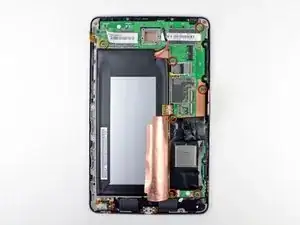
Remove the following screws securing the motherboard to the metal frame:
-
Six 3.25 mm silver Phillips screws
-
One 2.23 mm black Phillips screw
-
-
-
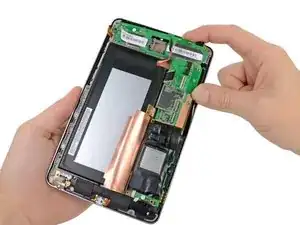
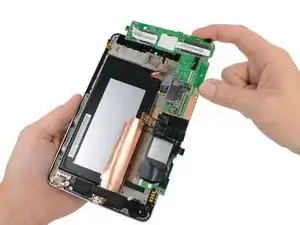
Carefully lift the motherboard assembly out of the Nexus 7, minding any cables that may get caught.
-
-
-
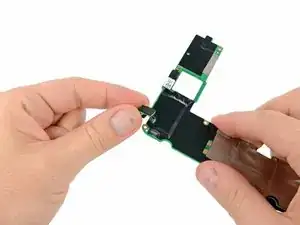
Gently pull the upper microphone straight up off its socket located on the back of the motherboard.
-
To reassemble your device, follow these instructions in reverse order.

Mine doesn't look like this. There is no metal band around it. The only opening looks like its between the front glass and back which is on the front. I'm afraid to try it for fear of breaking it. Any suggestions?
Kim McCauley -
There is no front or rear panel. There’s no sign of any seam whatsoever. The front and back are one solid piece of plastic.
Proud Liberal -