Introduction

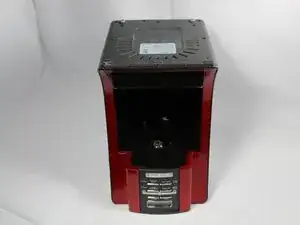
If your coffee maker is experiencing power issues, you may have a faulty power cord. Use this guide to replace the damaged power cord of your Mr. Coffee BVMC-SJX33GT.

Make sure your coffee maker is unplugged and empty of all water before attempting to make any repairs.

  1. KuXyD1bEaTBYZNPW
    • Turn your coffee maker over so that the base is facing up.

  2. Cx3JPLjtJSbxyBEc
    Cx3JPLjtJSbxyBEc
    cQdGA5pe3lRwOMHR
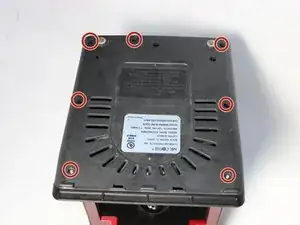
    • Locate the seven 13.5mm screws securing the base to the coffee maker.

    • Unscrew the screws using a #2 Phillips head screwdriver.

    • Use a screwdriver with a magnetic tip to more easily remove the three screws in the back and two in the middle.

  3. FiQUqDtLbNECXMUZ
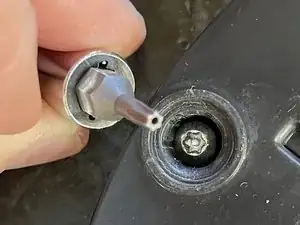
    • Also the front two screws are safety screws: they have a 6 sided star shape with a raised dimple in the center to prevent homebodies from casually opening the machine. (probably from the Sunbeam’s (owns Mr. Coffee) legal dept.) Anyway you will need a security bit to remove the screws and not a phillips screw driver.

  4. DCpkhpZmJp3WcMPS
    • Lift base to remove.

    • If the base sticks along one edge, do not pull at an angle. Gently tug straight up while sliding a finger along the edge in order to pop the clips.

  5. wdZOlcQPqZXFoe2h
    wdZOlcQPqZXFoe2h
    CuOtQVeMdbQLyODT
    IQA1jdBdlqhPwTGX
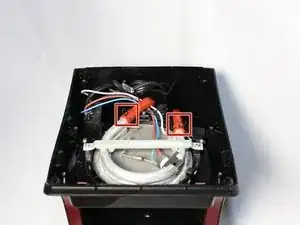
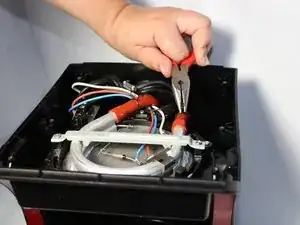
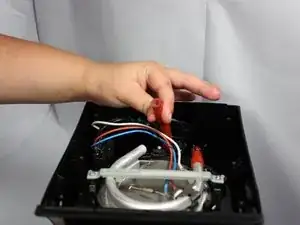
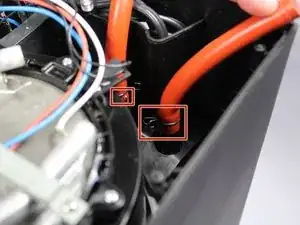
    • Locate the metal clamps.

    • Using a pair of pliers or your fingers, slide clamps away from tube opening.

    • All following steps regarding the rubber hoses should be completed for both hoses.

    Where do you get replacement hoses?

    Tom Hanig -

    How to get replace hoses

    Ronnie Anderson -

    Ok I cleaned mine the way you are supposed to, but it is still brewing super slow.

    Marlene -

    Food grade silicone tubing Amazon Smile link https://smile.amazon.com/Univen-High-Gra...

    Brian Comly -

  6. nSRjwBm626WZAjVN
    nSRjwBm626WZAjVN
    BAYoCY25dLrj4F1Z
    fyYaXUGRVM2p6B5H
    • Using a plastic opening tool, loosen rubber hose from metal tubing.

    • Once loosened, grip the hose and pull it from the metal tubing.

  7. u3nXgap2CLUUlYUO
    u3nXgap2CLUUlYUO
    gOrWFuBm4RwKNwKm
    • Slide metal clamps off hoses.

  8. HMjUpKrS24oUVHQC
    HMjUpKrS24oUVHQC
    lpWkdklIhwfJ2VSZ
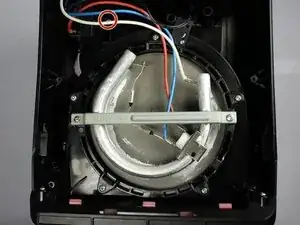
    • Locate the other set of metal clamps.

    • Using needle nose pliers or your fingers remove these clamps by pinching the clamps and sliding them up the tubes.

  9. Kmg1mVfS3fhxRgLc
    Kmg1mVfS3fhxRgLc
    BMYplhewswKUWEJ2
    • Grip the hoses and pull them straight up and out.

    I have the same coffee maker as pictured. I removed the clamps, and the first hose came off easily. The hose housing the valve would not come loose. I ended up tearing the hose while trying. Any ideas for a replacement hose? And how to get this torn one off?

    Brianna Singh -

    Sadly, you mentioned the size of the screws, but failed to mention the most important piece of information, the size of the actual silicone hose (ID & OD).

    K T -

    Very helpful procedure. All 7 screws on my maker were Philips heads so thankfully did not need that special tool. As I did not have a spare valve, I ran water through mine and confirmed the operation of the valve by blowing on each side. The valve seems clear and working as it should but after reassembly sadly it made no difference. I think in my case there must be something wrong with the heater circuitry and will have to dig a bit deeper to determine what failed and if it is worth (or even possible) to replace the defective part.

    Ron Biegel -

  10. C5x12IDS1HixhK3f
    C5x12IDS1HixhK3f
    3kZmFSijKdeR4lAy
    • Locate the two 11.5mm screws securing the plastic bracket in place.

    • Unscrew the screws using a #2 Phillip's head screwdriver and remove the bracket.

  11. ogBGx4YJ1KFuHmsb
    ogBGx4YJ1KFuHmsb
    BDeGG14NxhqqWCVq
    Qh3djONSF6Psa3Yq
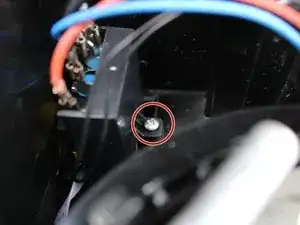
    • Locate the 11.5mm screw below the white, red, and blue wires. The screw is along the side of the coffee maker about four inches deep from the edge of the base.

    • Unscrew the screw with a #2 Phillip's head screwdriver and remove.

    • Using a screwdriver with a magnetic tip will allow you to remove the screw more easily.

  12. OCyLf5VpfW3nZEU2
    OCyLf5VpfW3nZEU2
    OTclyHV2cFxblUOJ
    • Grip the connector box and pull it into view.

  13. j6BUQm61fNG2YIQl
    j6BUQm61fNG2YIQl
    xtsULfrZBkq6IPd2
    UXGOvWbjtmZaIxQ2
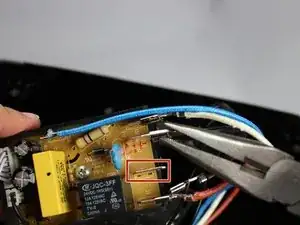
    • While maintaining a firm grip on the connector box, use needle nose pliers to pull the black wires free from the box.

    • Only place your pliers on the metal part of the connector, NOT the partially exposed wire.

    • Pull the connector straight out. If you pull at an angle, you risk breaking the connector or other components connected to it.The connector will stay attached to the electrical component of the coffee maker as indicated by the red box in the second photo.

  14. HNvv12BKLjBsfFjN
    HNvv12BKLjBsfFjN
    sTaDEh3MwTRpjPMf
    l5IkHIY6js3jWPCc
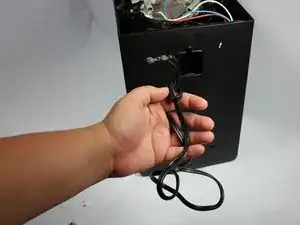
    • Turn coffee maker around so that the back is facing you.

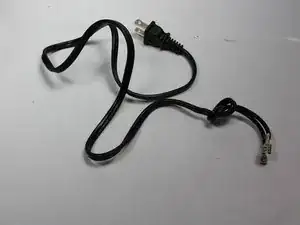
    • Pull the cord out through the back window.

Conclusion

To reassemble your device, follow these instructions in reverse order.

Mackenzie Aiken

Member since: 28/01/15

1473 Reputation

0 comments