Introduction
Overtime, the camera of a device may be subject to fail. Common troubleshooting symptoms of a failing camera can include (and are not limited to): device isn’t taking photos, camera shows black, camera won’t turn on, etc.
This replacement guide demonstrates the steps required to replace a cracked, damaged, or otherwise inoperable rear-facing camera on the Xoom 2.
Tools
-
-
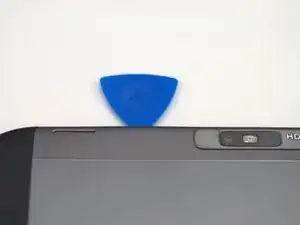
Pry off the silver top back cover (the panel around the camera) with iFixit opening picks or a similar implement.
-
-
-
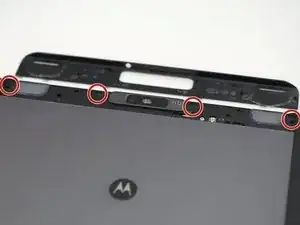
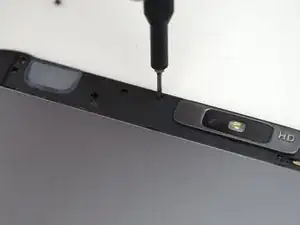
Using a T5 screwdriver, unscrew the four 1.5mm screws holding the main back cover. These screws are arranged in a line across the top of the back of the device.
-
-
-
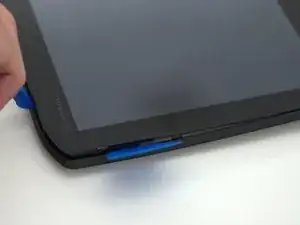
Turn the device over and using a pry tool and the opening picks, gently apply pressure between the outside edge of the seal marked with the arrow. Slowly move around the edges of the device, applying even pressure, and separate the back plate from the display.
-
-
-
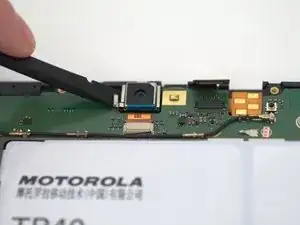
Using a spudger, carefully pry and remove camera assembly using the small pry point as shown.
-
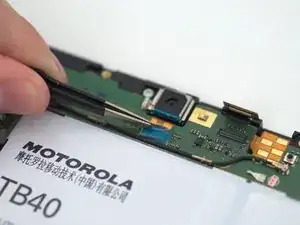
After removing the camera from the housing, use tweezers and pull gently to remove the connector from its housing.
-
To reassemble your device, follow these instructions in reverse order.
