Introduction
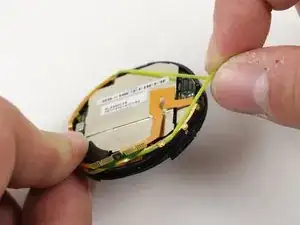
The O-Ring is fragile. Take care not to let it break when dealing with it.
Tools
-
-
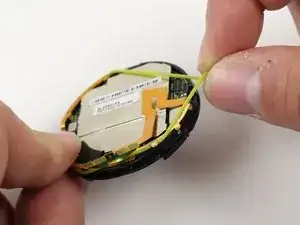
Follow the instructions here to remove the back cover without force by using some needles in the right places:
-
-
Then continue with step 5. Or don't use needles and just continue with the next steps.
-
-
-
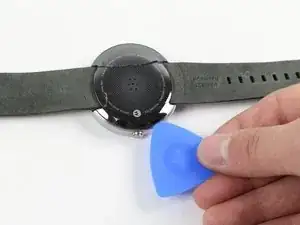
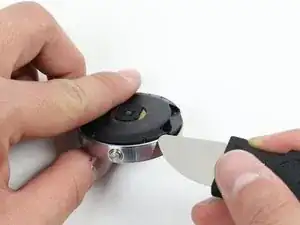
Gently slide the blue opening pick between the rear cover and the metal casing.
-
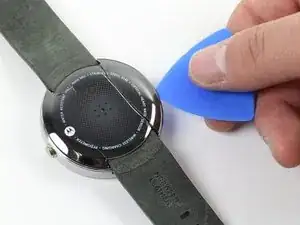
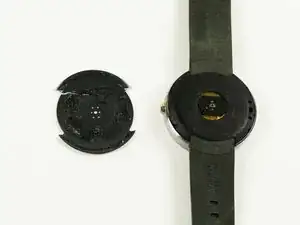
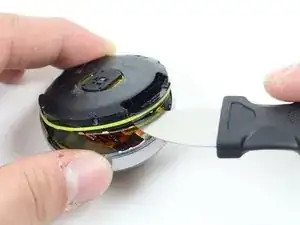
Work your way entirely around the rear cover.
-
Conclusion
To reassemble your device, follow these instructions in reverse order.
3 comments
Where can you get your hands on a replacement o'ring?!
James S -
I broke my o-ring. Any ideas where I could get a raplacement?
i think you should not take the o ring. i was replaceing the battery without take the O ring

Note other methods available that doesn't require the purchase of additional tools beyond what typical battery replacement kits offer. i.e. a hair dryer.
Scott Fernandez -
This step isn't necessary for battery replacement! Remove the wrist strap, then pull out the 4 catches and jump to step 4. See: https://youtu.be/Jw3n5qbGv-I
Chris K. -
Thanks Chris K. for pointing that out. Yes, I was able to pull the tabs without having to deal with adhesive back.
Brian Li -
I have used a hair drier: 10cm far for about 10 minutes; reheat it for couple minutes during the process, the glue must be soft to avoid breaking the rear cover.
Tarik -
NO, NO, NO, YOU DON”T NEED TO REMOVE CERAMIC BACK. just remove the 4 securing pins and the watch body can be easily removed without breaking the back
Bernard McGrath -
Skip 1-4 and just remove the 4 clips. Much quicker and less likely to damage your watch.
lee -
Remove the four back retaining clips. I used a strip cut from the bag the battery was sealed in. It's thin enough to slide in and stiff enough to force the clips out.
Richard Burgin -
Bonjour,
Pour démonter la moto 360, pas besoin de tout cela !!!
1° Vous retirez le bracelet de la montre;
2° Récupérez une protection de vitre souple (mais pas trop) de smartphone dont vous n’avez plus besoin que vous découpez en petits rectangles (4*2cm).
3° Vous devrez insérer ces petits rectangles à l’arrière de la montre entre la partie vitrée et le corps de la montre à quatre endroits différents pour chasser 4 petites goupilles en platiques qui vérouillent le démontage (voir ci-dessous).
4° Montre retournée (imaginer une horloge): premier petit rectangle introduit à 1h30, dès que le rectangle est entré de +/- 1/2cm, chassez celui-ci vers midi, une petite goupille noire en plasitque devrait sortir au niveau l’ouverture laissée par le bracelet.
Faites la même chose à 10h30 vers midi, à 4h30 vers 6h et 7h30 vers 6.
5° Quand les 4 goupilles sont enlevées, le corps de la montre se sépare (pratiquement seul) en deux parties.
6° Vous pouvez passer à l’étape 6 du tuto!!! :-)
belveder04 -