Introduction

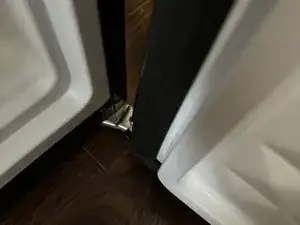
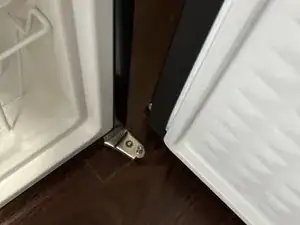
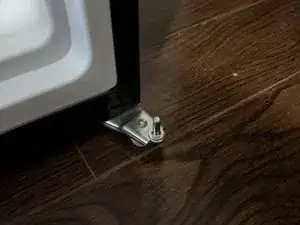
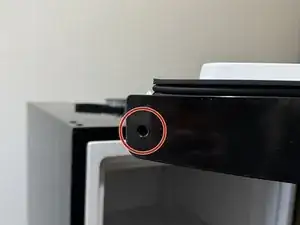
This guide helps you to replace the door of the Midea MRU03M2ABB Upright Freezer. You can look for replacement parts and accessories on the Midea website.

In the world of appliance maintenance, I understand the importance of precision and accuracy. A damaged or malfunctioning freezer door can compromise the efficiency of your appliance, leading to potential energy wastage and diminished performance.

Before embarking on this task, I recommend familiarizing yourself with the provided steps, as well as ensuring you have the necessary tools and replacement parts in hand.

Let's get started!

  1. LEKOIrVwF3DXRDO5
    LEKOIrVwF3DXRDO5
    3OZ5TtoQWH5Jr4C5
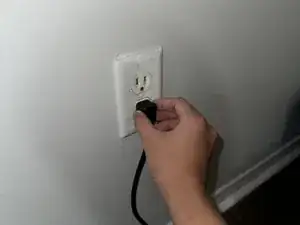
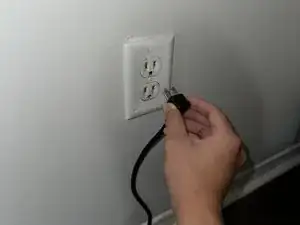
    • Unplug the device.

    • Only unplug when your hand is dry.

  2. QEFRe3hqGDh4vHNE
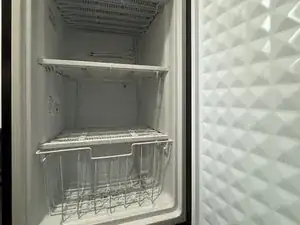
    • Empty the shelves.

  3. wRZDAGs5pVq6KGMQ
    wRZDAGs5pVq6KGMQ
    LOYQaqlpKMkXWri3
    SnVxaukJQWrylRdO
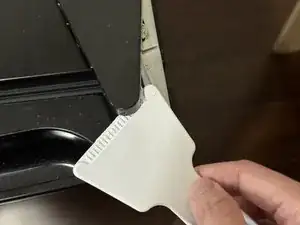
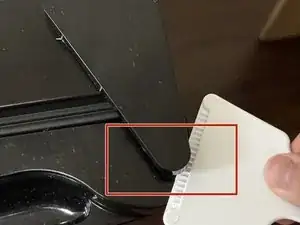
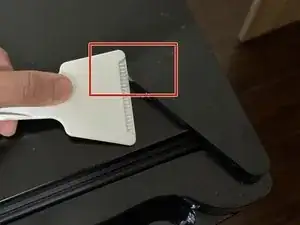
    • Use a plastic spatula to remove the hinge cover on top of the freezer.

    • Pushing at the pointy part of the cover makes it easier to remove.

  4. DGPOBSTJPQ2CfKPo
    DGPOBSTJPQ2CfKPo
    OxGJOux4kFggrDrj
    QKkaRtI4ZupeLAsu
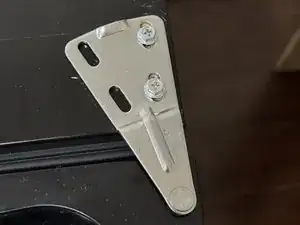
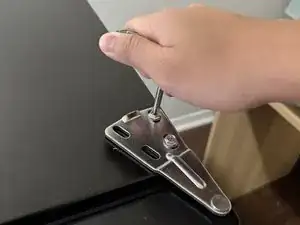
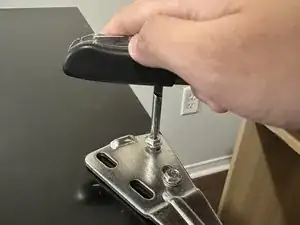
    • Unscrew the hinge counterclockwise.

  5. GIFwIsjcdsee3RQV
    GIFwIsjcdsee3RQV
    WqVVCyXipZsEdMoH
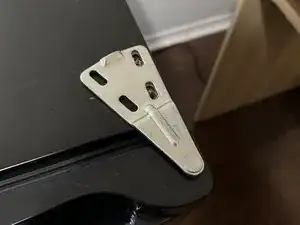
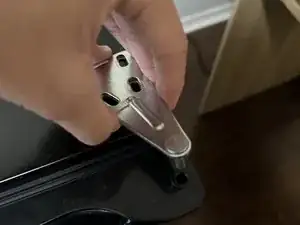
    • Lift the hinge out of the freezer and the door.

  6. TUhOL3FdK3BaMTPe
    TUhOL3FdK3BaMTPe
    nqJcTPKI2taYDEa1
    vt1ylEO1wfOeZ6yp
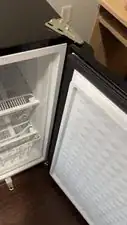
    • With two hands, gently hold and open the door as usual.

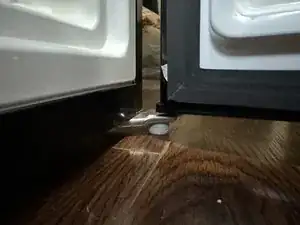
    • Lift the door up to remove it from the bottom hinge.

    • You have completely detached the door from the freezer.

  7. vN162DsyqkRDAUBk
    vN162DsyqkRDAUBk
    MJu1CFamB3SNmBY6
    cQYa54uDUDSbGWS2
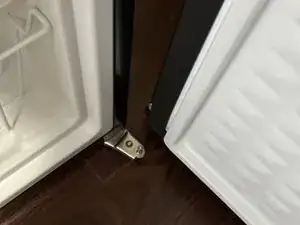
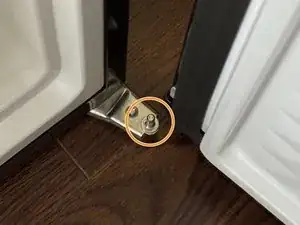
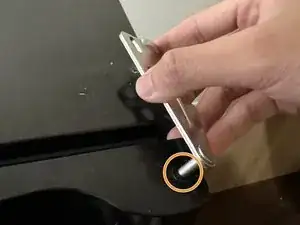
    • With the new door, locate the hole underneath the door.

    • Using two hands, gently place the door on top of the hinge (the pointy part of the hinge should fit inside the hole).

    • Close the door.

  8. AJ4DguprahDHJQnQ
    AJ4DguprahDHJQnQ
    pWbPOfQhYGGIhITv
    febmrZNkKaFTWyyL
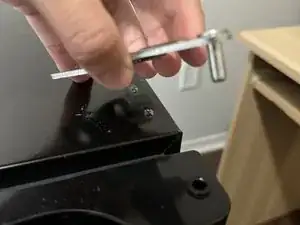
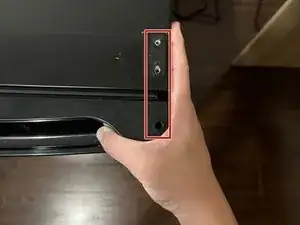
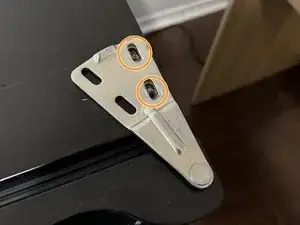
    • Use your hand to align the door so these three screw holes stay on the same line.

    • Carefully place the top hinge to fit these holes.

  9. IlZKgBB6aWfiMKu1
    IlZKgBB6aWfiMKu1
    O2qdjei2WHVmLLjB
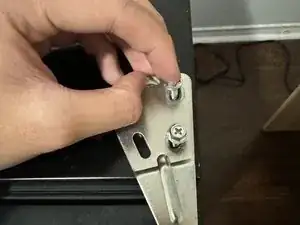
    • Thread and tighten the screws clockwise.

  10. Gently swing the door to make sure it operates well.
    • Gently swing the door to make sure it operates well.

  11. HHwF3Z6qLBtI2tpV
    HHwF3Z6qLBtI2tpV
    gcqyqpIusXZBCb4f
    • Finally, firmly press the cover onto the hinge to secure it. Now, you have completely replaced the door.

    • A "click" will indicate that the cover is finally in its place.

Thinh Lang

Member since: 16/01/24

193 Reputation

0 comments