Introduction
Over time, the punch head of a hole puncher can become dull or misaligned due to frequent use or overzealous hole punching. As a result, incomplete holes or paper jams occur, making it a pain to organize large amounts of paper. To address this issue, follow this straightforward guide—it won’t take up too much of your time, but it does require some patience. Before you begin, ensure you have the correct type of screwdriver.
Tools
-
-
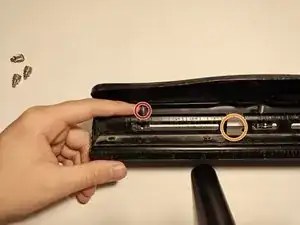
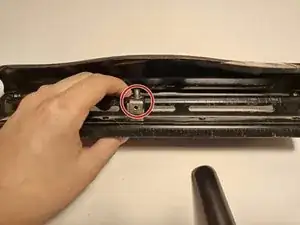
Use your finger to slide the punch head out towards the opening (right in this case).
-
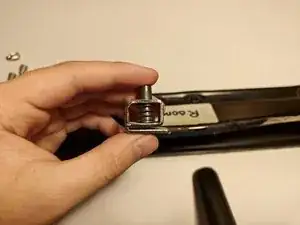
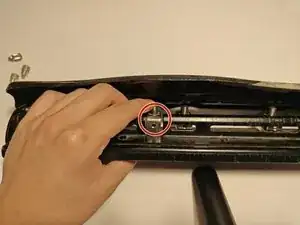
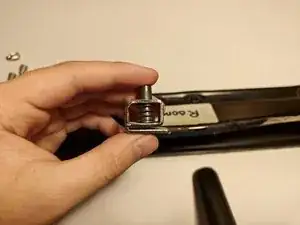
Remove the punch head from the opening and set it aside.
-
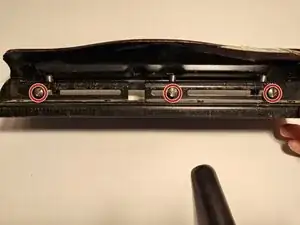
Repeat this step with the other punch heads.
-
-
-
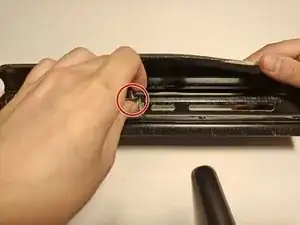
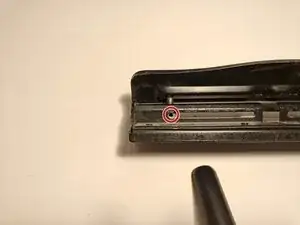
Take your replacement hole punch and push it into the opening.
-
Slide the hole punch to your desired alignment in my case, left).
-
-
-
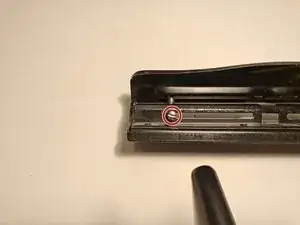
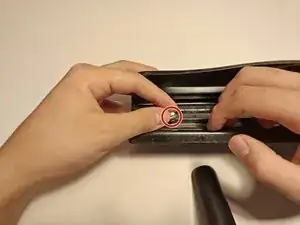
Use your fingers to screw one of the screws into the hole on the back of the punch head.
-
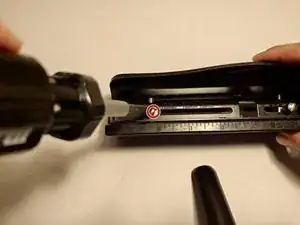
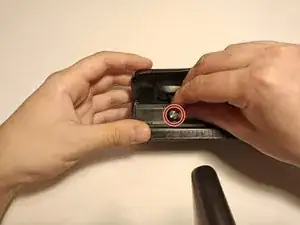
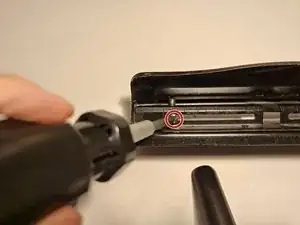
Take your flat head screwdriver and tighten the screw.
-
Repeat these steps for the other punch heads.
-
