Introduction

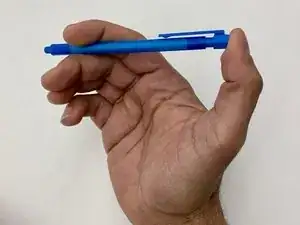
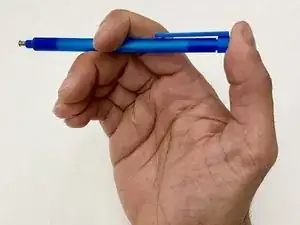
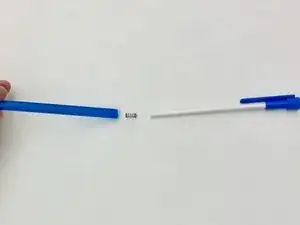
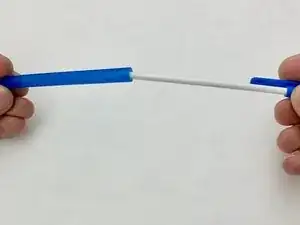
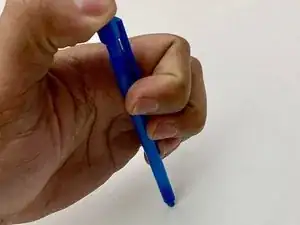
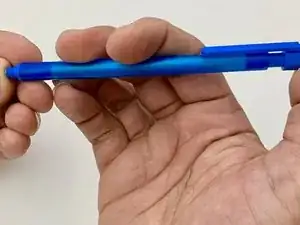
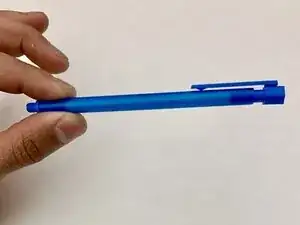
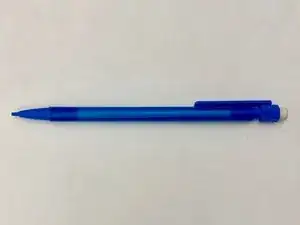
If your mechanical pencil no longer produces lead - either no lead is produced from pressing the dispenser, or the dispenser cannot be compressed - this guide can help you restore function. An Xtra Strong Mechanical Pencil is used in this guide, although the process is similar for other brands. This fix targets the replacement of broken or jammed springs, which anyone of any technical skill level can accomplish. Your mechanical pencil will need to be disassembled, the old spring removed and replaced, and then reassembled. No special considerations or tools are required.

  1. uZUC4dn3KqqdRIeI
    uZUC4dn3KqqdRIeI
    GYAvAQl3CQIYdrSR
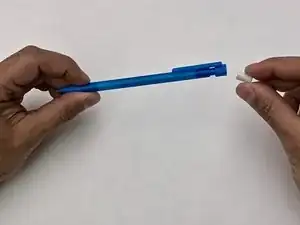
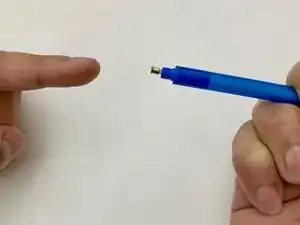
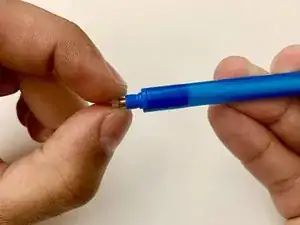
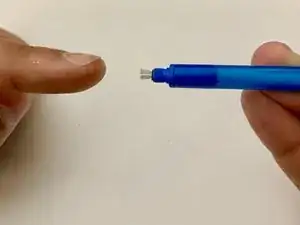
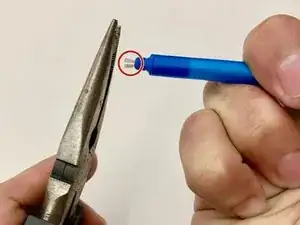
    • Remove the eraser from the mechanical pencil.

    • Removing the eraser may be difficult if the eraser is too short.

  2. YwENBbUOSWonaRYl
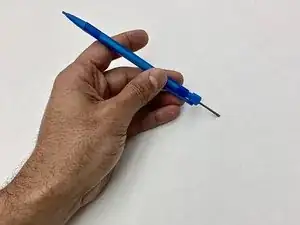
    • Remove the graphite lead from the pencil.

    • Make sure to give the pencil a few clicks to get any remaining lead out of the front of the pencil.

  3. G2X6BONMYVQM6yE2
    G2X6BONMYVQM6yE2
    k6YjWBuNm1ZVGVQh
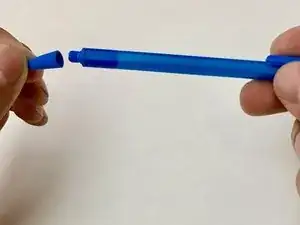
    • Unscrew the cone/cap from the pencil.

    • You may be able to unscrew the cap. Some require you to pull it off using force. Procedures vary based on each pencil.

  4. UYrXtdZSlRVklVjO
    UYrXtdZSlRVklVjO
    HJHlQa3Qct52bCDJ
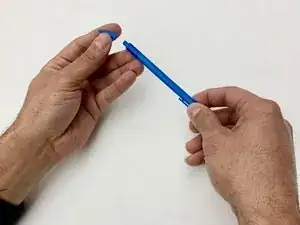
    • Depress the shaft into the sleeve.

  5. BLRj2BWNYTktktqG
    BLRj2BWNYTktktqG
    OWPO1CwHnNeZn6JR
    TuWO2j5fnHGZVDcm
    • While keeping the shaft depressed, slide the gold dispenser ring back into the sleeve to expose the dispenser.

  6. Q2ObXbD5NqATBDjq
    Q2ObXbD5NqATBDjq
    6NEYF63YehbPNx1Z
    tmHvyksNrMeeDB1S
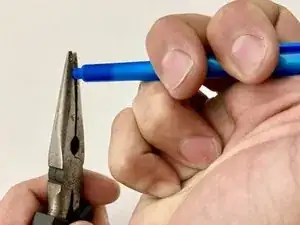
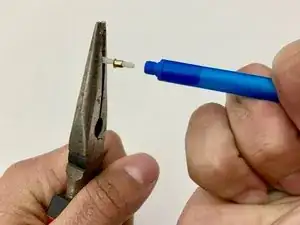
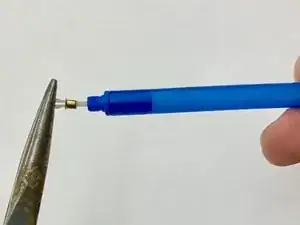
    • Use pliers to grasp the dispenser perpendicular to the open split.

    • Apply pressure and pull the dispenser straight out from the shaft and sleeve. This may be difficult.

    • If the dispenser is grasped incorrectly it could cause damage.

    • Be careful not to lose or bend the dispenser ring in the process. It is small and fragile.

    very hard to do

    becket tocci -

  7. VZ3ZpKpVwVBw2NTI
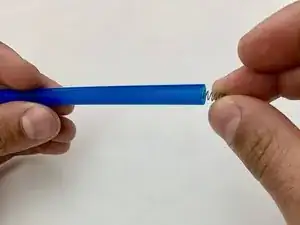
    • Remove the shaft and spring from the sleeve.

    • The spring is small. Be sure not to lose it so it can be discarded properly.

  8. erfyiDQ2bl65PfMW
    erfyiDQ2bl65PfMW
    KWNUtTNGKXqAdFSv
    • Place the dispenser and dispenser ring into the sleeve in the order it was removed.

    • The flange or widest portion of the dispenser ring will be closest to the opening of the dispenser.

    • You will need to hold it in place for the next step.

  9. v5u3I12FAaPOWgFx
    v5u3I12FAaPOWgFx
    GvwcoW15vVJGpI2P
    • Place the new spring and old shaft into the sleeve in the order it was taken out.

    • The spring is small. Be sure not to lose it.

  10. pU13DJTySqKJxUgv
    pU13DJTySqKJxUgv
    LHJj3SJDxIt6inD4
    qYjNnnGVmCvklKKT
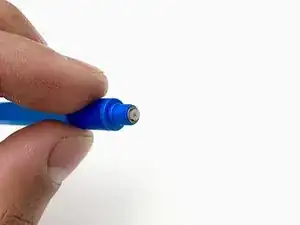
    • Using your thumb or a hard surface pressed against the dispenser, push the shaft into the dispenser.

    • There should be an audible clicking sound.

    • Pushing the dispenser into the shaft from the front could cause damage to dispenser and dispenser ring.

Conclusion

To reassemble your device, follow steps 1 - 3 of these instructions in reverse order.
Cassie Kohlhepp

Member since: 03/02/20

193 Reputation

0 comments