Introduction
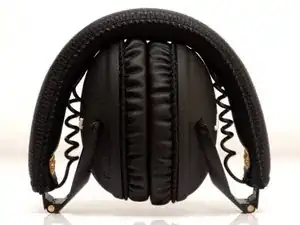
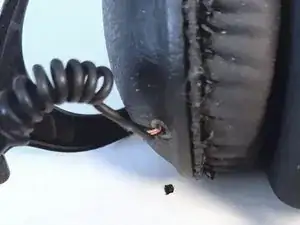
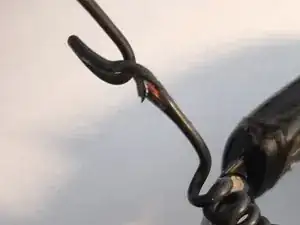
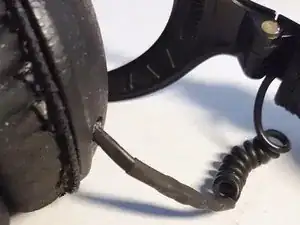
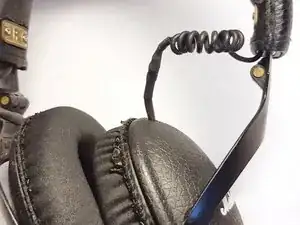
Under conditions of repeated use, the cable connecting the left and right Marshall headphones ends up breaking one one or both sides as a result of stress at the point where it enters the headphone caused by folding them. As a result, audio output will be reduced to a single ear.
This guide teaches you how to repair the damaged part of the cable in order to regain the use of the stereo. It will take dexterity, a soldering iron, and a little patience.
Tools
Parts
-
-
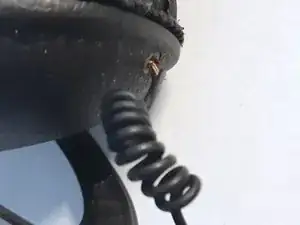
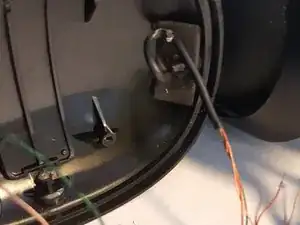
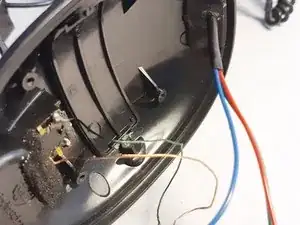
Examine the point at which the cable enters the housing to identify the location of the damaged part of the cable.
-
-
-
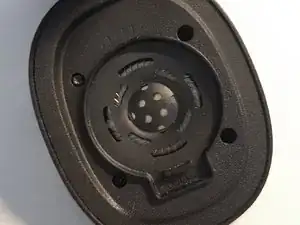
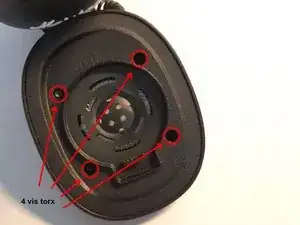
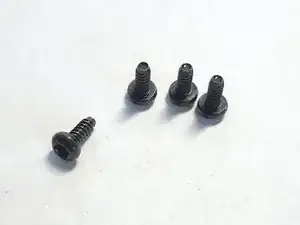
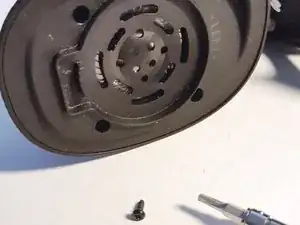
Remove the foam cushion and remove the 4 screws with a Torx screwdriver.
-
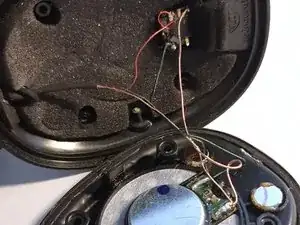
Be careful to carefully remove the upper part of the headset.
-
-
-
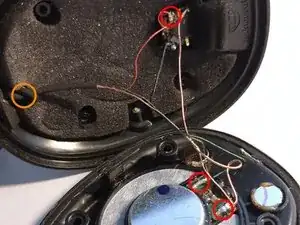
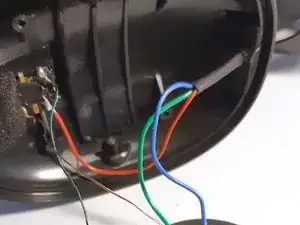
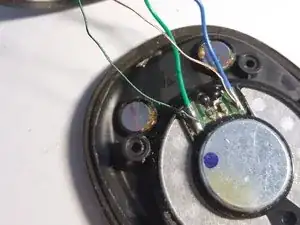
Unsolder the faulty cable connections.
-
Two of the wires are soldered to the transducer (one for ground and one for signal). The third is connected to the input of the 3.5 mm audio jack.
-
Remove the inner foam and undo the cable knot to take it out of the headset.
-
-
-
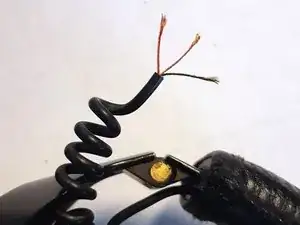
Cut the cable upstream of the damaged area and remove 10mm of insulation.
-
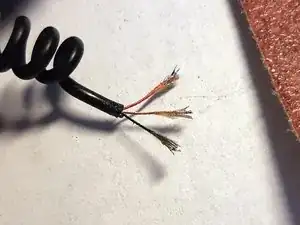
Prepare the wires for soldering. For this, the enamel that isolates the wires from each other must be removed using medium to fine grain sandpaper (120 - 180gr).
-
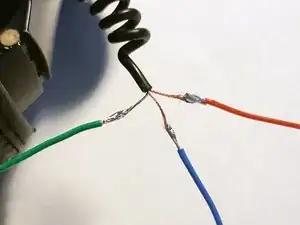
Next, tin the 3 wires.
-
-
-
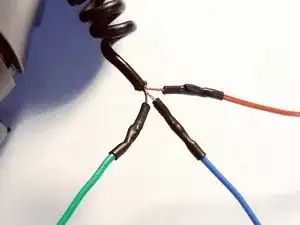
Solder the 3 replacement wires and mark the corresponding color.
-
Isolate the 3 solder points by placing the heat shrink tubing on each solder joint.
-
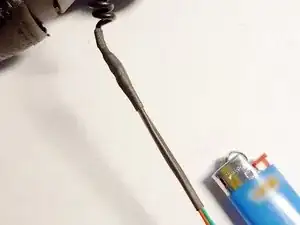
Cover the three wires with another piece of heat shrink tubing.
-
-
-
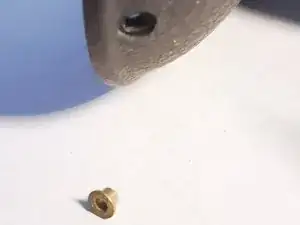
There is a good chance that the diameter of the replacement cable will be greater than the original. In that case it will be necessary to remove the original gold cable grommet (it is decorative anyway).
-
-
-
Reinsert the cable into the headset
-
Solder the wires to their original locations
-
Place a dot of hot glue where the new cable passes through to hold it in place and avoid strain on the connections.
-
-
-
Replace the foam inside the headset then gently reposition the upper part.
-
Tighten the 4 Torx screws and replace the foam of the outer pads.
-
Crank up the volume!
One comment
protip, you should not fold the headphones like the first picture. its was causes the damage to begin with.
