Introduction
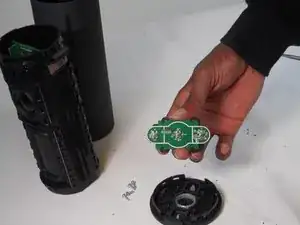
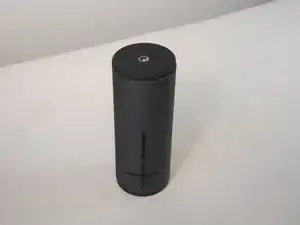
Is your speaker having trouble powering on? That may be due to physical damage, electrical issues, faulty control board components or even software issues. This repair guide provides you with the instructions to replace your speaker's power control board.
The power control board not only manages the activation and deactivation of the speaker but it is the component that is responsible for managing the power supply. In addition, it ensures that different components receive the appropriate voltage and current for proper functioning.
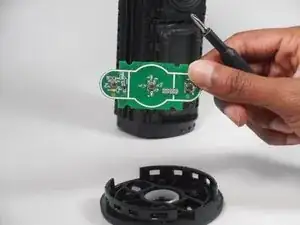
The control board contains 3 buttons and six LED lights. With the pairing and power button in the middle. In addition, there is a magic button that allows you to control the volume and change the play list. Can be used to access the playlist from a select few music providers.
Tools
-
-
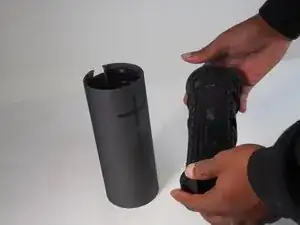
To access all internal components, first flip the speaker upwards to where you can see the base.
-
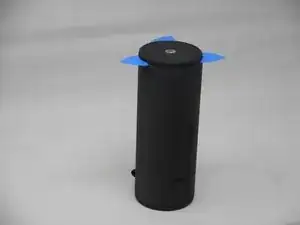
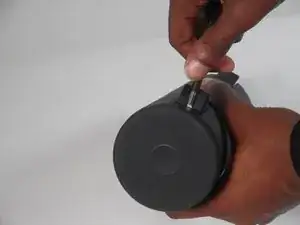
Place your blue iFixit opening picks inside the gap between the speaker and the base to act as a lever when opening the speaker.
-
-
-
Using the flat head #4.5 screw driver, carefully lever and rotate the driver around the edge of the speaker to enlarge the gap further.
-
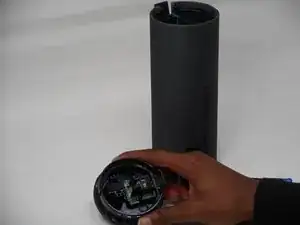
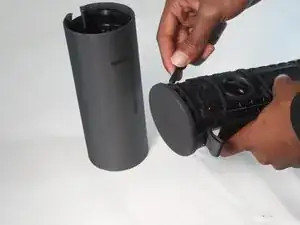
Pry off the base of the speaker and remove the end cap.
-
-
-
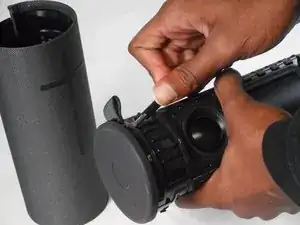
Take off the fiber cover by prying it from the top of the speaker using the flathead 4.5 mm screwdriver.
-
After the cover is loosened, the cap can finally be pulled off.
-
-
-
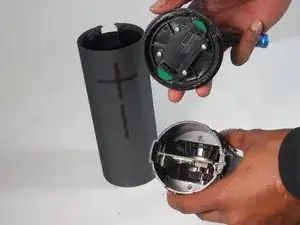
Remove the top half of the speaker using the 4.5 mm flat head screwdriver.
-
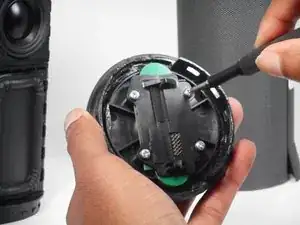
Now remove the top of the speaker by prying and releasing the tab around the cap using the same screwdriver.
-
-
-
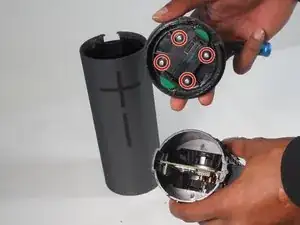
With the cap removed, using Phillips #0 screwdriver remove all four 2.0 mm screws to take off the control board.
-
Now you can replace the power button control board.
-
To reassemble your device, follow these instructions in reverse order.
