Introduction
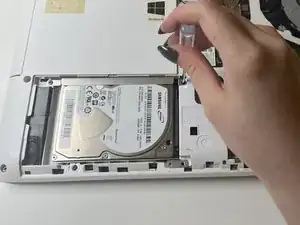
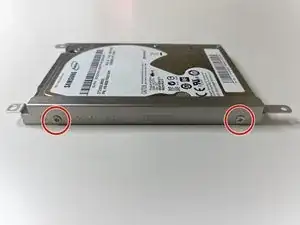
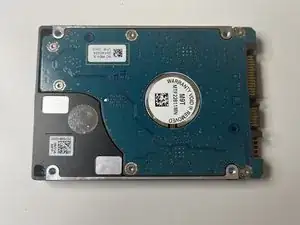
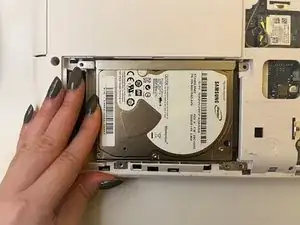
This guide will show how to remove and replace a hard disk or solid-state drive in a Lenovo Z40-70. A hard disk drive will be using for demonstration of the steps, but the process of replacing a solid-state drive will be the same.
Failing secondary storage devices can lead to major problems for a laptop such as corrupt files, sudden crashes, and inability to boot up. You can save time and money by replacing them at home instead of sending the laptop to repair.
To avoid losing your files, back up your data to an external storage device or a cloud storage service beforehand. In addition, turn off your device, remove the battery and unplug from the charger before you begin the repair.
Tools
-
-
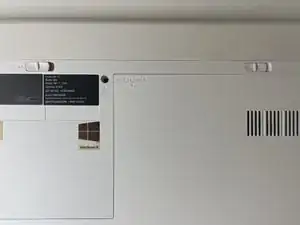
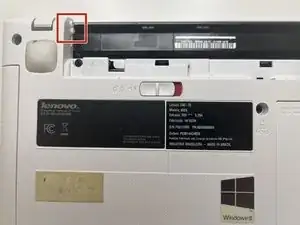
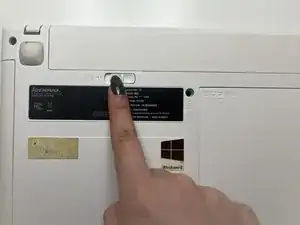
Slide the left battery lock to the left.
-
Slide the right lock to the right.
-
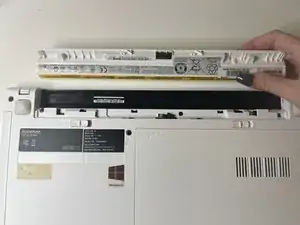
Separate the battery from the laptop.
-
-
-
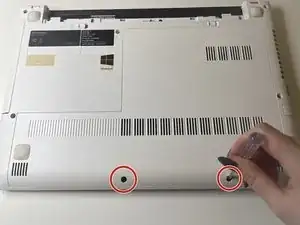
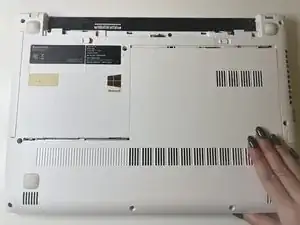
Use a Phillips #00 screwdriver to remove two 4 mm screws along the opposite edge of the laptop.
-
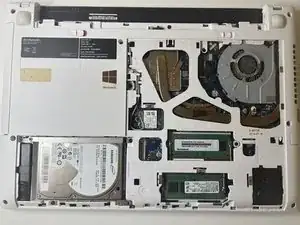
Gently slide off the back cover to reveal the hard drive.
-
-
-
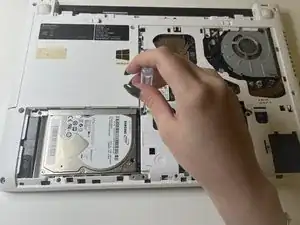
Use a Phillips #00 screwdriver to remove the three 5 mm screws that secure the hard drive to the laptop.
-
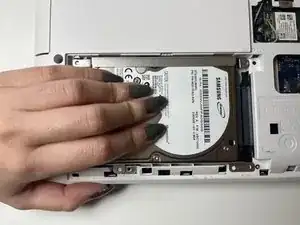
Slide the hard drive out from the port.
-
-
-
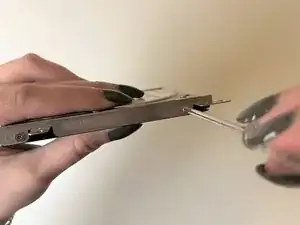
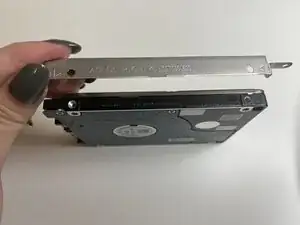
Screw the metal attachments into the new drive.
-
Insert the drive back into its slot and slide it into the port.
-
Secure the hard drive with three PH #00 screws.
-
-
-
Slide the cover back in place and secure with two PH #00 screws.
-
Connect the heart-shaped indents to the raised parts of the battery compartment.
-
Flip the red switch to the right to lock the battery in place.
-
After completing the replacement, boot up your laptop as it is ready to use.
