Introduction
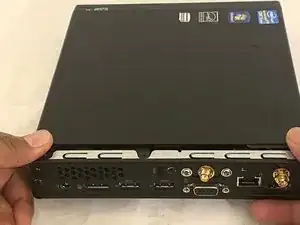
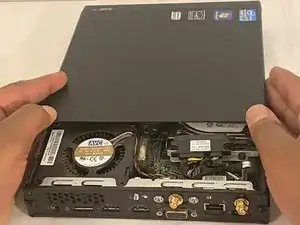
Use this guide to remove or replace your Lenovo ThinkCentre M92p hard drive . After removing the metal housing everything should be fairly easy.
The hard drive is a piece of hardware that stores and retrieves data in your computer. A failing hard drive can cause your laptop to produce clicking noises, and/or continuous crashes with error messages like “file not found” and blue screen error on a Windows computer, also called *the Blue Screen of Death. In some cases, your computer may not boot.
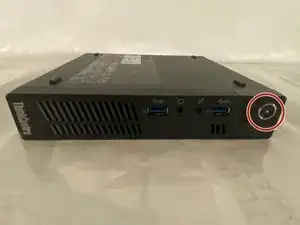
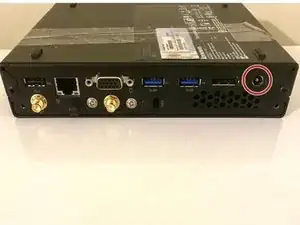
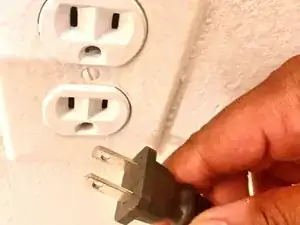
Prior to starting this repair, power off your device and unplug it from all external power supply.
Tools
Parts
-
-
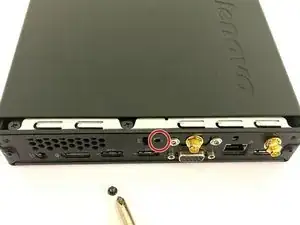
Using a Phillips #1 screwdriver, remove the middle black screw located on the back of the ThinkCentre.
-
-
-
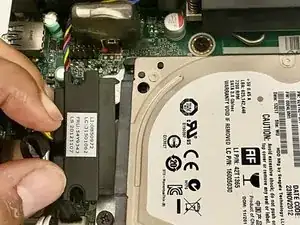
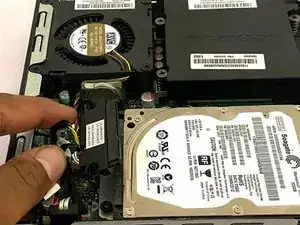
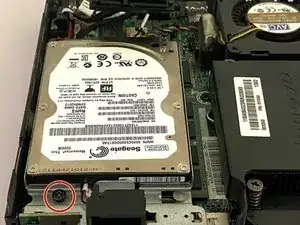
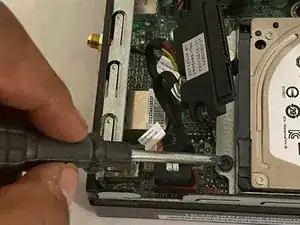
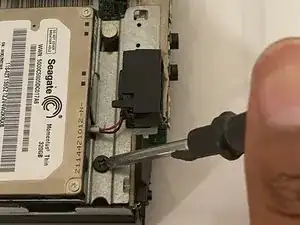
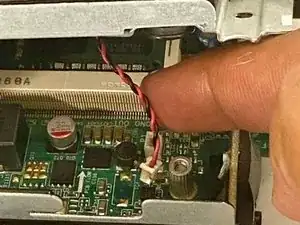
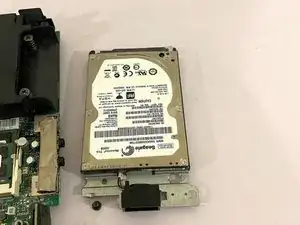
Use the Phillips #1 screwdriver to remove the two black screws holding the hard drive to the chassis.
-
-
-
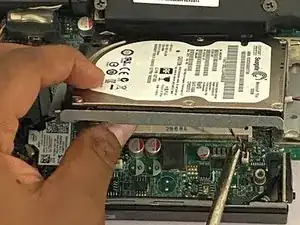
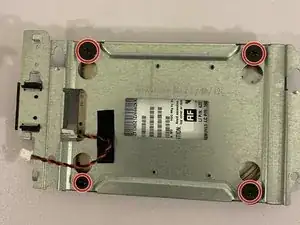
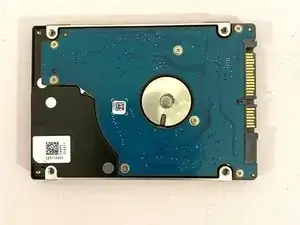
Flip over the disconnected caddy/tray and use the Phillips #1 screwdriver to remove the four screws from the bottom. Then remove the hard drive.
-
To reassemble your device, follow these instructions in reverse order.
