Introduction
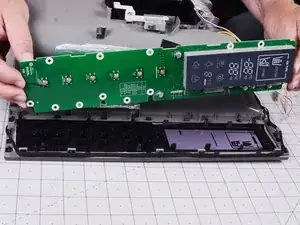
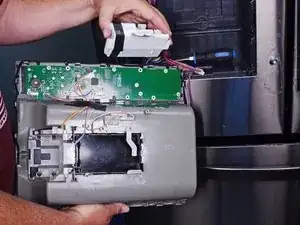
Use this guide to replace the display board on your LG refrigerator.
This guide will work for most LG refrigerators. This guide is written with an LG model LFX25973 refrigerator. If you have a different model, you may encounter some minor disassembly differences, but the overall repair process will be the same.
The display board shows the status of your refrigerator.
If it fails, a number of features on the dispenser may not work, including the ice type selection and temperature settings.
Gaining access to the display board takes some effort. You will have to remove the dispenser assembly, which can be somewhat difficult.
Tools
-
-
Unplug your refrigerator before you begin your repair.
-
Condenser fan motor
-
Compressor motor and thermal overload device
-
Water supply valve assembly
-
-
-
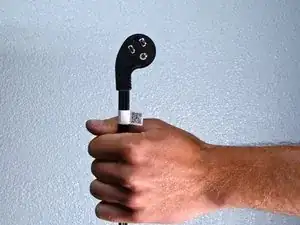
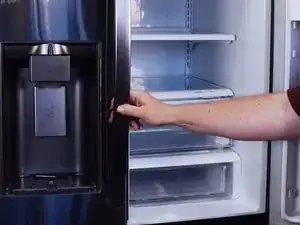
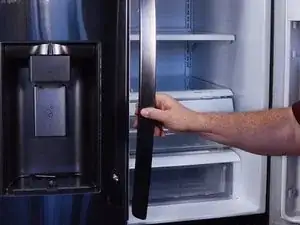
To remove the left door handle, first open the right door.
-
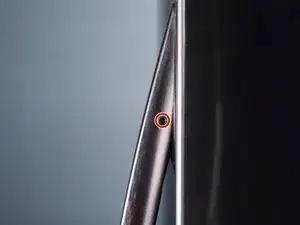
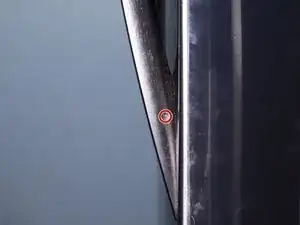
Use a 2 1/2 mm hex wrench to loosen the set screws in the top and bottom of the left door handle.
-
-
-
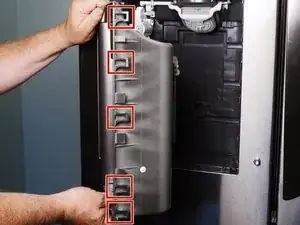
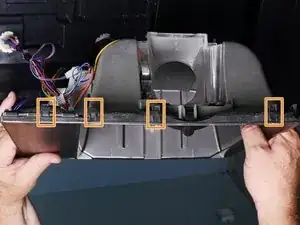
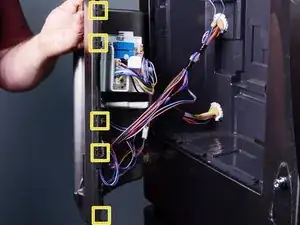
Right side clips
-
Top clips
-
Left side clips (Note, the dispenser is being held upside down for the photo, so the upper left side clips are at the bottom of the photo.)
-
-
-
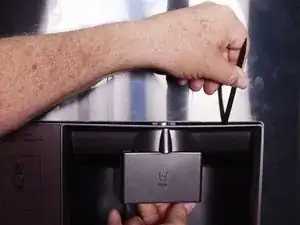
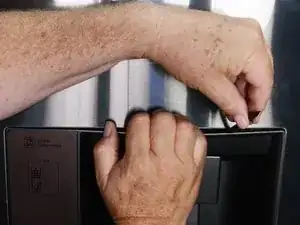
Use a spudger to pry out the top edge of the dispenser assembly.
-
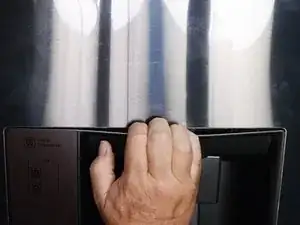
Once you've created a gap, use your fingertips to pull the edge downward.
-
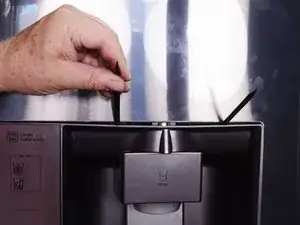
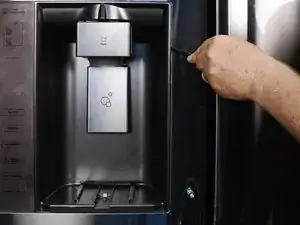
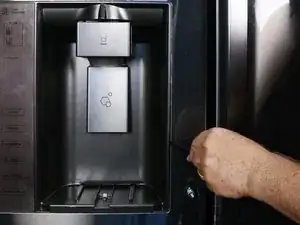
Use additional spudgers to unfasten the clips securing the dispenser assembly to the refrigerator door.
-
-
-
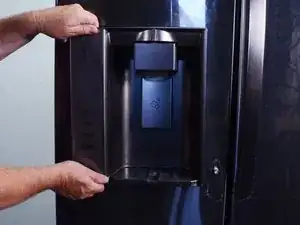
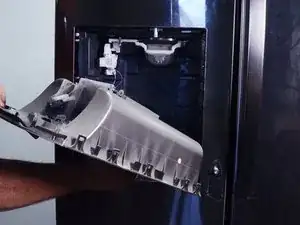
Grasp the top edge of the dispenser assembly in the middle and pull outwards.
-
Continue prying and pulling around the perimeter of the assembly to release it.
-
-
-
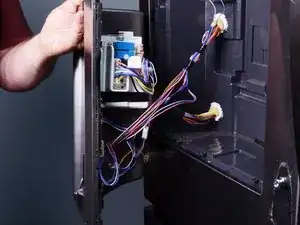
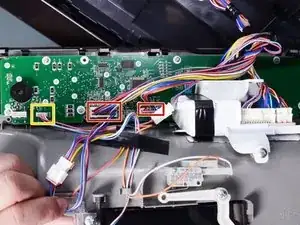
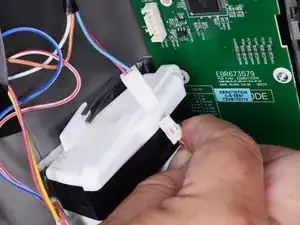
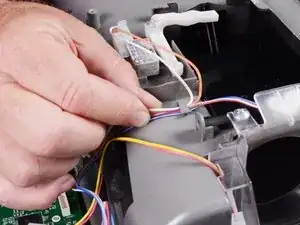
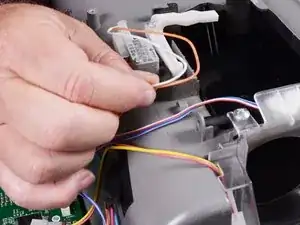
Squeeze the multiple wire connectors and pull them straight off to disconnect them from the various PC boards.
-
Some of the connectors may be permanently attached to the PC board and can't be removed.
-
-
-
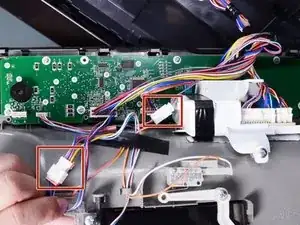
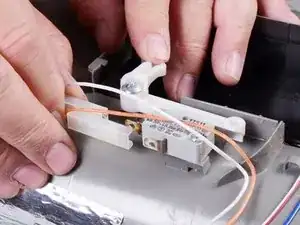
Squeeze and separate the various connectors in the wiring harness. The photo shows two examples.
-
-
-
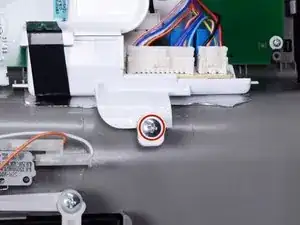
Use a Phillips screwdriver to remove the screw securing the circuit board holder to the dispenser assembly. Many, but not all, units will have this PC board and holder.
-
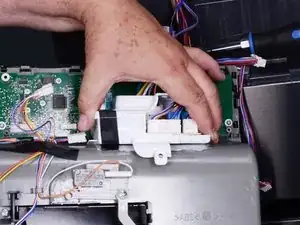
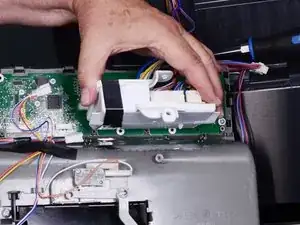
Lift and remove the circuit board holder from the dispenser assembly.
-
-
-
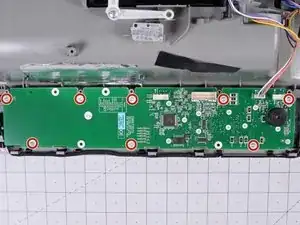
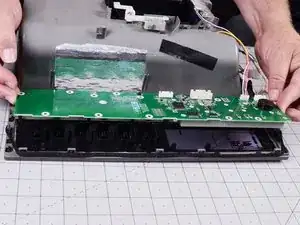
Use a Phillips driver to remove the screws securing the display board to the dispenser assembly.
-
To reassemble your device, follow these instructions in reverse order.
Take your e-waste to an R2 or e-Stewards certified recycler.
Repair didn’t go as planned? Try some basic troubleshooting, or ask our Answers community for help.
