Introduction
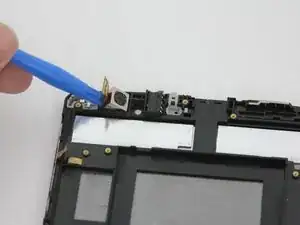
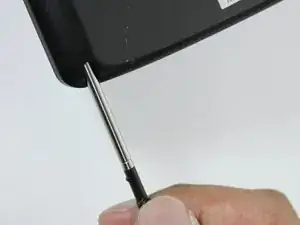
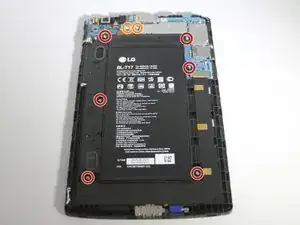
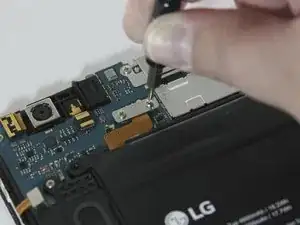
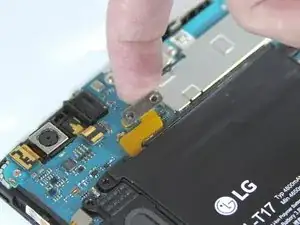
If you aren't able to take pictures or if the quality of the images on your tablet are poor, it may be time to replace the camera. This guide will properly show you how to replace the rear-facing camera on the LG G Pad X 8.3.
Tools
-
-
Remove the cover of the SD card. Find it on the right side of the back of the tablet.
-
Press the SD card in to make it pop out.
-
-
-
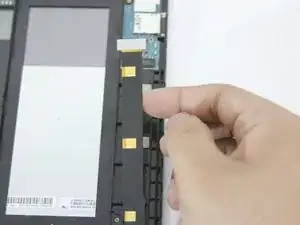
Start at a corner and pry the screen up with a plastic opening tool.
-
Slide the tool in the seam at the edge of the screen.
-
Wedge additional plastic opening tools in the seam to help lift the screen.
-
Slide both wedged plastic opening tools towards the bottom to pop the screen loose.
-
-
-
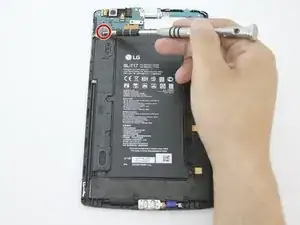
With a Phillips #000 screwdriver, unscrew the six 4.0 mm screws that hold down the battery.
-
With the Phillips #000 screwdriver, unscrew the two 4.0 mm screws that hold down the battery ribbon connector.
-
Use a magnetic mat to keep track of these tiny screws for later reassembly.
-
-
-
With a Phillips #000 screwdriver, unscrew the one 4.0 mm screw that is holding down the speaker.
-
Use the magnetic mat to keep track of the tiny screw(s).
-
-
-
With the Phillips #000 screwdriver, unscrew the four 4.0 mm screw that are holding down the motherboard.
-
-
-
Use a plastic opening tool to lift up the ribbon connector at the bottom of the motherboard.
-
-
-
Lift and release the remaining ribbon connectors in the upper left corner of the motherboard with a plastic opening tool.
-
-
-
With your fingers, lift up the motherboard from the upper right corner.
-
Carefully remove the fragile motherboard from the device.
-
-
-
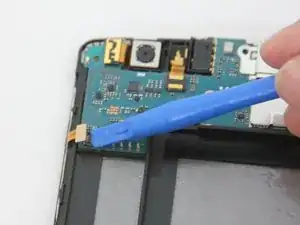
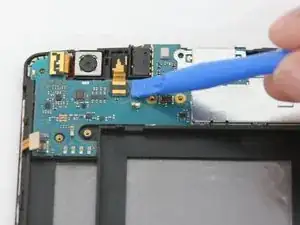
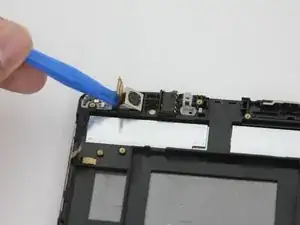
Insert the plastic opening tool under the ribbon connector that is holding the rear-facing camera down and lift it up.
-
-
-
After prying ribbon connector, the rear-facing camera should be ready for removal.
-
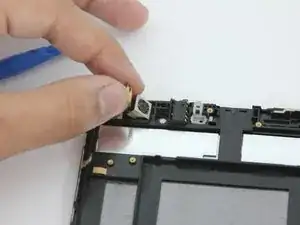
Gently lift the rear-facing camera with your fingers and remove.
-
To reassemble your device, follow these instructions in reverse order.
