Introduction
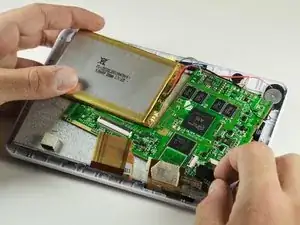
This guide displays the steps to follow to replace the camera on the Kurio 7 children tablet. This is a delicate procedure, and be careful not to pull any wires out during the replacement process.
Tools
Parts
-
-
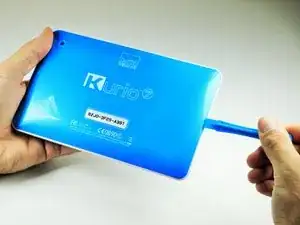
Insert the plastic opening tool in the gap between the front cover and the back cover of the device.
-
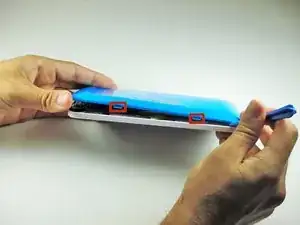
Slide the plastic opening tool around the edge of the device. Gently pry apart the tabs that hold the front cover and the back cover together.
-
-
-
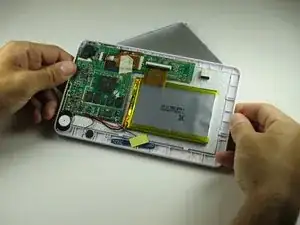
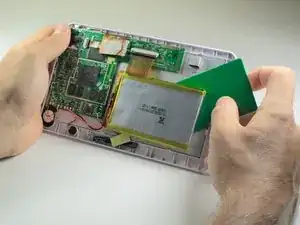
Use a plastic credit card, or other thin object, to separate the battery from the screen.
-
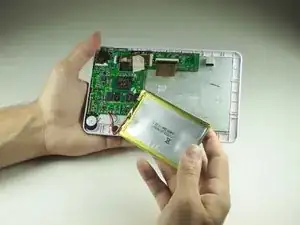
Carefully set the battery aside.
-
-
-
Use a Phillips #00 screwdriver to remove the eight 40mm screws holding the motherboard in place.
-
-
-
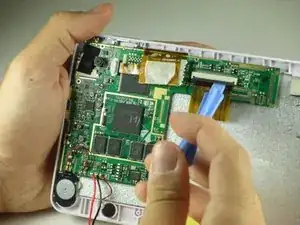
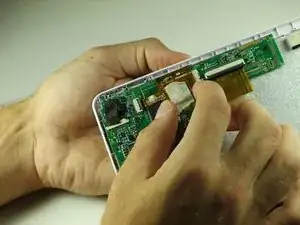
Place the plastic opening tool on the base of the black ribbon clip and pull up, like a lever, to release the mount. This should release the clip holding the ribbon to the mount.
-
Pull the ribbon out of the mount.
-
-
-
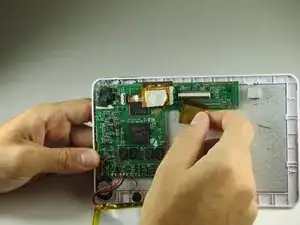
There should be masking tape on the yellow ribbon. Pull the tape off of the motherboard and wrap it around the yellow ribbon.
-
To remove the ribbon from the mount, follow the same steps in Step 3.
-
-
-
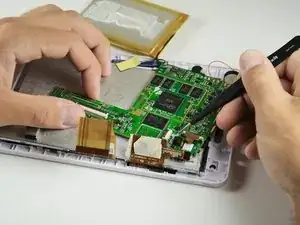
Pull back the ribbons and put the battery near the bottom of the Kurio.
-
The motherboard is now removed so that other components can be worked on.
-
-
-
Carefully remove the soft black tape that covers the camera. Keep the tape for the replacement steps.
-
-
-
To release the camera's ribbon, use the opening tool to pull on the black edges of the ribbon mount.
-
Alternate sides until the ribbon is loose enough to pull out.
-
-
-
To remove the camera, grab the ribbon with tweezers and pull the camera through the mother board.
-
You have successfully removed the camera!
-
Replace with new camera. To reassemble your device, follow these instructions in reverse order.
