Introduction

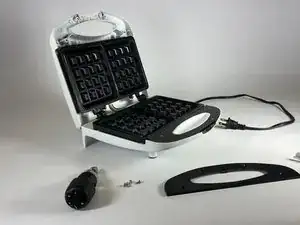
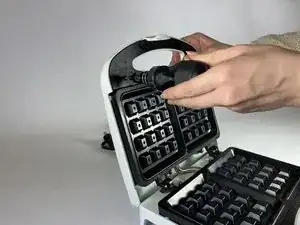
Is your Kitchen Gourmet Electric Waffle Maker not closing?

Our guide will help you resolve this issue, taking you step by step through the process of removing the interior waffle cover to uncover the spring that helps close the waffle maker.

Oftentimes, as the years pass and the making of delicious waffles takes a toll on the release latch, the spring's bounce wears off. This makes it harder for you waffle-lovers to open up the waffle maker at all.

Some signs of a broken latch are: the waffle maker lid does not close, the handle does not bounce back, or the lid opens on its own.

Before using this guide, ensure your Waffle Maker is unplugged and cooled down as its part of the process and makes things a lot easier for you!

Are you ready? Let's go!

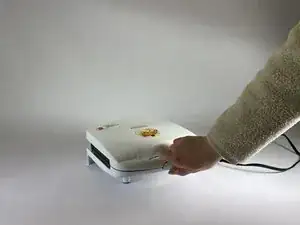
  1. N41EBoqvlaWAqdFG
    • Unplug the waffle maker.

  2. bbrVTu2m4EDVQCwK
    bbrVTu2m4EDVQCwK
    Mq5Zi2SGRwRFe4VU
    DYbdBE1UKR3nqRvJ
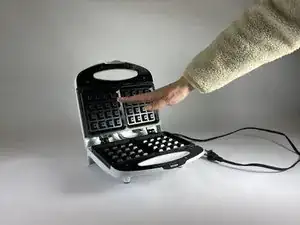
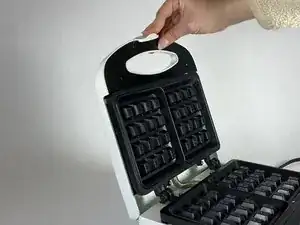
    • Open the waffle maker.

    • Make sure the waffle maker's surface is not hot.

  3. mQtGFe4GXVNnRP4u
    mQtGFe4GXVNnRP4u
    sSeXxDMO2McsZQJG
    OQe3VRieZJE4cWYv
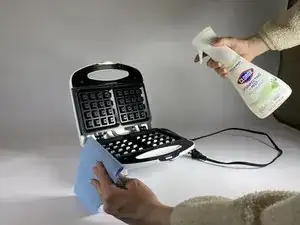
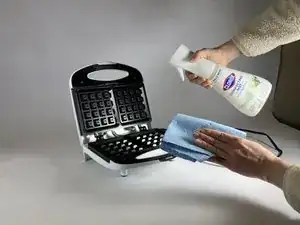
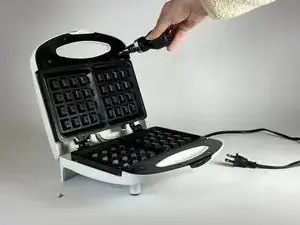
    • Spray the interior of the waffle maker with cleaning solution.

    • Clean and wipe down the surface.

  4. bfAKvkWDfi2R2Wug
    bfAKvkWDfi2R2Wug
    wf4XEBDdlvSGcJLJ
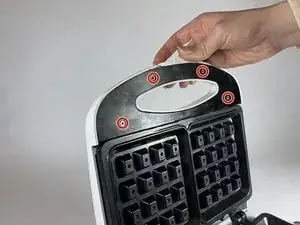
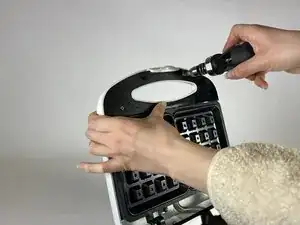
    • Use a Phillips #1 screwdriver to remove the four screws that secure the plastic handle cover.

    • Spin in counterclockwise direction to loosen.

  5. krNCNjLUDCcWjysv
    krNCNjLUDCcWjysv
    IxPmmoJnXgcjmIWC
    1wsNELyJeLtN6waI
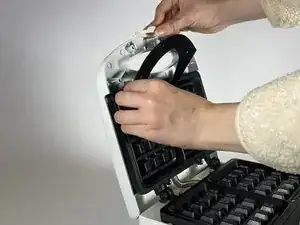
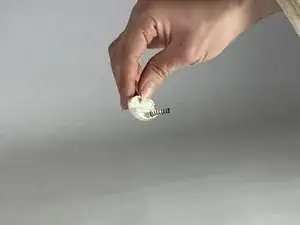
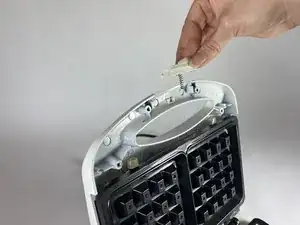
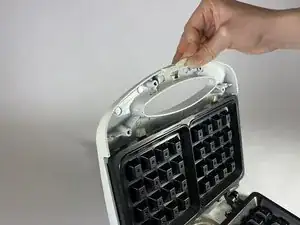
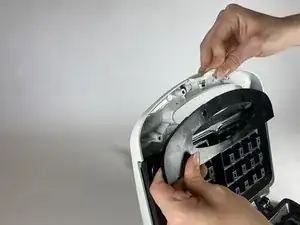
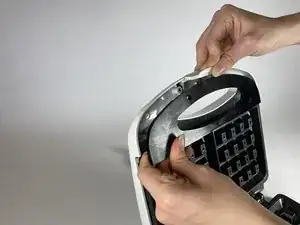
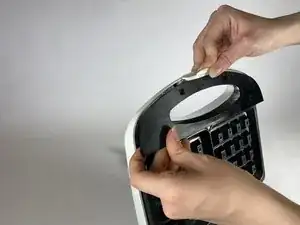
    • Carefully pull back the plastic cover, and gently remove the release latch.

  6. 5FQEtSRG3Qng1Knh
    5FQEtSRG3Qng1Knh
    p4BZ2IV53QfguNQE
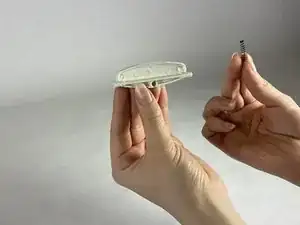
    • Remove the spring from the latch.

  7. fRc2qF5CJLQQIVNX
    fRc2qF5CJLQQIVNX
    FBaKSG3WPyDWQAEy
    K32TMRuExXsOmBfc
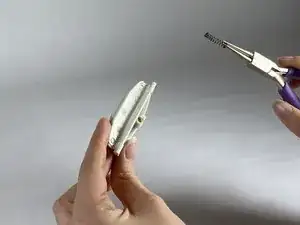
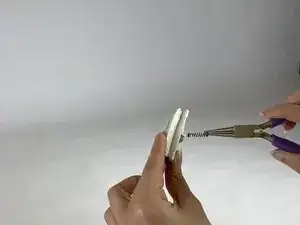
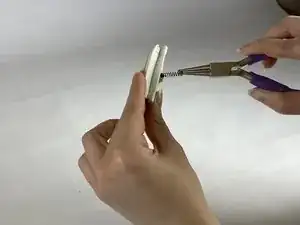
    • Carefully replace with the new spring.

    • Pliers are recommended but removal with hands is fine.

    • Be careful not to bend the spring when pushing into the plastic handle.

  8. pDHWBRTm46KAkDbu
    pDHWBRTm46KAkDbu
    fJD5OKH6QodkfVGp
    YlDDcjXSgfM64xkU
    • Orient the release latch in the correct direction, and line up the spring.

  9. HvfaJQHd4JSvkpav
    HvfaJQHd4JSvkpav
    wGHJKTH5a4Ze2oZN
    usC3SgJF1fGaAPpe
    • Hold the latch in place.

    • Line up the screw holes on the plastic cover to the waffle maker lid.

  10. 4KwjuAxQPwEiyciC
    4KwjuAxQPwEiyciC
    skgV6Za1UVtCAjLs
    • Screw in all four screws tightly.

    • Spin in clockwise direction to tighten.

    • Screw in opposing screws first to keep them in place.

Conclusion

To reassemble your device, follow these instructions in reverse order.
Fatima Ruiz Ruiz

Member since: 01/02/24

193 Reputation

0 comments