Introduction
Having trouble reading in the dark? Replace the display's LED lights if the lighting on your Kindle is uneven or absent.
Tools
-
-
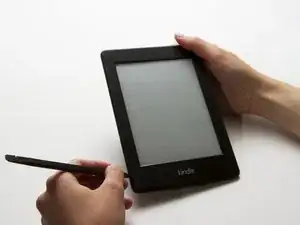
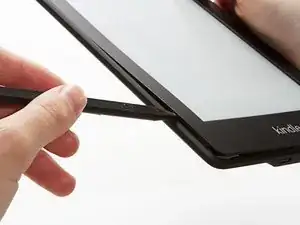
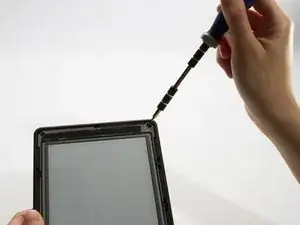
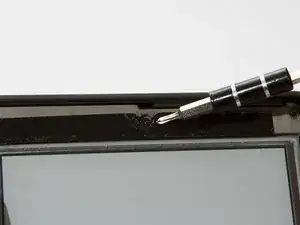
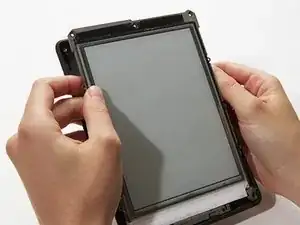
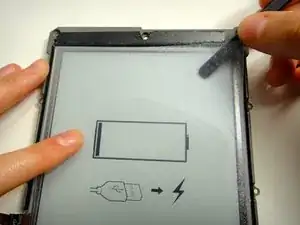
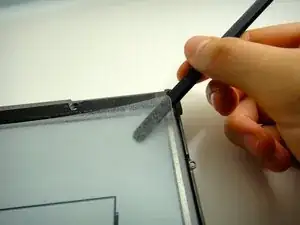
Using a spudger or plastic opening tool, gently pry the bezel from the screen. It is easier to start in the corners and work your way around the bezel.
-
-
-
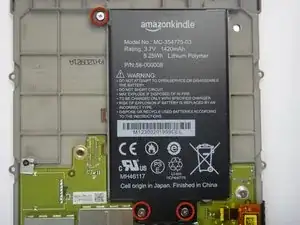
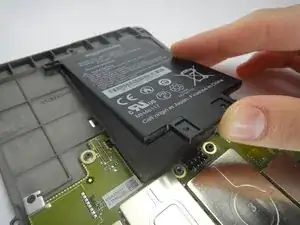
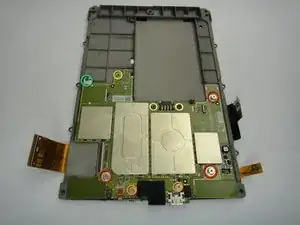
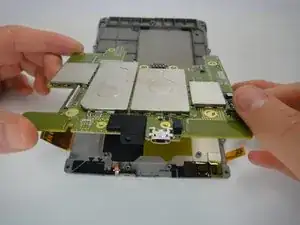
Turn over the midframe to locate the battery.
-
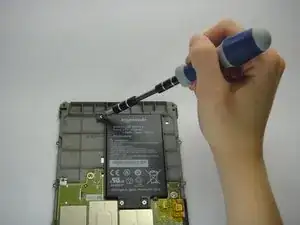
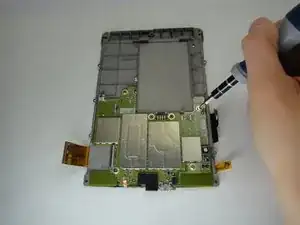
Remove the three Phillips 3.0 mm screws securing the battery to the midframe.
-
-
-
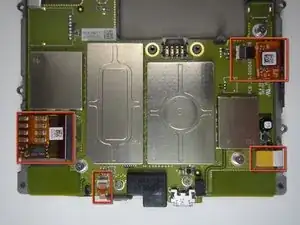
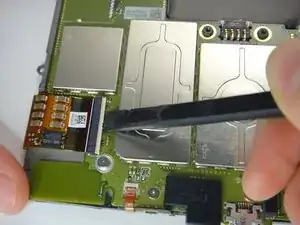
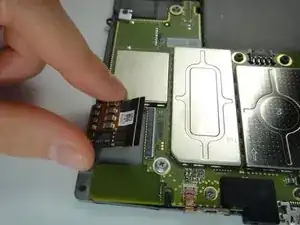
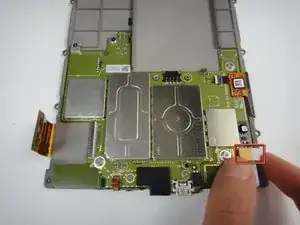
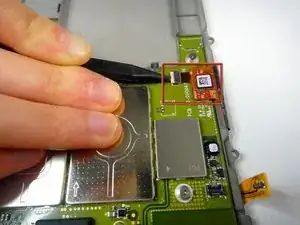
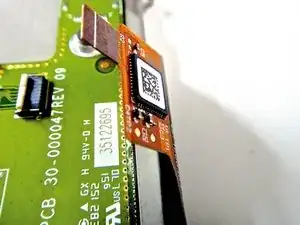
Use a spudger to lift up the white locking cable tensioner and slide the flex cable out.
-
Proceed counterclockwise to the next cable and repeat. Small flex cable on the bottom won't need cable tensioner lifted, just carefully pull out.
-
-
-
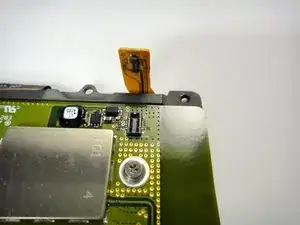
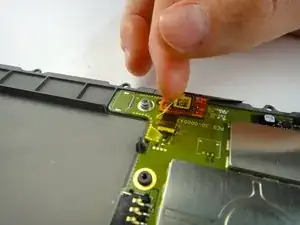
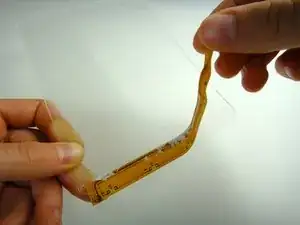
Remove the yellow anti-static tape from the display ribbon cable connector.
-
Use a spudger to lift up and disconnect the cable tensioner.
-
-
-
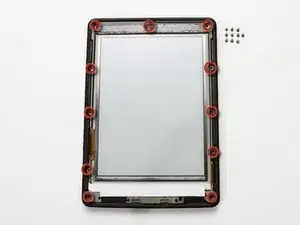
Three silver screws with silver washers
-
Two silver screws with no washers
-
One black screw with a golden washer
-
One black screw with a square washer
-
-
-
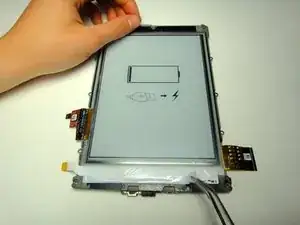
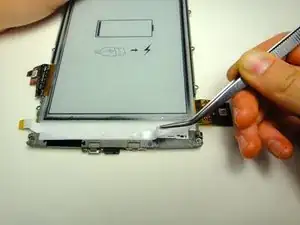
Once the outer screen is removed from the Kindle, gently use your fingers to pull off the LED lights.
-
To reassemble your device, follow these instructions in reverse order.
13 comments
Hello to you! Your guide helped me to understand what happened with my kindle. I've got a scratch on the screen but it seems not very deep; the scratch is on a plastic screen, mentioned on the 12-th step. Is it possible to replace this screen with the same one or simple screen protector can do? Thank you.
Can the LEDs simply be removed using this method? I think they are giving me a headache, even on the lowest setting...
Jessica -
Best way is to jailbreak the kindle and use KO reader. In that you can switch off the lights completely. This is a software hack but then you do not need to open the paperweight at all
Is it possible to replace the LEDs with warm white or even yellow (no blue light at all)?
I found it easier to start this step off with one of the Opening Picks found in the iOpener pack.
NathanF -
The glue on bezel started to peel the sticky back protective layer off the screen for me - managed to smooth it back down, although now have an unsightly crease. I would try to hold the screen down when you pull the bezel off to stop damaging the screen.
Callum Rogers -
This step is most time consuming. Take you time and try not to scratch the bezel :)
Oleksii -
Couldn't get the plastic spudger under the edge of the bezel. A right-angle X-Acto blade was a satisfactory tool here.
dbrick -
The glue was VERY difficult...I used a trick, from taking apart phones, and used a hair drier to loosen up the glue...worked like a charm.
billkaris -