Introduction
Archived/legacy version of the student-created keyboard guide.
Tools
-
-
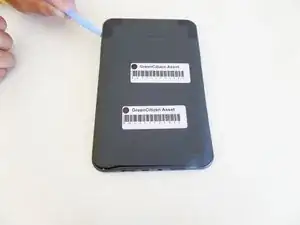
Insert a plastic opening tool into the seam between the back and front of the Kindle 3 (as indicated in the photograph).
-
Using the plastic opening tool, lift the back cover of the device.
-
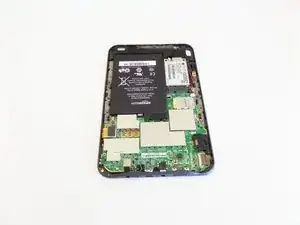
Remove the back cover.
-
-
-
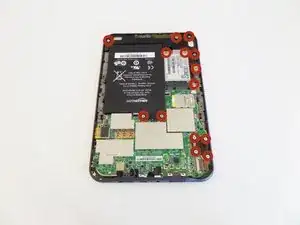
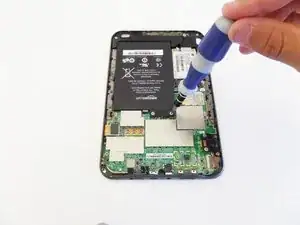
Using a Phillips #00 screwdriver, remove the 14 silver screws (4mm) that secure the components within the housing.
-
-
-
Using the screwdriver, remove the 11 gray screws (4mm) that secure the motherboard to the housing.
-
-
-
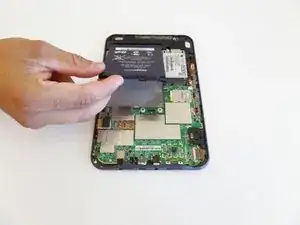
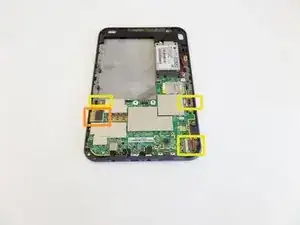
Using the plastic opening tool, carefully lift the ribbon cable to disconnect it from the motherboard.
-
Latches secure the three remaining ribbon cables to the motherboard.
-
To disconnect the latched ribbon cable, open the latch and gently slide out the cable.
-
-
-
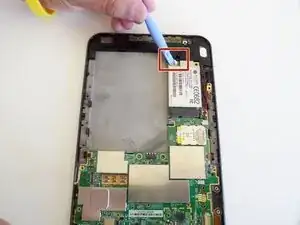
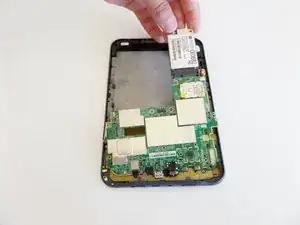
Insert the plastic opening tool underneath the silver-headed black cable and gently disconnect the cable from the motherboard.
-
To reassemble your device, follow these instructions in reverse order.
