Introduction
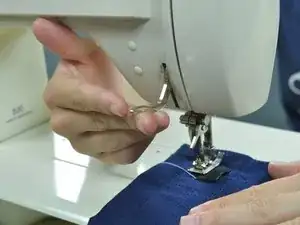
Hook-and-loop tape, also known by the common brand, Velcro, is a widely used fastener for clothing of all types. The hook-and-loop tape on your clothing provides a reliable way to close two pieces of fabric together without much hassle. This guide shows you how to sew hook-and-loop tape onto your fabric. If you have worn out hook-and-loop tape that needs to be replaced, you can use these same directions, but simply remove the stitches on your old hook-and-loop tape first, by using a seam ripper.In this guide we are using contrasting thread for visibility. When it comes time to do your actual project, you'll want to use thread that matches the color of your hook-and-loop tape.
For replacement parts or further assistance, contact Patagonia Customer Service.
Tools
Parts
-
-
Position your fabric under the presser foot of your sewing machine in the upper right hand corner of the hook-and-loop tape. Drop the presser foot.
-
Use the balance wheel to sink the needle.
-
-
-
Lower the presser foot and sew the second side of the hook-and-loop tape.
-
Continue sewing the hook-and-loop tape. When you come to the end of a side, sink the needle into the fabric and lift the presser foot. Then turn the fabric at each of the remaining corners.
-
-
-
Clip the threads, freeing the fabric from the sewing machine.
-
Clip the extra thread off.
-
Repeat this guide for the other side of the hook-and-loop tape.
-


