Introduction
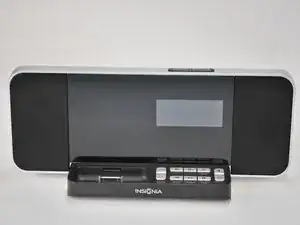
If your Insignia NS-CLIP02 is not connecting to your Apple device, follow this guide to replace the 30-pin connector. The 30-pin connector transmits audio from the iPhone/iPod to the Insignia NS-CLIP02. A faulty 30-pin will result in distorted or no audio, and no charge coming into the connected device.
Before using this guide, be sure to inspect the spot in which the iPhone/iPod plugs into the device for debris that might be causing the audio issues. If you have another compatible device, be sure to test it on the 30-pin to be sure the iPhone/iPod is not the issue.
Before beginning be sure that the Insignia NS-CLIP02 is not plugged in to any socket, and disconnect any device connected to the 30-pin connector.
Tools
-
-
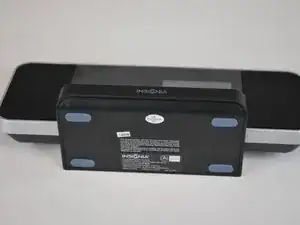
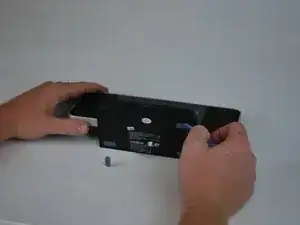
Begin by using the Metal Spudger to peel back the adhesive sticker and locate the screw beneath the sticker.
-
-
-
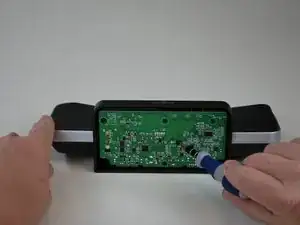
Unscrew the 9.5mm screw located near the center of the motherboard with a Phillips head screw driver.
-
-
-
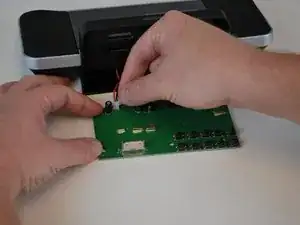
Remove the LCD screen plug. Then, follow the previous instructions in reverse, replacing the old motherboard with the new one to fix the 30-Pin Connector.
-
To reassemble your device, follow these instructions in reverse order.
