Introduction

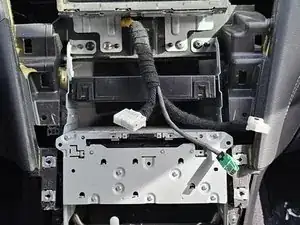
This guide provides instructions for removing the bottom screen display unit of Infiniti Q50 vehicles. The bottom screen should allow you to access navigation, audio controls, climate settings, vehicle diagnostics, and other vehicle information. If your screen is damaged, glitching, or not turning on at all, it may be time to consider a replacement.

For your safety, it is recommended that you do not park on an incline when working on your repair. Be sure to park on level ground. You might find it easier to complete Step 4 by setting your gear shift to neutral. If that is the case, be sure to engage your emergency brake to prevent the car from moving.

  1. Q1q3QCupRGqROpEd
    Q1q3QCupRGqROpEd
    jw41JpMTBjqkXoiX
    irc3ykLYiGSSUfGl
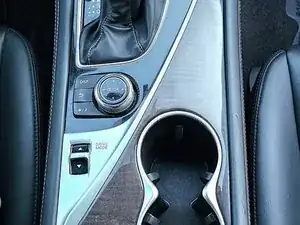
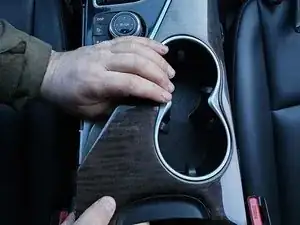
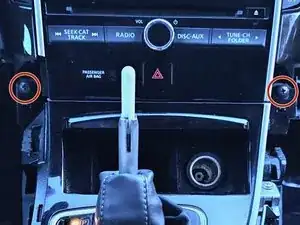
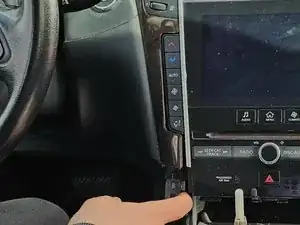
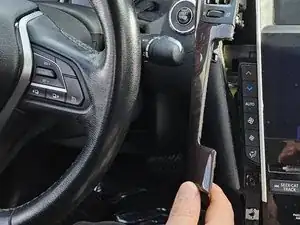
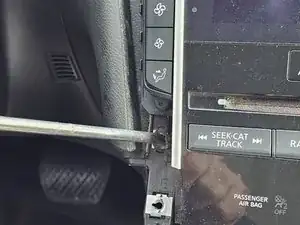
    • Use a panel popper or screwdriver to pop out the side panels of the center console.

  2. DhFRcAjNpTjBEFBs
    DhFRcAjNpTjBEFBs
    QAb5xDYOYxjjrOrB
    ty2TUQO3chZsLT3X
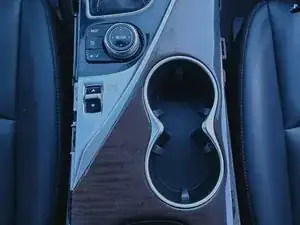
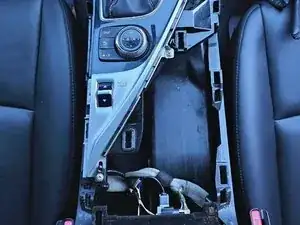
    • Lift and remove the cup holder piece.

  3. 2YEgs5kJALDAQFkt
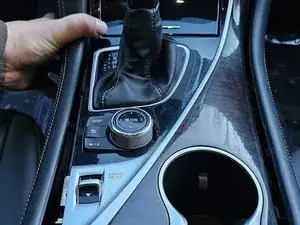
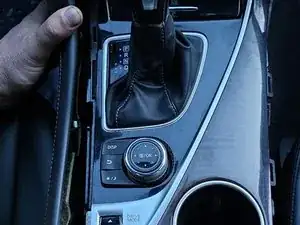
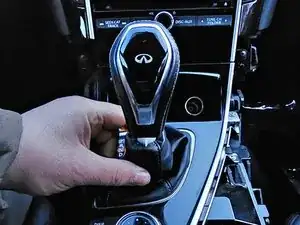
    • Push down on the gear shift to reveal the clip.

  4. KVeWB5C41F41mBQT
    • Make sure to engage your emergency brakes and put the car in neutral gear before proceeding with this step.

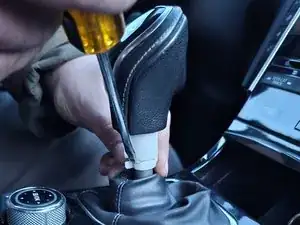
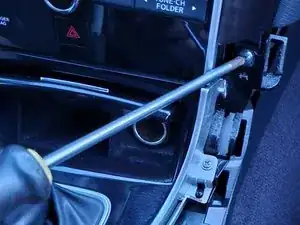
    • Use a screwdriver to remove the clip from the gear shift.

    • Store this clip in a secure location for safekeeping.

    • Pull off the gear shift knob.

  5. yvYFWSbVZygtWaup
    yvYFWSbVZygtWaup
    FcpT3DI5FvYnLacO
    • Remove the two screws found underneath the side panels.

  6. djHrF4xwduv2qbGU
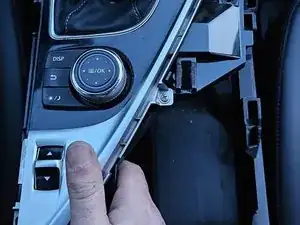
    • Wiggle to lift the center console over the gear shift.

  7. cwoTPl3PPJsRUACU
    cwoTPl3PPJsRUACU
    XIVi1hKrCbTOt4v2
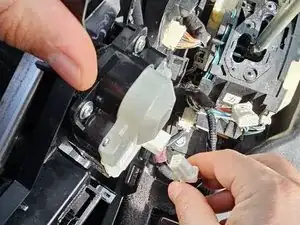
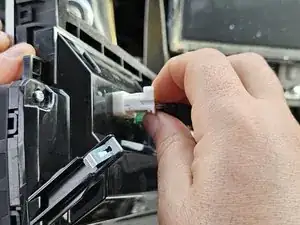
    • Pinch the tip of each connector cord to detach from the center console.

  8. T6yGQVFxOJDImrpg
    T6yGQVFxOJDImrpg
    FVWtV4UFGBVyRSr1
    NeykIHOjWvQcQQMS
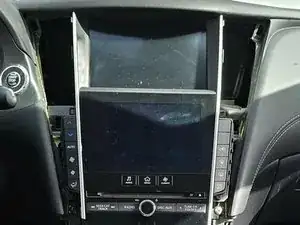
    • Pull off the trim found on either side of the display screen.

  9. sPOnexv3eGoYsDil
    sPOnexv3eGoYsDil
    ED2mhL1uYpLc42HJ
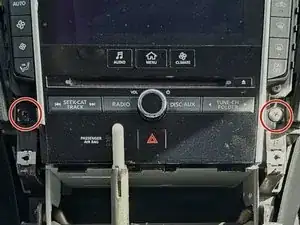
    • Remove the two screws underneath the trim.

  10. rAZQvgfpfo2eKfqR
    rAZQvgfpfo2eKfqR
    yrNyHWN5FRdaNIut
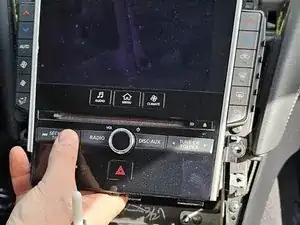
    • Wiggle to pull out the bottom screen display.

  11. uoCbGFWKnZ1ehWQK
    uoCbGFWKnZ1ehWQK
    o5DIIA3AT1GjothF
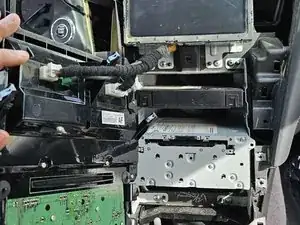
    • Pinch to detach the connector cords.

Conclusion

To reassemble your device, follow these instructions in reverse order.
Roberta Willis

Member since: 20/02/24

193 Reputation

0 comments