Introduction
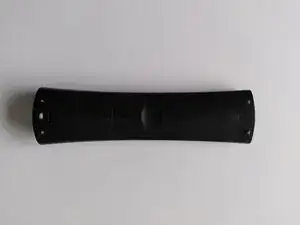
My remote wouldn't respond to some button presses anymore. The contacts became dirty after long use. So I opened it and cleaned the contacts. (I used pure alcohol - please take care not to brush off the carbon layer of the buttons.)
Tools
-
-
The remote has a bottom and top part. They are held together with plastic clips.
-
Don't forget to remove the battery, just for good measure.
-
-
-
Use a spudger, prying tool or a flatbed screwdriver to pry open the two halves. Start at the center.
-
The two halves are clamped together firmly.
-
Work your way to the front, and then back again on the other side.
-
See the next step for the location of the clips.
-
-
-
The clips are located 3 centimeters apart. The first clip is 1 centimeter from the front of the remote.
-
The hooks of the clips are on the bottom halve of the remote and face inward.
-
The top halve of the remote has indents where the clips grab into.
-
-
-
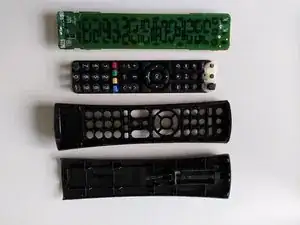
These are all the parts.
-
I cleaned all parts with a toothbrush first.
-
Then I cleaned the PCB and the back of the silicone buttons with pure alcohol.
-
To reassemble your device, follow these instructions in reverse order.


