Introduction

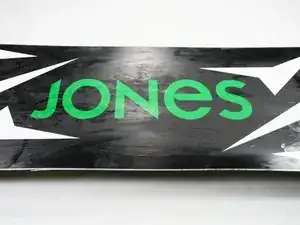
This guide will teach you to how wax your snowboard. Snowboard wax is used to fill small nicks and scrapes and leave the bottom of your board with a slick finish. Waxing your board will allow you to get more speed while tearing it up on the slopes.

  1. NmIRuxeMH3ATFdfl
    NmIRuxeMH3ATFdfl
    TqKEbXDHTKpa65Sc
    Qe4OfUF1M6xQFBMj
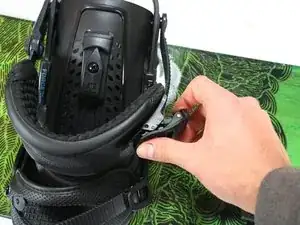
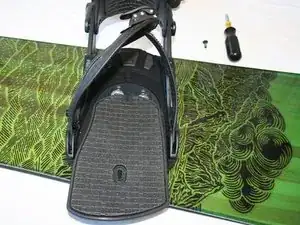
    • Release the binding straps by lifting up on the buckle and pulling towards the direction of the end of the ladder.

    • Not all binding straps will release the same way. If you are having trouble releasing your binding straps, please refer to your owner's manual.

  2. NpCPXWGhhOPoK55N
    NpCPXWGhhOPoK55N
    tuUYVuR4RtvDDehl
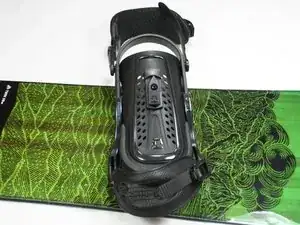
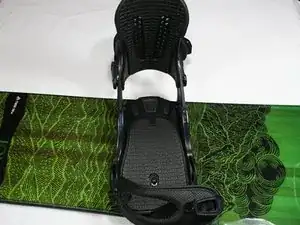
    • Move the straps and the highback plate out of the way in order to have clear access to the foot pad screw.

    • The highback plate is the vertical support plate located on the heel side of the binding.

  3. qsKBeQKkCeR26Nrl
    qsKBeQKkCeR26Nrl
    oE3tpWRreDtKqGXx
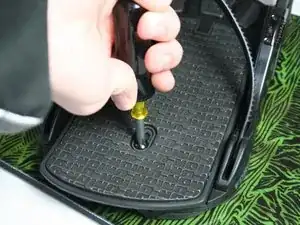
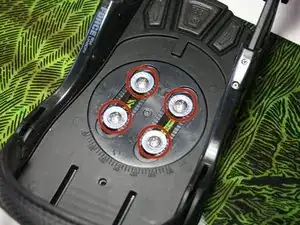
    • Use a #2 Phillips screwdriver to remove the panhead, 10mm wide, M4 x 12mm screw located in the middle of the foot pad.

  4. FJiaxBRDI61eTVrr
    FJiaxBRDI61eTVrr
    cuYFNqETIlZGPWBv
    kHMP3SgndZOxf62d
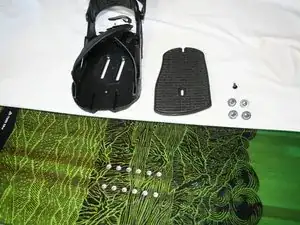
    • Use a #2 Phillips screwdriver to remove the four ovalhead M6 x 12mm screws that attach the base plate of the binding to the board.

    • Lift or slide the binding off the board and set the screws aside.

    Hello!

    Do you hace any suggestions on fixing the baseplate if it is broken? It has structural damage: the aluminum framing has splintered. Is there a way to fix it or is my only option to just buy new bindings? :(

    Thanks!

    Jeni Chan -

  5. OfIi1FIVJUlKbJu2
    • Turn the snowboard over so the bottom of the board is facing up.

    • Set the snowboard down on a stable work surface so that it does not rock or move.

    • We recommend using a table that is small enough to fit between the curves on either side of the board, or placing blocks of wood to raise the board from the table.

  6. hWnRDLqcTNGVipSD
    • If the bottom of your board has dirt or oil on it, clean it off using a shop towel and a citrus based cleaner.

    • Only a couple drops of cleaner are needed.

    • Allow the base of your board to completely dry before you continue. Any oil or dirt left on your board will prevent the wax from sticking to the board.

  7. U1VnVv54APSkHmeH
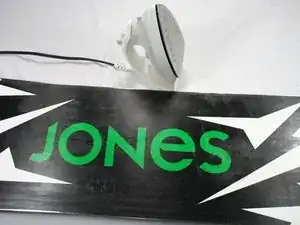
    • Turn the iron on and allow it to warm up.

    • Iron settings vary between brands and models. Wax is generally applied at 240˚F to 290˚F

    • Be careful while handling the iron. It will be very hot.

    • You can use any iron to melt the wax, but the wax will never come off. Do not use this iron for clothes.

    Is there any way to do this without ruining an iron?

    Cynthia Replogle -

  8. RHWBWpClLZSBbQCU
    RHWBWpClLZSBbQCU
    aQPMUasWmklsLVsq
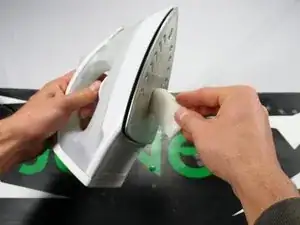
    • Hold the iron perpendicular to the snowboard and rub the wax directly onto the iron.

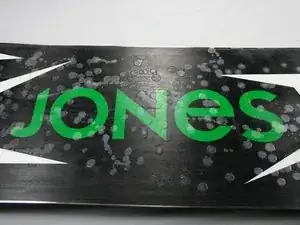
    • Let the wax drip off the iron and onto the snowboard. Cover the entire board evenly with drips.

    • Only a thin layer of wax is needed. The more wax you put on, the more you will have to scrape off later. Keep this information in mind when deciding how much wax to melt onto the board. It is better to put on too little and add some on than to have too much and have to scrape it off.

  9. McwBxtZOSZAkVjRl
    McwBxtZOSZAkVjRl
    KULJlHTO4WklHCdO
    FqTRDg4v4lFUYEup
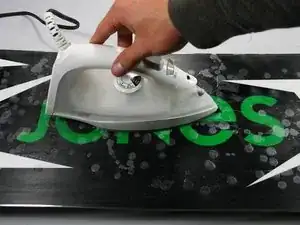
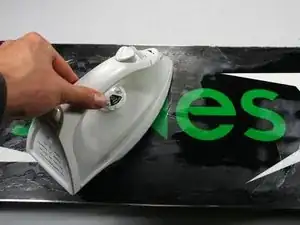
    • Place the iron directly onto the board and smooth down the wax drips.

    • Continue using circular motions until the wax is evenly distributed across the board.

    • Do not leave the iron sitting in one place for too long, or it may melt the snowboard.

    • Let the wax cool down for a minimum of 30 minutes.

    • The longer the wax has to cool down, the better the final product will be.

  10. YIlLDEJHt2arpIaX
    YIlLDEJHt2arpIaX
    bTbZ5YQHKxEcpYYT
    SxnEdhEUhNMH14Af
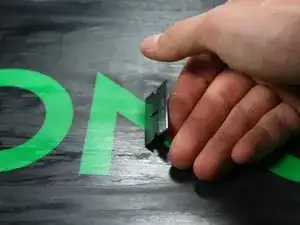
    • Use a new razor blade or a commercial wax scraper to remove excess wax from the board. Tilt the razor blade or wax scraper toward the direction of travel at 45°. Pull the wax remover and use long smooth strokes from tip to tail.

    • Be careful! The blade is sharp and may cut you if misused.

    • Make sure the edge of the blade lays flat on the board. If you tilt the edge onto a corner you can create scratches or gouges on the board.

    • Continue scraping until all excess wax is removed.

  11. M1jbyQhZmDwXU4yo
    M1jbyQhZmDwXU4yo
    fFlxVvagSUneDk6G
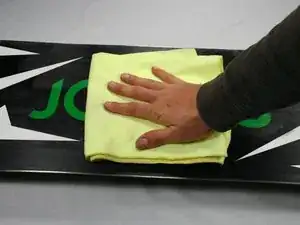
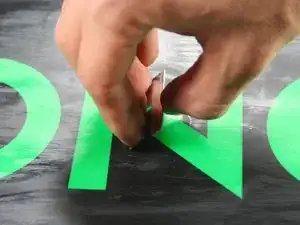
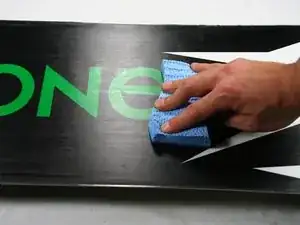
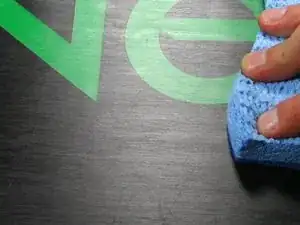
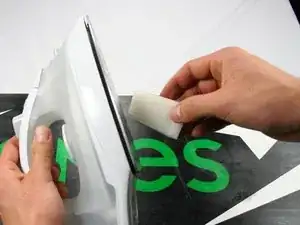
    • Brush the wax using the Scotch Brite Pad to add small grooves. Use long brush strokes starting at the tip of the snowboard and ending at the tail.

    • Small grooves are added to help the snow flow off the board and to combat suction effects.

Conclusion

Make sure to clean up the wax shavings when you are done.

Kevin Daily

Member since: 14/01/14

218 Reputation

One comment

Had everything autoriding.com I needed to tune and wax my board myself. No more dropping your board off at the shop and having to go back and get in. Can wax the night before and be on the slopes the following morning. Unless you are doing some serious racing then this kit will have everything you need.
Ryan Cormier -