Introduction
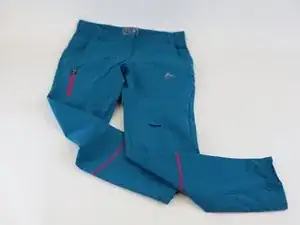
Accidents happen, and especially when hiking outdoors it's easy to tear a hole in woven items such a trousers. This guide will walk you through a simple and effective method of repairing a hole using an iron-on patch. Before you start, we recommend also looking at the guide for repairs using a self-adhesive patch, as a quick alternative when you're outside without access to an iron: How to repair a hole in woven textile (using a self adhesive patch)
Tools
-
-
Start by ensuring the damaged area is clean and free from any loose threads or debris.
-
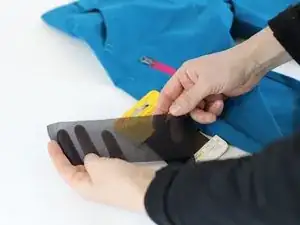
Prepare the iron-on patch.
-
Note: in this guide we are demonstrating with a high-stretch patch, to match the stretch of the trousers. There are many patches available, and you should pick a quality closely matching the original fabric.
-
-
-
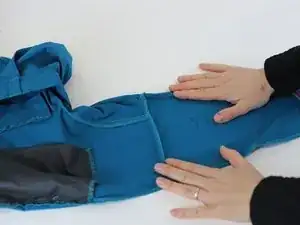
For this repair, we decided to put the patch on the inside of the garment; so the hole will remain slightly visible on the front but will be repaired.
-
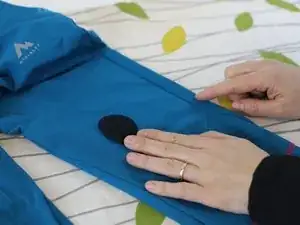
Turn the item inside-out, and flatten the area to be repaired.
-
Cut the patch to size, ensuring it completely covers the damaged area. The patch should be 1cm larger than the hole on all sides.
-
-
-
Place the glue side of the badge against the fabric. This is often shiny, or with a different pattern.
-
Take care: If the patch is upside-down, the glue will melt directly to your iron and the patch will get stuck to it.
-
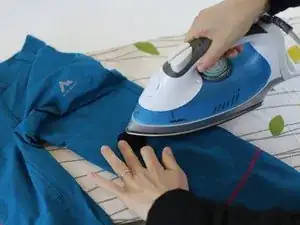
Preheat your iron to the maximum heat setting, suitable for your clothing item. Check the composition label for guidance and then adjust the iron accordingly.
-
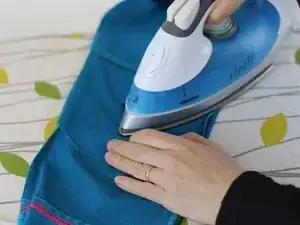
Gently press the iron onto the cloth-covered patch, applying even pressure.
-
Move the iron in circular motions for about 15-30 seconds.
-
-
-
After ironing, let the patch cool for a few minutes.
-
Once cooled, carefully check that the badge is properly fixed.
-
🛠️🏆👏 Congratulations! The repair is complete, and you're ready to go!
-
... however! If you'd like to make the repair extra secure follow the next two steps too.
-
-
-
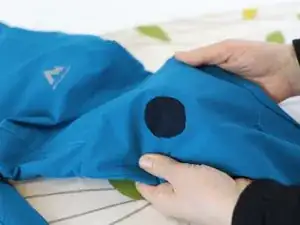
If you want to reinforce this repair, you can choose to add a additional patch on the outside.
-
We suggest to cut a shape with rounded corners to improve the fixation and durability.
-
Get creative: You might also like to cut a customized shape such as a leaf, bear, or heart. Wear it as a badge of pride, to remember the adventure that caused it!
-
In need of another repair? Don't worry! Check out our other guides to find quick solutions for your favourite clothing, footwear and equipment!
