Introduction
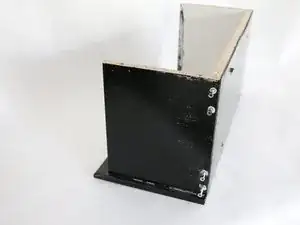
If you have an old medicine cabinet and it is broken and are either deciding to throw it out and get a new one, or just cant afford one, then this is the guide for you.
This guide will help to recreate something old into something that is new and reusable,
It will save money and save you a trip to recycling.
Before using this guide make sure to have all the tools needed and that you have the time and patience to do this. Make sure to find the areas that need the most fixing so that those are the first steps you can work on and move on to the rest.
This project requires that you be very creative and just have fun!
Tools
-
-
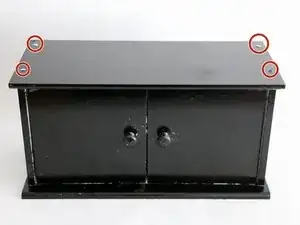
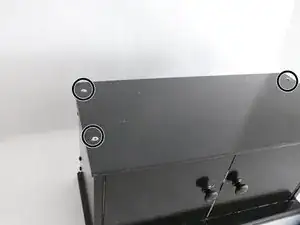
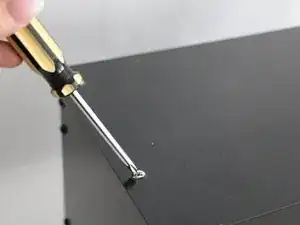
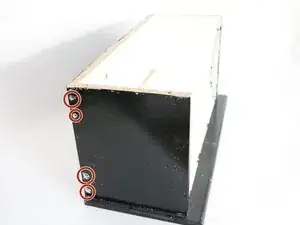
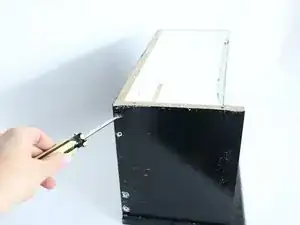
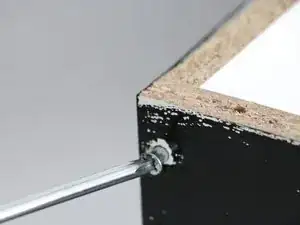
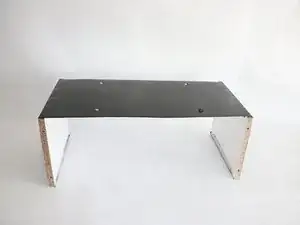
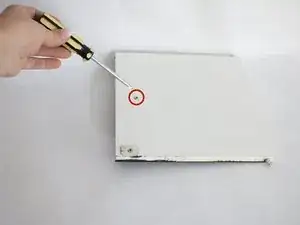
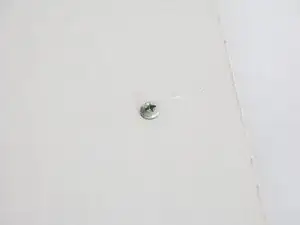
After the top of cabinet is off, remove the screws on the left side of cabinet.
-
Save the screws for reassembly.
-
-
-
After finishing the left side of cabinet, do the right side.
-
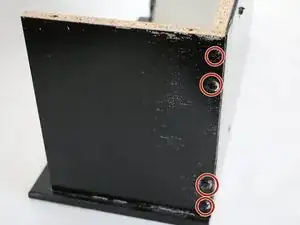
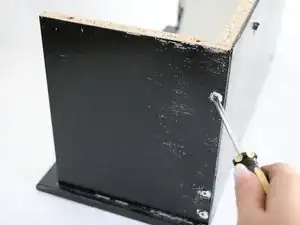
Remove the screws on the right wall of cabinet.
-
Save screws for reassembly.
-
-
-
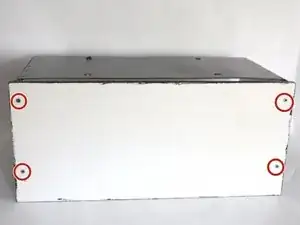
Now the back wall of cabinet needs to be removed.
-
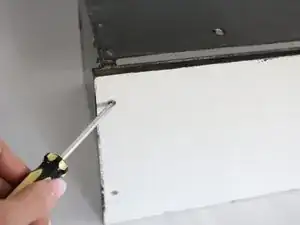
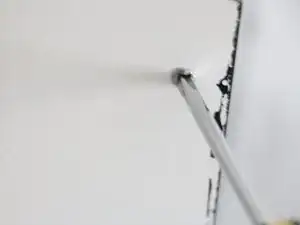
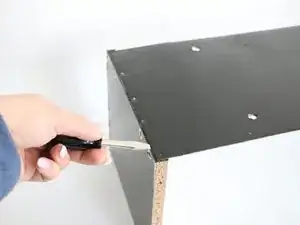
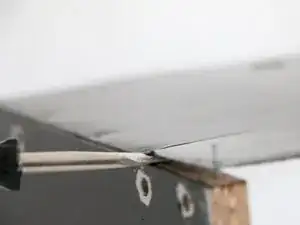
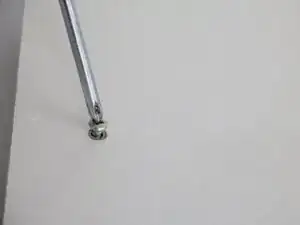
It's screwed in by little nails. To remove the back wall, use a flathead screwdriver.
-
Save the screws for reassembly.
-
-
-
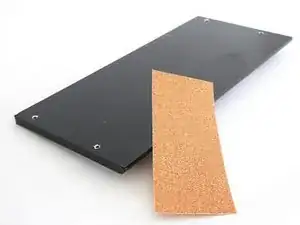
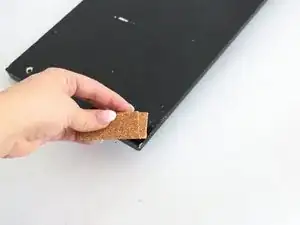
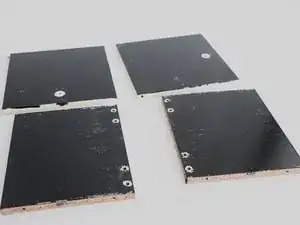
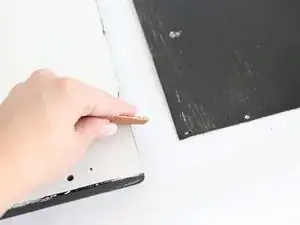
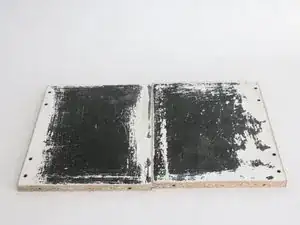
Take the top wall of medicine cabinet and use sandpaper to sand it.
-
Smooth out all the rough edges and bumps.
-
-
-
Take the left wall and right wall of cabinet and the two doors of cabinet.
-
Sand the walls and doors of the cabinet.
-
-
-
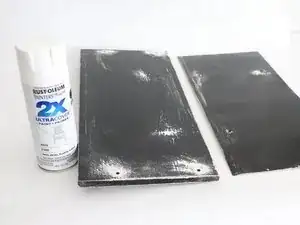
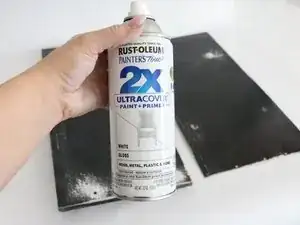
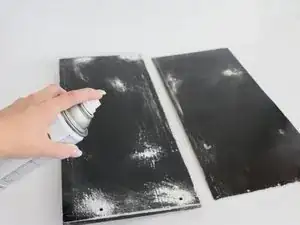
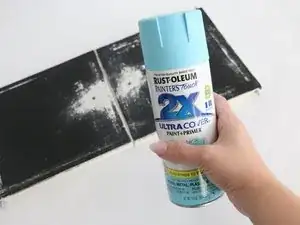
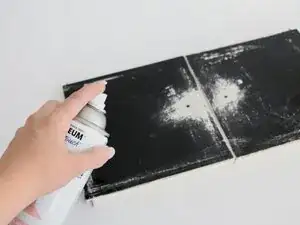
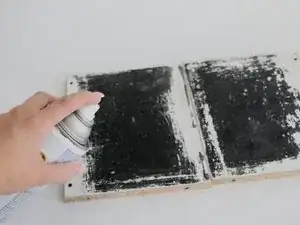
After sanding down the top wall of cabinet and back wall, it is time to spray paint.
-
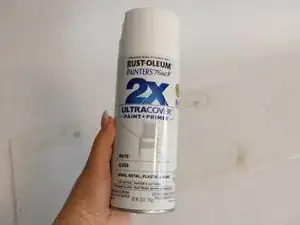
Use color of your choice but make sure it is for wood.
-
Spray paint and wait at least 3-4 hours to dry before painting other sides.
-
-
-
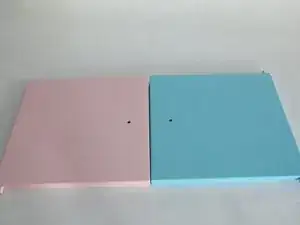
Take the doors of cabinets.
-
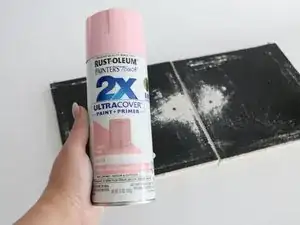
Spray paint them as well.
-
In here the colors are pink and blue.
-
Make sure to wait 3-4 hours after painting, before painting the other side of doors.
-
-
-
Take the left and right side walls of cabinet.
-
Use color of choice.
-
Make sure it's for wood.
-
Wait 3-4 hours after painting to dry, before painting other side.
-
-
-
After the painting is done and the drying, it is time to fix some of the holes.
-
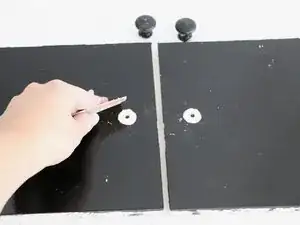
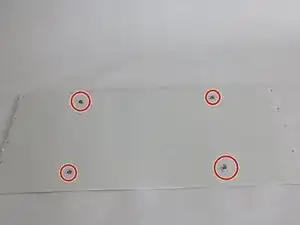
The back wall of cabinet has holes that need to be filled in.
-
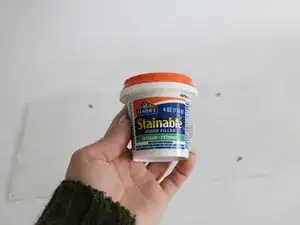
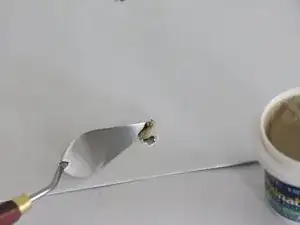
Take a spatula and wood filler and carefully fill the holes in.
-
Leave to dry.
-
-
-
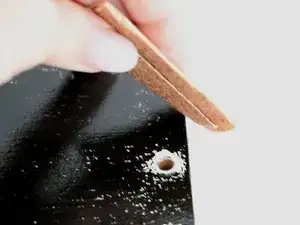
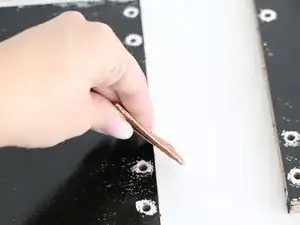
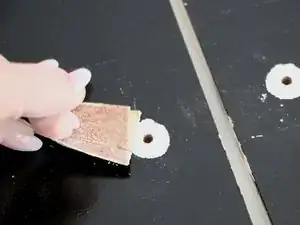
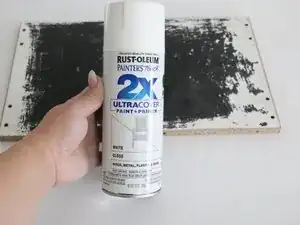
After wood filler has dried make sure to sand it.
-
Make the areas that were filled, nice and smooth, spray paint will not cover up bumps.
-
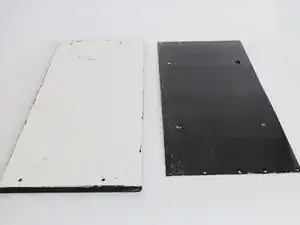
After all areas are nice and smooth, use paint color of choice.
-
Make sure the paint is for wood.
-
Spray paint and wait 3-4 hours to dry before painting other side.
-
-
-
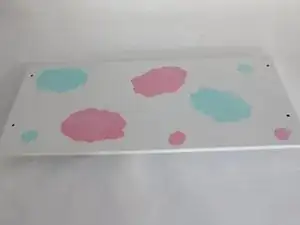
After the rest of cabinet has dried, it is time to decorate.
-
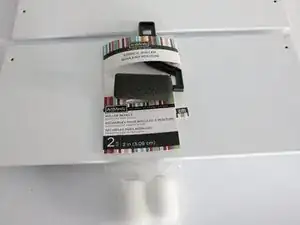
Make sure to have rollers, one for different color of paint.
-
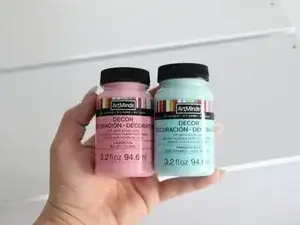
The paint used here is blue and pink acrylic stencil paint, good on wood.
-
-
-
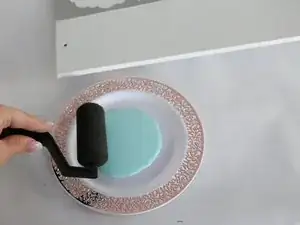
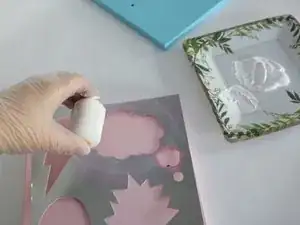
Plastic plates are used to pour paint into.
-
Take a roller and dip it into paint.
-
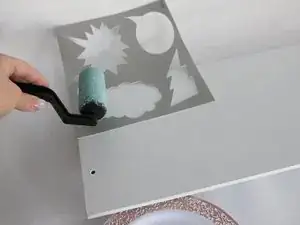
Take stencil of your choice and place it onto the wood and use roller to fill the stencil space in with paint.
-
Use a a different plate for the pink paint and use a new roller.
-
Do the same thing with pink paint as was done with the blue.
-
-
-
Now take the doors after they have dried and decorate them both as well.
-
This time use white paint or color of your own choice.
-
Take stencil and fill in the space with the white paint.
-
Remember to have a place to pour the paint and use a new roller for the new paint color.
-
Do this for both doors.
-
-
-
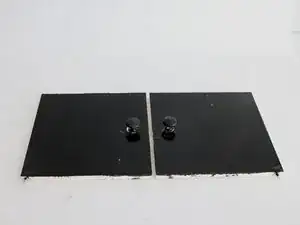
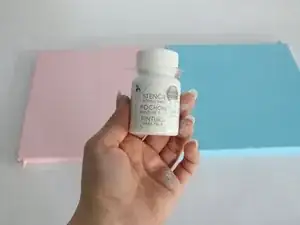
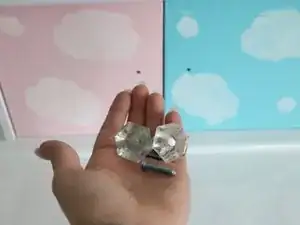
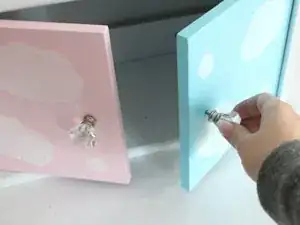
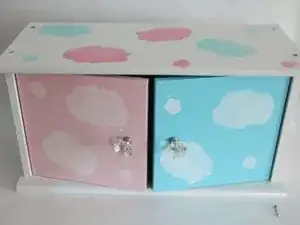
The final step is to attach the knobs on the cabinet doors.
-
In this step, new knobs were purchased and are used.
-
Screw in the knobs, a screwdriver is not needed, hands can be used.
-
To reassemble your device, follow these instructions in reverse order.
