Introduction
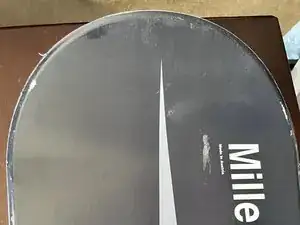
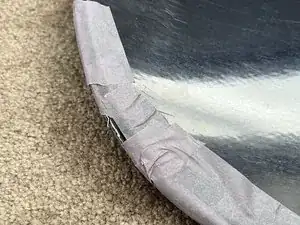
After multiple snowboarding trips, people tend to just store their snowboards without wiping them, causing the water to ruin the wood. Impact with branches, ice, small rocks, and other hard items can result in chips along the edge and minor delamination. This guide shows you how you can fix the chipped edges of your board to make it as good as new.
This guide focuses on sanding your snowboard and using epoxy. If you have never use epoxy, not to worry! It is one of the most commonly used materials (similar properties as glue) to fix chipped snowboards to make then full strength again.
Tools
-
-
Apply the snowboard onto a clean and stable surface, making sure it won't move a lot.
-
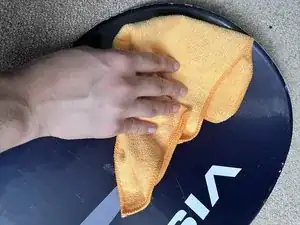
Clean the board of any dust and dirt.
-
-
-
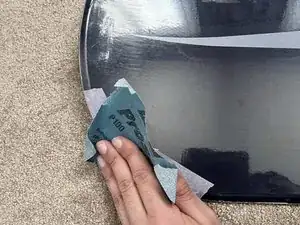
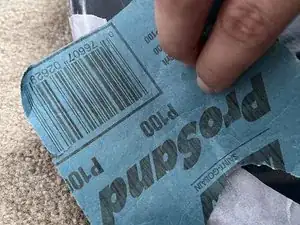
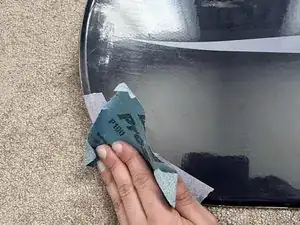
Sand out the chipped area so that the indent is smooth.
-
After your done sanding, make sure to clean away any leftover dust with warm water and a clean cloth.
-
-
-
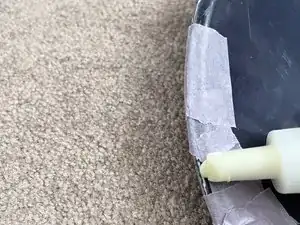
Squeeze out a little epoxy into the chipped area.
-
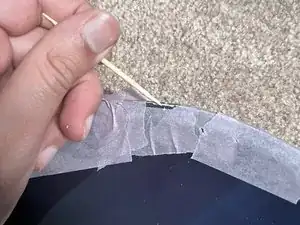
Use a toothpick to guide the epoxy into the crevasses.
-
-
-
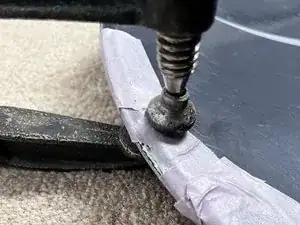
Clamp the chipped area to make sure it stays tight and compressed.
-
Let it stay clamped for 1-2 hours to allow the epoxy to harden.
-
-
-
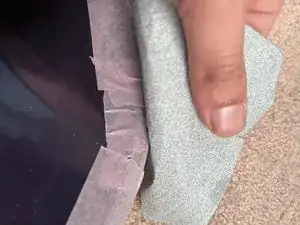
After the epoxy is hard, sand the excess epoxy until it's flush with the board.
-
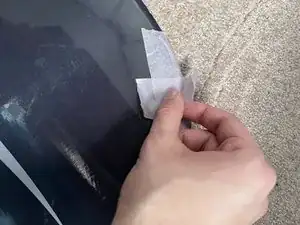
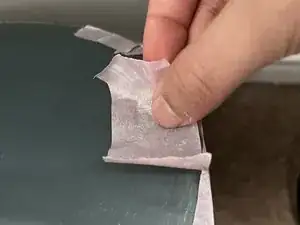
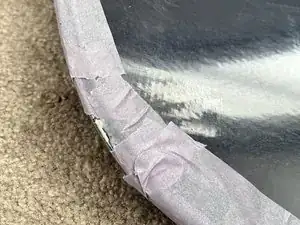
Carefully and slowly remove the tape.
-
Allow the epoxy to cure for at least 24 hours before use.
-
Your snowboard should be good as new, test out your board after it the epoxy fully hardens.
