Introduction

  1. EEImU4nUCeRYHcQl
    EEImU4nUCeRYHcQl
    OuKdTmrd46j1CBnQ
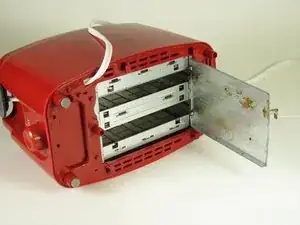
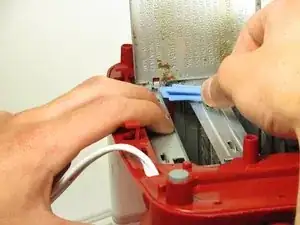
    • To open the crumb tray, pinch the lever in the photo.

    • If the lever does not keep the the crumb tray closed, stretch the lever so that to make sure the two horizontal pieces are aligned.

  2. lkCtyNQATBMZRRLi
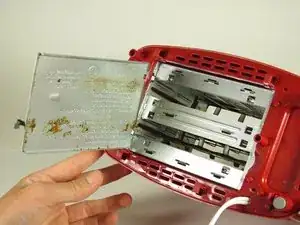
    • Now that the tray is exposed, it is possible to clean the face here.

    • Try to not let water get into the toaster as this may damage the heating coil.

    • If the tray can not be cleaned simply by opening it, keep going through the guide to fully remove it.

  3. KsNPHyFtnrT3VIpu
    KsNPHyFtnrT3VIpu
    EqGQsWYoFLu52y5h
    3WKx3miI1eQaXRMS
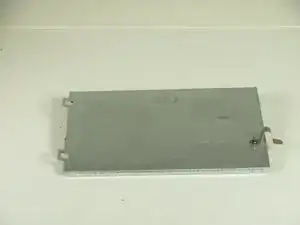
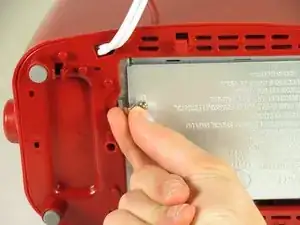
    • To remove the tray, the metal hinges must be bent up.

    • While applying pressure to the bottom of the toaster, use pliers or tweezers to bend up the bracket. The pressure applied to the bottom of the toaster should be just enough to allow the bracket to swing up.

    • Remove the tray and clean.

Conclusion

To reassemble your device, follow these instructions in reverse order.

Grant Haug

Member since: 26/09/12

148 Reputation

One comment

Thanks! This was helpful. :)
Tracy Emmanuel -