Introduction
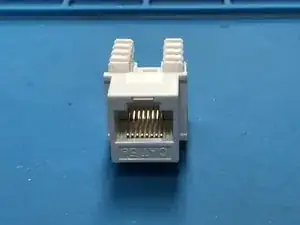
This is a simple guide to wiring a keystone jack for use in house and business applications.
Tools
Parts
-
-
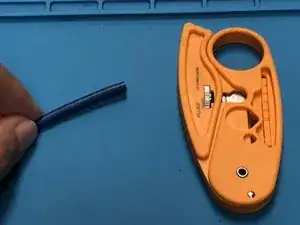
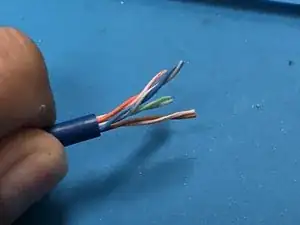
Use your wire stripper to cut the outer sheath
-
Do Not Rotate more than 3-4 times as it will cut the wires underneath.
-
when the length of exposed wires are at a decent length (a little less than a thumbs length) separate the wires by color.
-
-
-
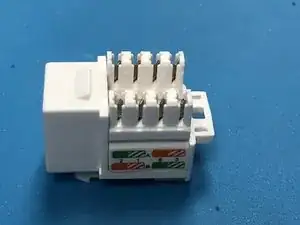
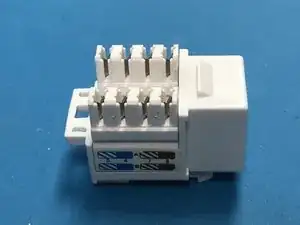
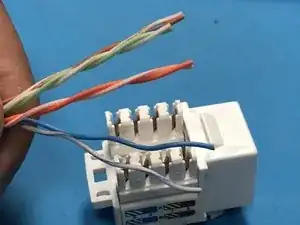
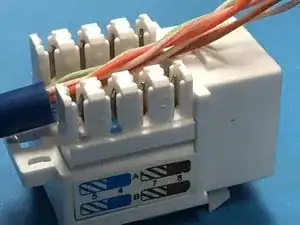
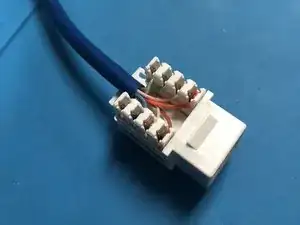
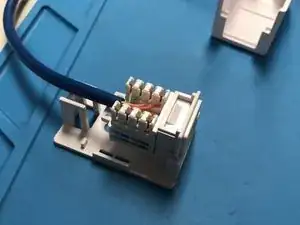
on the keystone jack you will see colors. line the wires up to the corresponding colors (white blue - blue, white orange - orange, etc.)
-
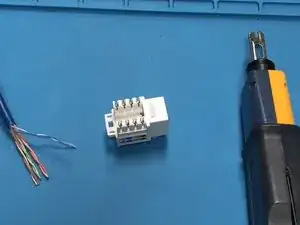
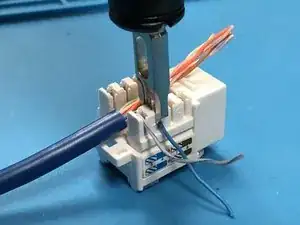
use the punchdown tool with the longer side of the blade on the outside to punch the wires in and it will cut off the excess.
-
repeat for each color
-
-
-
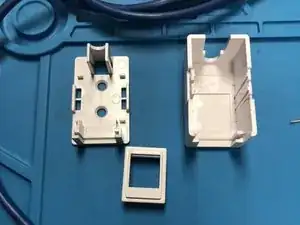
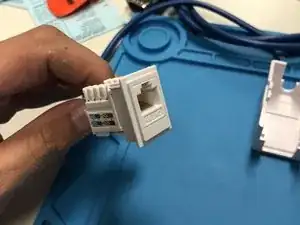
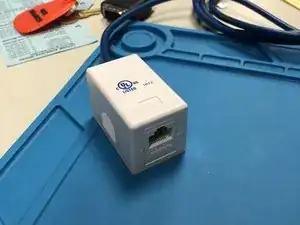
place the jack into the mounting box, there should be places for zip ties to hold the cable in place
-
place the cover on top and you are done with your cable!
-
test the line using a cable tester.
-
Make Sure to test with a cable tester
