Introduction
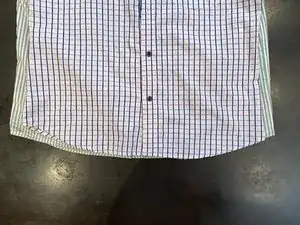
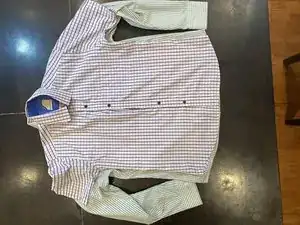
When individuals purchase formal shirts, they may find that the length of the shirt does not fit their body accurately. This guide will display the process of altering and sewing formal shirts for better fit.
Tools
-
-
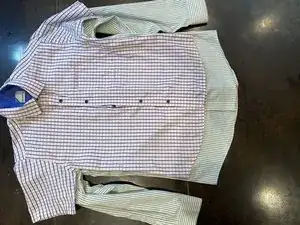
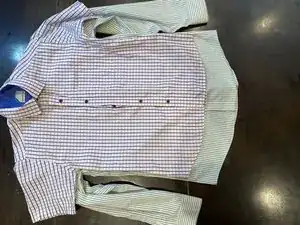
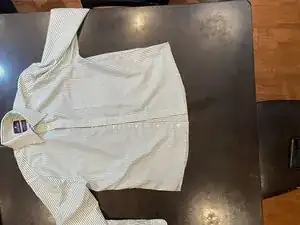
Pick the shirt that requires alterations, then select a different shirt has your desired fit and measurements.
-
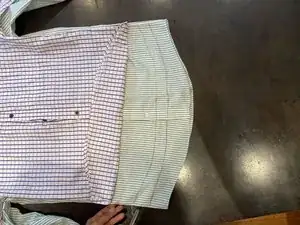
Place the shirt that currently fits you on top of the shirt that is meant to be shortened.
-
-
-
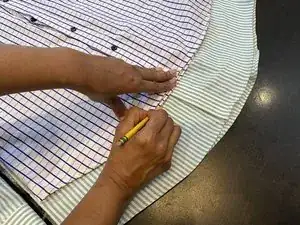
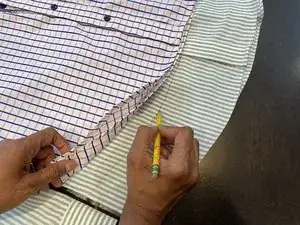
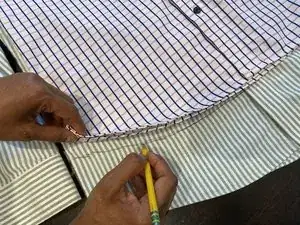
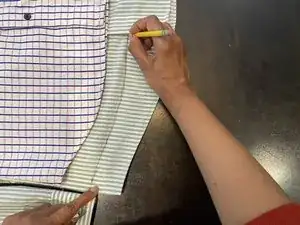
Trace a line along the oversized shirt to differentiate the extra length between the two shirts.
-
Follow the bottom edge of the above shirt, and draw a curve (or line) on the bottom shirt.
-
-
-
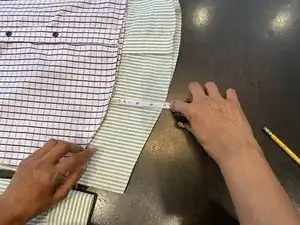
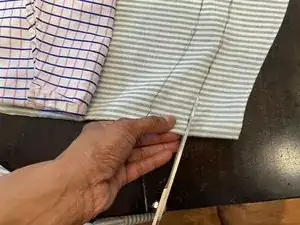
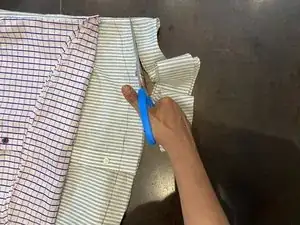
Measure the length from the curve drawn in the previous step to the bottom of the shirt to be altered.
-
-
-
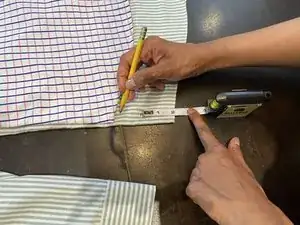
Measure two inches up from the bottom of the shirt to be altered.
-
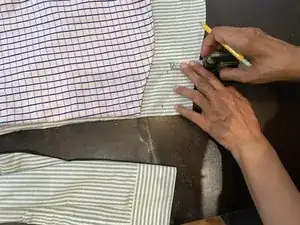
Use a pencil to make dots at the end of your measurement, and repeat this as you measure the entire length of the shirt.
-
Trace a line through the connection of the dots you drew in the last step.
-
-
-
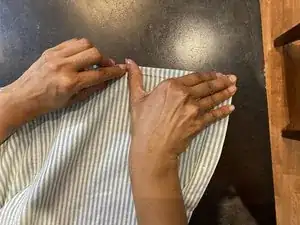
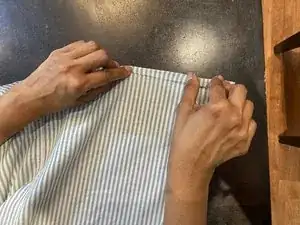
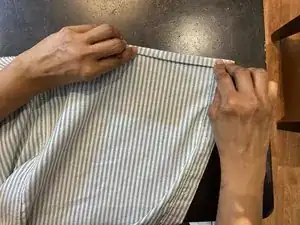
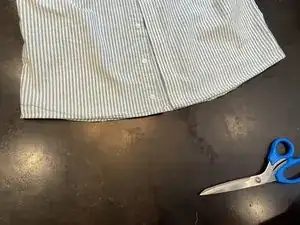
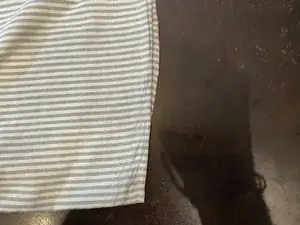
Make a straight crease at the bottom of the shirt; the crease should be half an inch to one inch in length from the bottom.
-
-
-
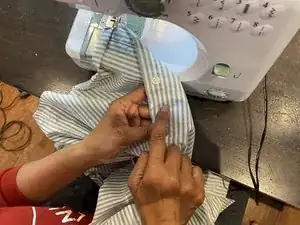
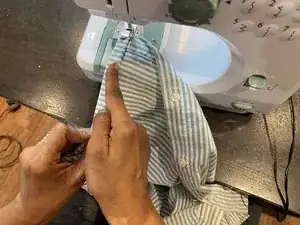
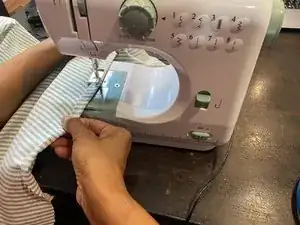
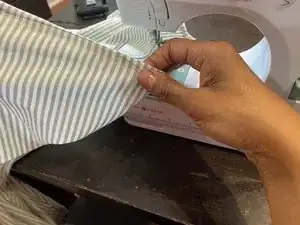
Identify the side of the shirt which faces the exterior; fold the shirt inside-out and flip the crease inwards when stitching the border.
-
-
-
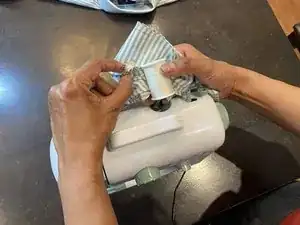
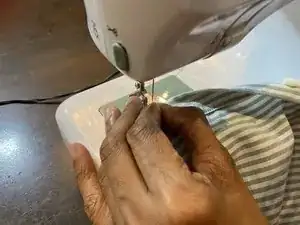
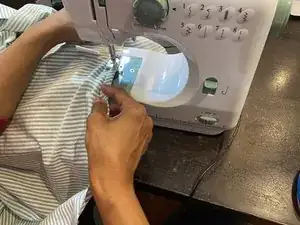
Stitch on the regular setting of your sewing machine.
-
Set your range between 4 mm or up to 6 mm for your stitching.
-
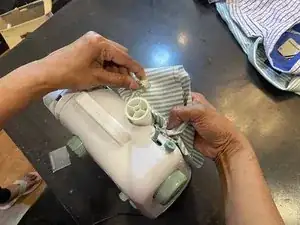
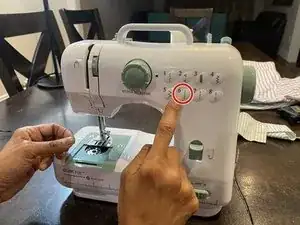
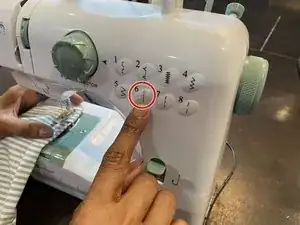
On that stitching pattern, select the straight stitch on the sewing machine dial, or any alternative controls available (stitch selector should be 6 or 7).
-
The stitch tension should be 4.
-
-
-
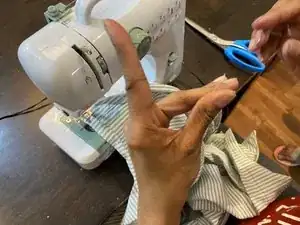
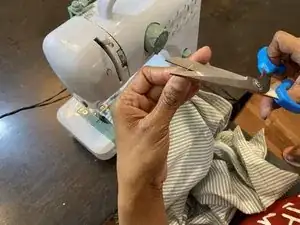
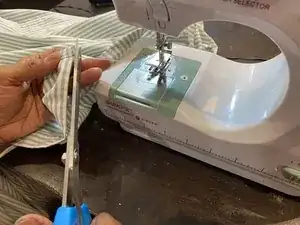
Before you start sewing, make sure to cut any loose or long threads (extra thread) that may interfere with your sewing.
-
