Introduction
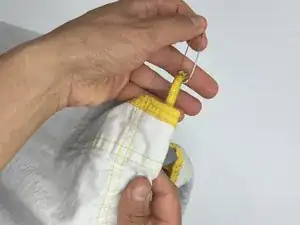
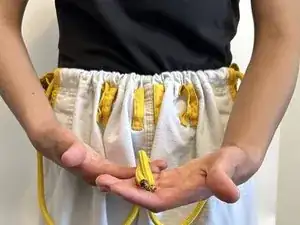
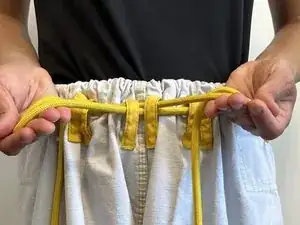
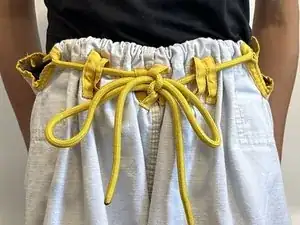
Is the drawstring on your BJJ gi pants too long and getting in the way during training or competition? This guide will help you shorten the drawstring for a better fit and enhanced comfort. By following these easy-to-understand steps, you can adjust the length of your drawstring to ensure optimal performance and comfort during your sessions.
This guide is designed to be easy to follow, even for those with little technical knowledge. It ensures you can achieve the ideal drawstring length for optimal performance.
Warning: This guide is designed for Gi pants made of synthetic fabric, which is typical for most gi pants available in the market. Before following these steps, ensure that your drawstring is not flammable. Also, remove any flammable materials from the workspace before starting. This guide requires the use of a lighter, so be careful when working with an open flame. It's also important to work in a well-ventilated area, as melting the end of the belt tie will create smoke.
Tools
-
-
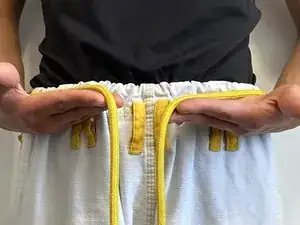
Put on your Gi pants and adjust the drawstring to the desired tightness.
-
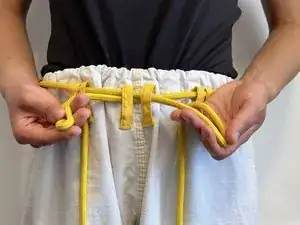
Pull both ends of the drawstring in opposite directions so that they are in front of the pants. Ensure both ends are of nearly equal length, then tie a knot in the center.
-
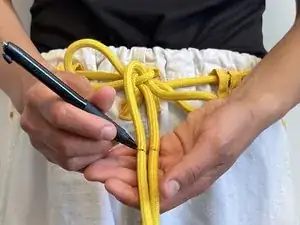
Use a pen to mark the point where you want the drawstring to end on both sides.
-
-
-
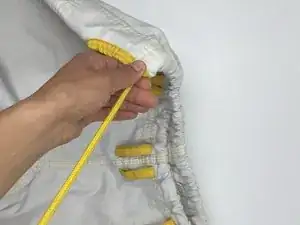
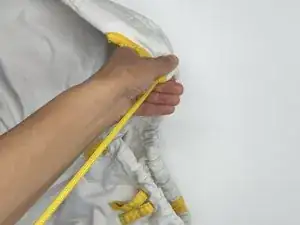
Pull one end of the drawstring while holding the waistline of the pants firmly.
-
Continue pulling until the drawstring is entirely out of the waistband.
-
-
-
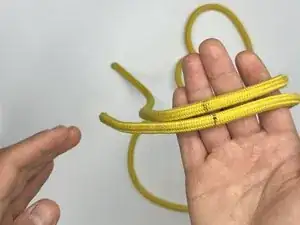
Hold the drawstring steady at the marked points.
-
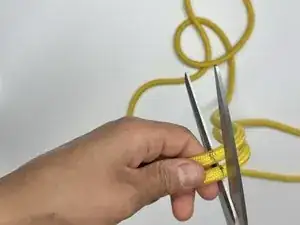
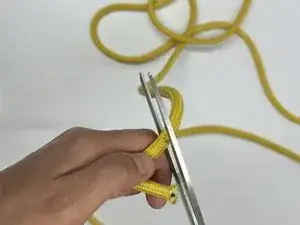
Use sharp scissors to cut the drawstring at the marked ends, one side at a time.
-
-
-
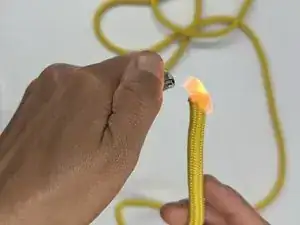
Hold the lighter close to the end of the drawstring until it starts to melt slightly.
-
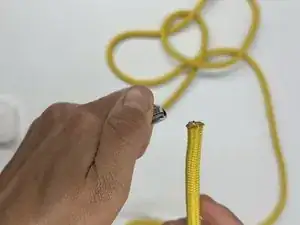
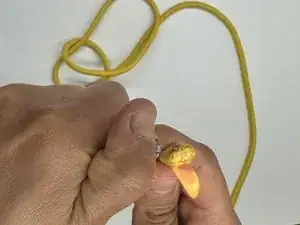
Once the end of the drawstring is melted, let it cool down and harden. This will seal the ends and prevent fraying.
-
Repeat the process for the other end of the drawstring.
-
-
-
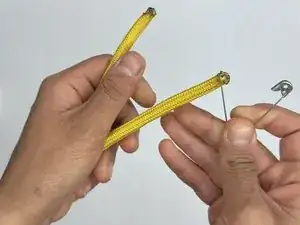
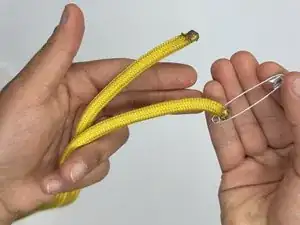
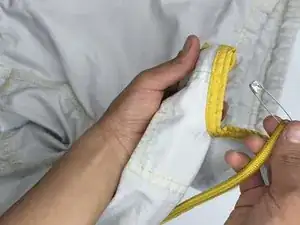
Insert the end of the drawstring with the safety pin into the waistband of the pants.
-
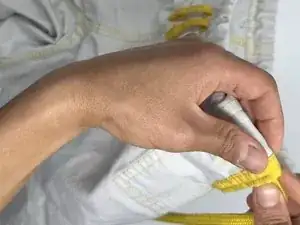
Guide the safety pin through the waistband, working it through the front and back of the pants until it comes out on the other side.
-
-
-
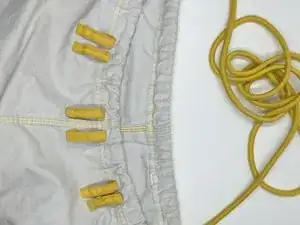
Pull the drawstrings on both sides to ensure they are of equal length, as shown in the photo.
-
Tie a knot in the center of the pants, adjusting it to a comfortable tightness.
-
Check if the desired length for training is achieved. If not, adjust as necessary.
-
Ensure that the specified length is reached. If not, repeat the process.
One comment
Thanks for including the safety pin trick to put the draw string back into the waistband. I had no idea how to approach that problem until now! The photos are great too.
