Introduction
In the event that a note in your harmonica has become unplayable, it's very likely that the reed has become misaligned and needs to be restored to its proper position.
Within this guide, you will be able to take apart your harmonica, clean the reeds, and finally warp the troubled reed back in place.
In addition to the listed tools, certain items will also be required such as a bowl to hold water and vinegar, a small soft brush, and a flat implement such as a knife.
Tools
-
-
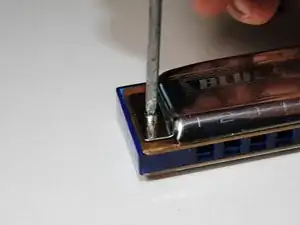
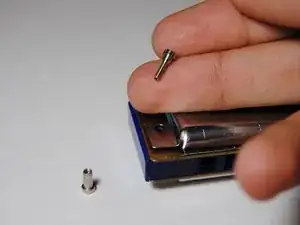
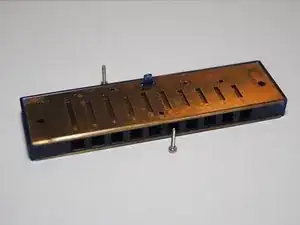
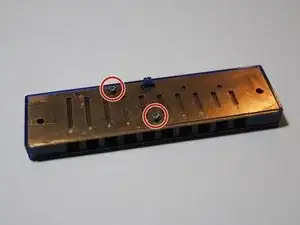
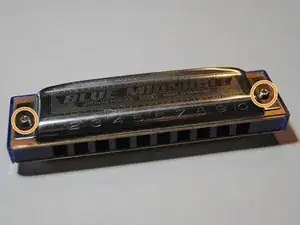
Remove the 8mm Phillips #1 screws on each end of the Harmonica holding the cover plates in place and set these aside.
-
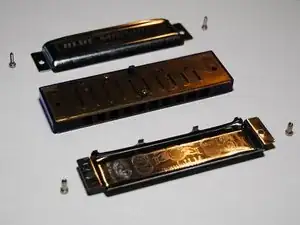
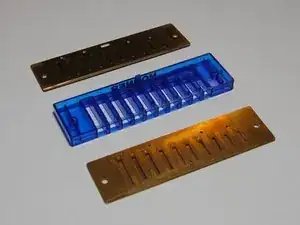
Set aside both the top and bottom cover plates
-
-
-
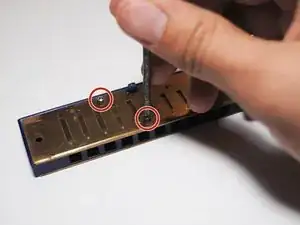
Using the Phillips head screwdriver, remove the 11 mm Phillips #1 screws in the center of the Harmonica holding the reed plates in place and set these aside.
-
Separate the reed plates from the comb and set the comb aside.
-
-
-
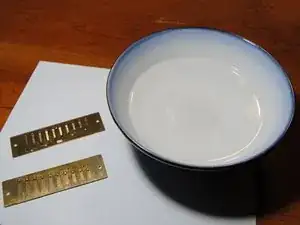
In a bowl large enough to fit both reed plates, fill with water and a few drops of vinegar.
-
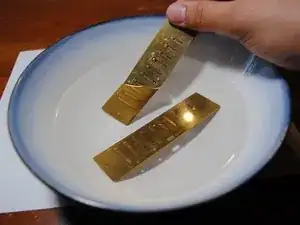
Place and leave the reed plates in the solution for 30 minutes.
-
-
-
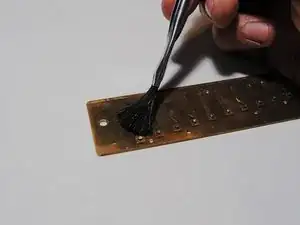
Remove the reed plates from the solution and use a soft brush to clear away debris.
-
Rinse the plates and allow them to dry.
-
-
-
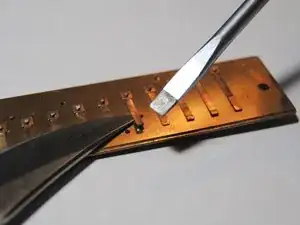
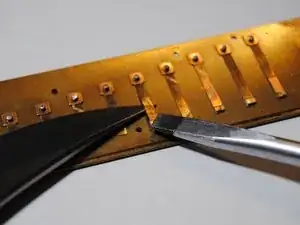
With the reeds on the reed plate facing upward, use a thin implement (such as a knife) to prop up the warped reed.
-
Use the flat head screwdriver to gently bend the reed into uniformity.
-
The end product should be a roughly straight reed that just barely hovers over the cavity below.
-
-
-
Place the reed plates back onto the comb and use the 8mm Phillips #1 screws to fasten them in place.
-
Do the same with the cover plates (the numbers on the plates should be in line with the holes) using the 11mm Phillips #1 screws.
-
-
-
Test to ensure that the restoration was successful.
-
If the reed was on the uppermost plate, test by blowing. Otherwise, test by drawing breath.
-
