Introduction
It can be frustrating to find the perfect pair of overalls that just don’t fit right. Instead of spending money on an easy fix at the tailors, learn how to alter your own overalls at home! This guide gives a step-by-step tutorial on how to resize your overalls.
Before beginning your repair, check out How to Use A Sewing Machine and Different Parts of Jeans Pant.
Tools
-
-
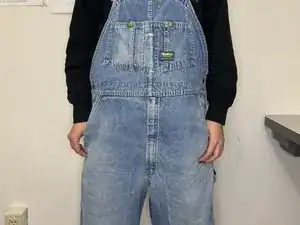
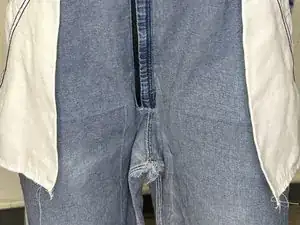
Try on the overalls.
-
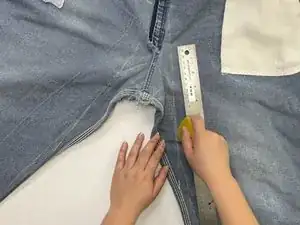
Take your ruler and measure from the bottom of the crotch up to the desired crotch point.
-
Take note of your measurements.
-
-
-
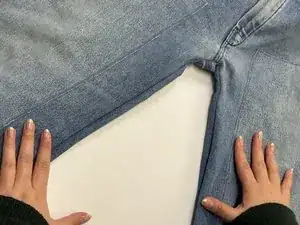
Flip the overalls inside out and lay them flat.
-
Use the ruler to place the recorded intake length measured in Step 1.
-
Mark the top of this measurement on the center seam of the overalls.
-
-
-
Using your fabric chalk, draw an angled line from the top of your crotch point to blend seamlessly with the bottom of your inseam.
-
Measure the line just marked.
-
Repeat measurements on the other side.
-
-
-
Lay your overalls back on a flat surface.
-
Take your fabric chalk and redraw your new measurements
-
Re-pin your new measurements.
-
-
-
Bring your overalls under the sewing needle and line the needle to the top of the crotch marker.
-
Gently press the foot pedal below to slowly start moving your fabric along your chalk line.
-
Run the machine through the end of your marker point.
-
Cut the excess thread after the pass.
-
To reassemble your device, follow these instructions in reverse order.


