Introduction
Use this guide if your aquarium’s seal is compromised and the aquarium is leaking. You can test to see if your aquarium is leaking.
The silicone sealant is present on the inside seam of the tank on all corners, the bottom, and it holds the panes of glass together themselves. When the sealant is compromised, the tank’s water will leak out and endanger the fish and critters in it. The sealant is prone to wearing down over time, and if you might want to reseal a tank that was sourced secondhand.
Before using this guide, make sure to drain your tank and to thoroughly clean it. You will also need to make sure that the silicone you use to reseal the tank is fish safe, being nontoxic and suitable for constant submersion in fresh or saltwater.
Consider wearing gloves and being in a well-ventilated area when using the silicone. Remember that new silicone will not adhere to old silicone, and for that reason it is important to be diligent in removing the old silicone. Be sure to be careful and go slow when using the blades to cut out the old silicone, you’re at risk to cut yourself! And as stated earlier, silicone is also holding the panes of glass together, so take care to not cut into that part and destroy the seams that actually hold the tank together.
Tools
-
-
Clean the tank.
-
Inspect the seal for possibility of removal without tools.
-
Check the old seals for mold.
-
-
-
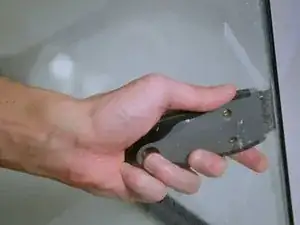
Get the razor blade underneath the seal, and scrape from the top to the bottom, with long and steady cuts to remove the sealant.
-
-
-
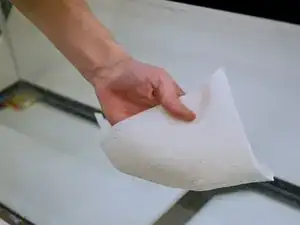
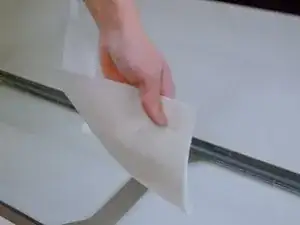
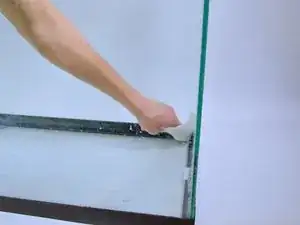
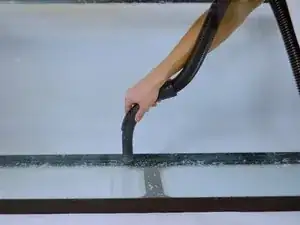
Remove the remaining silicone with paper towels, acetone, and a vacuum.
-
Apply acetone until you do not feel any sticky residue (silicone).
-
-
-
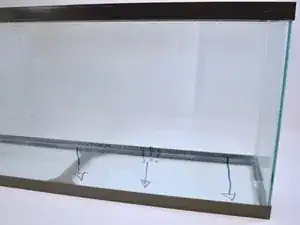
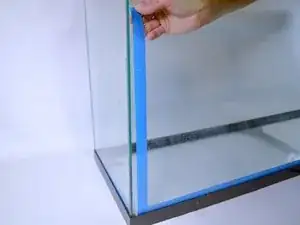
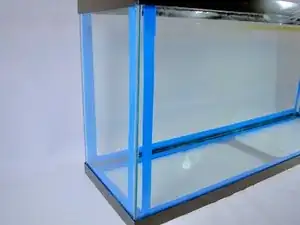
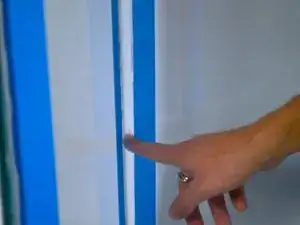
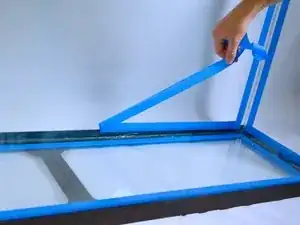
Apply tape along the interior edges of the tank.
-
Leave a gap between the interior corners and the lines of tape.
-
-
-
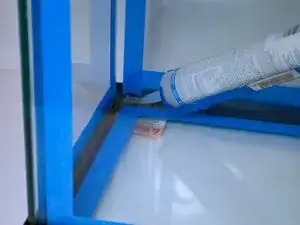
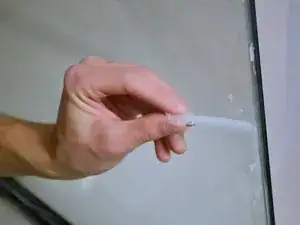
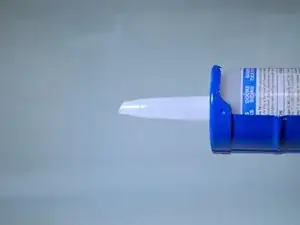
Cut the tip of the silicone at the three-eighths mark.
-
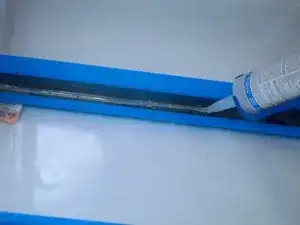
Press the caulking gun to apply an even bead ¼” bead of silicone along the corners.
-
-
-
Leave your tank in a place free of dust and contaminants. Wait a minimum of 48 hours to dry.
-
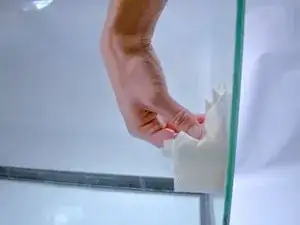
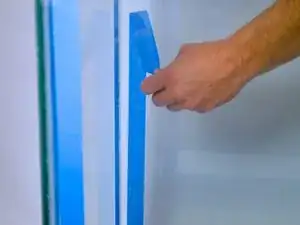
Peel the tape back to slowly remove it.
-
Be patient with the drying process and only reintroduce water and fish when it's ready. Enjoy your repaired and leak-free aquarium!
