Introduction

Follow this guide if you need to replace the string of your Rogue RM-100A A-Style Mandolin. The Mandolin is a stringed instrument and occasionally the strings may wear out or snap. With this step-by-step guide, you will learn how to restring your instrument so you can continue playing your favorite music in no time!

  1. DgAZvseiKhBXwdTq
    DgAZvseiKhBXwdTq
    36KEXaIKeKsLM4nq
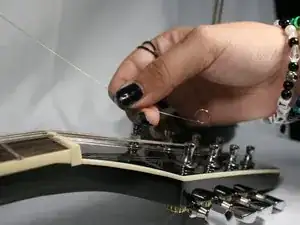
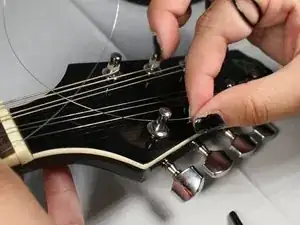
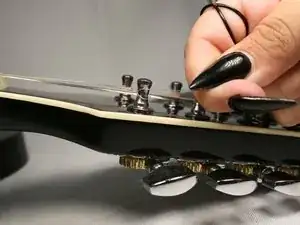
    • Lay the Mandolin face up on a flat surface.

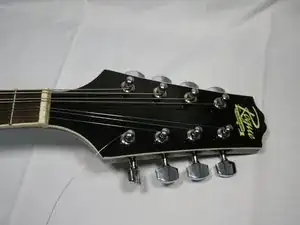
    • Start at the headstock of the Mandolin, and unwind the wire string by turning the tuning peg in a clockwise rotation until it becomes loose and easy to remove.

  2. qxGiaYJQwNeJ6li6
    qxGiaYJQwNeJ6li6
    YXPyFEswqpeZpb3X
    5sLk1Lc6v4vSkNG4
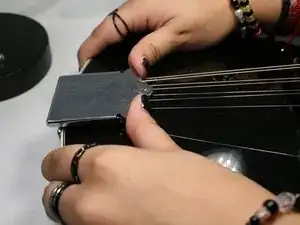
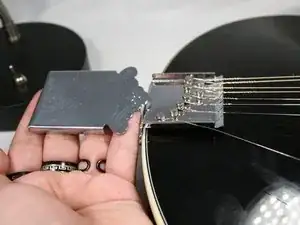
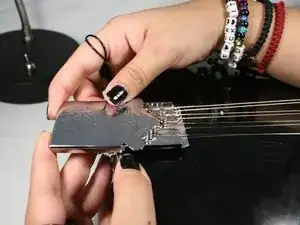
    • At the tailpiece of the Mandolin, use both of your thumbs to apply pressure to push the tailpiece cover away from you.

    • The edge of the tailpiece is a bit sharp. If your fingers hurt, use a small towel or cloth to cushion your thumbs as you push.

  3. h4OwxuQQgOfUgtVy
    h4OwxuQQgOfUgtVy
    B411vH5eCJKiZNar
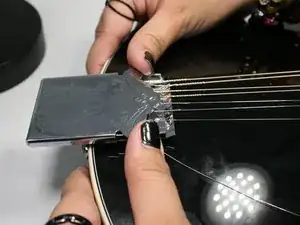
    • Remove the string you are replacing from the tailpiece.

    • The string should be easy to remove.

  4. vQVGfL2LqGSjhT3Y
    vQVGfL2LqGSjhT3Y
    1eebM5kkjdocIFae
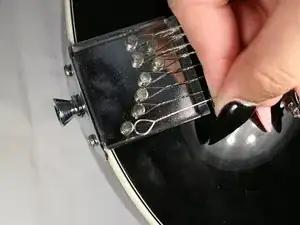
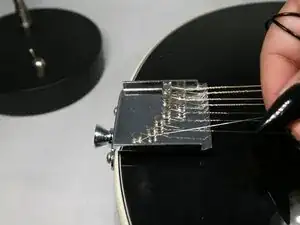
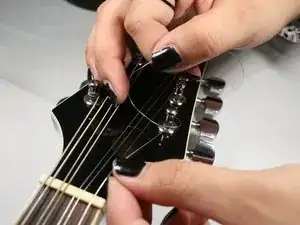
    • Insert the new string loop onto the hook.

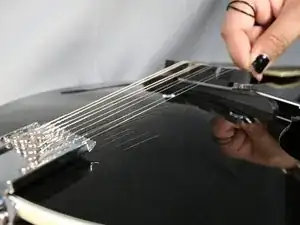
    • Pull the string up along the bridge onto the fretboard until it reaches the headstock.

  5. d2BnfDKcXRnsIDl1
    d2BnfDKcXRnsIDl1
    knZ1uxmgTOt4AMRX
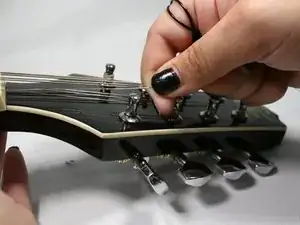
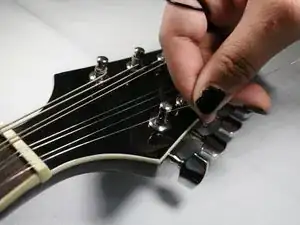
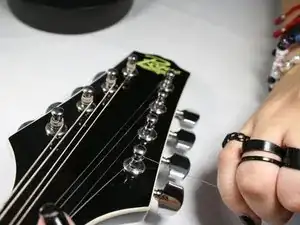
    • Insert the string into the hole of the tuning post all the way through.

  6. CJ3tde5MTVUKWpBL
    CJ3tde5MTVUKWpBL
    PEsGFwVpYSQGFHdq
    SnLCLrsYTZJneZU5
    • Loosen the hold of the string.

    • Turn the excess string to the left and pull it under the string.

    • Again, pull the excess string up and over to the left.

    • This creates a sort of hold/knot on the string.

  7. UMYlAeRG1YMsFNRo
    UMYlAeRG1YMsFNRo
    Uqs5qIwSXkJmICeK
    xnZ6aoRjGxu3iIeD
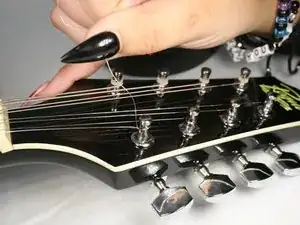
    • Pull the knot.

    • Twist the tuning pegs in a counterclockwise rotation.

    • Twist towards the tailpiece.

  8. rX3mgwjOBcOQVVyV
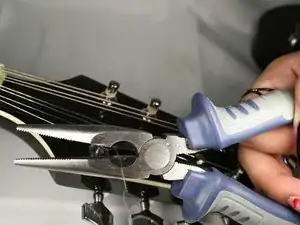
    • Cut any excess string with pliers.

  9. 3Qu3sfSsDeAe3ZMj
    • Place the tailpiece back by sliding it towards the headstock.

Conclusion

To reassemble your device, follow these instructions in reverse order.
Carla Belen Castillo

Member since: 29/08/23

169 Reputation

0 comments