Introduction

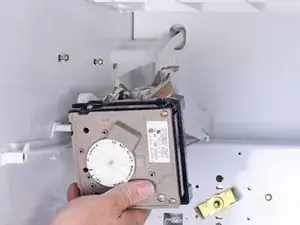
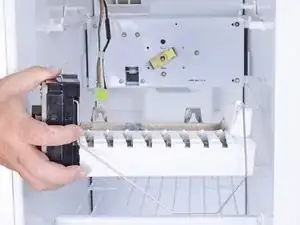
Use this guide to replace the ice maker in an older Whirlpool Refrigerator

The ice maker automatically produces ice which can be accessed either inside the freezer compartment, or dispensed through the freezer door.

When the ice maker fails, there is no ice available in the ice maker unit and none available to dispense.

This guide is based on a Whirlpool model ED5FTGXKQ02 refrigerator.

  1. GAB31IUS1UwNdE6E
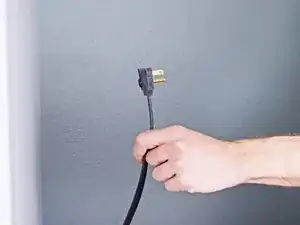
    • Before you begin your repair, perform the following:

    • Turn off your main water supply (if connected)

    • Unplug your device

  2. UkZBqjBQ1tvrfHyQ
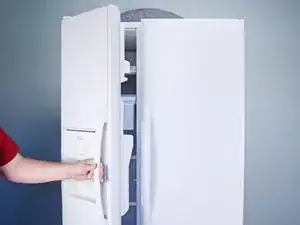
    • Pull the handle of the freezer door towards you to open it.

  3. P4UhiOSxGKWTJYjO
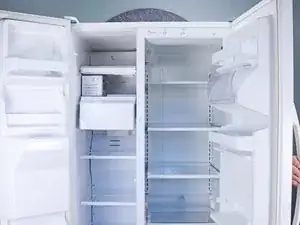
    • Pull the handle of the refrigerator door towards you to open it.

  4. CLejNaNOoEinVSvv
    CLejNaNOoEinVSvv
    TT4gqeZ2pTtrM4Hd
    A1O6JFKPJKqvRl6S
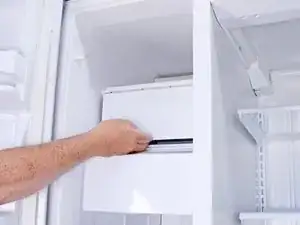
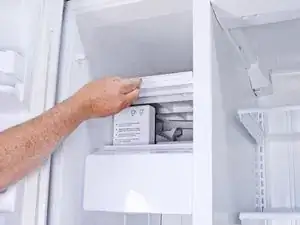
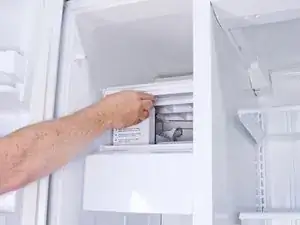
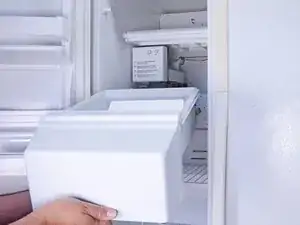
    • Lift the ice maker flap.

    • Slide the ice maker flap into its slot.

  5. 4fRjPvYxtOl2aiVk
    4fRjPvYxtOl2aiVk
    BmBy55QQhPJaUFBR
    qdlvdWtUiS152Vsq
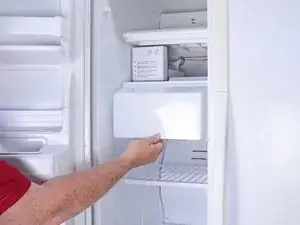
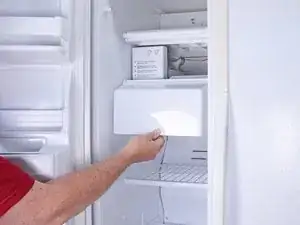
    • Llift the ice bucket slightly and pull it towards you to remove it.

  6. JatSyMRGWqZsEils
    JatSyMRGWqZsEils
    GJeCjxsvGpRKOvN5
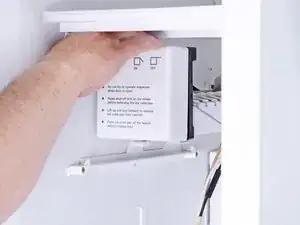
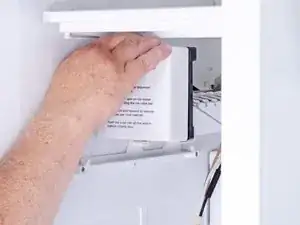
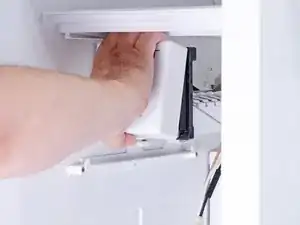
    • Push down on the ice maker cover.

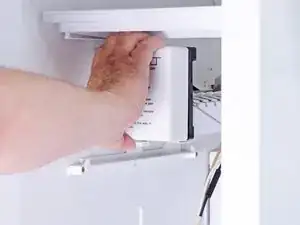
    • Pull the bottom of the ice maker cover out.

  7. xC2QW6f5OYZJBkOg
    xC2QW6f5OYZJBkOg
    nVmUtQQYYvfUxIgx
    j6Ia4L3VgvTEii5w
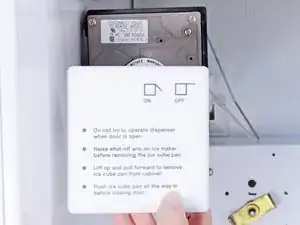
    • Remove ice maker cover.

  8. WMYNsPwBH4aneQuk
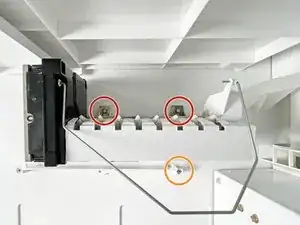
    • Use a 1/4­‑inch nut driver to loosen the two upper mounting screws.

    • Use a 1/4‑inch nut driver to remove the lower mounting screw.

  9. k4eEAcIvwVZTQ2IC
    k4eEAcIvwVZTQ2IC
    tJVReGGcFA1OifjH
    VQtIcbJXvWnbuGIU
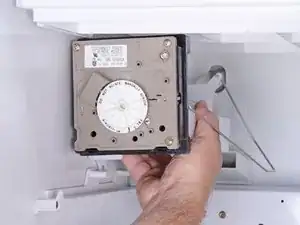
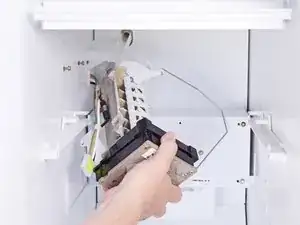
    • Lift the ice maker up to release it from the upper mounting screws.

    • Move it gently away from the wall into the freezer.

    • Don't try to remove the ice maker fully yet because it is still attached by the wiring.

  10. VnSJjgb2SayNWGiE
    VnSJjgb2SayNWGiE
    sTlISbChQJFFmGJJ
    XTVZPrT1W6VEPcwn
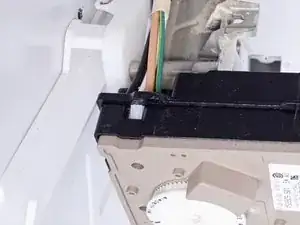
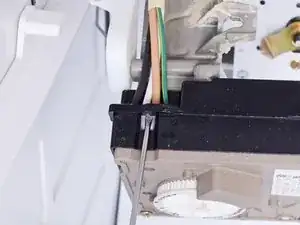
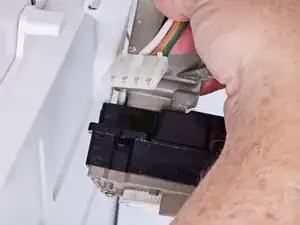
    • Lower the ice maker partially to access the cable lock tab on the upper front of the ice maker.

    • Use a spudger or flat head screwdriver to press in the cable lock tab to release the cable.

  11. F6jKKXIW2Y2j6bEW
    F6jKKXIW2Y2j6bEW
    IoMnIVEIIXO53tAZ
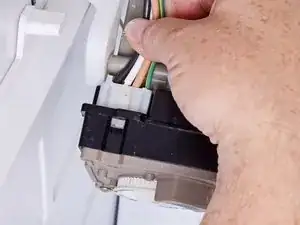
    • Pull the cable out of the socket to disconnect it.

  12. QSYKjm6SuVfiwaa1
    QSYKjm6SuVfiwaa1
    A5HGEyw36cRSZ4Jk
    o4IkMIfxOGkBaBo2
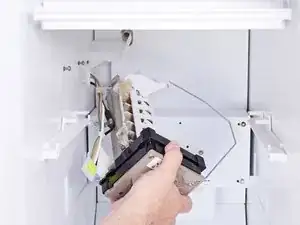
    • Slide the ice maker off of the thermal fuse.

    • Sliding the thermal fuse off will likely be easier than unclipping it.

    • During reassembly, remember to clip the thermal fuse onto the ice maker.

  13. hJ4JwAZy3Pqep5cQ
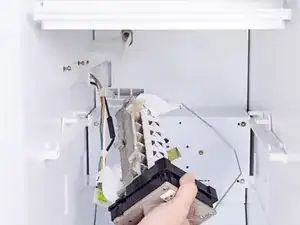
    • Remove the ice maker.

Conclusion

To reassemble your device, follow these instructions in reverse order.

Repair didn’t go as planned? Ask our Answers community for help.

Take your e-waste to an R2 or e-Stewards certified recycler.
Bill Gilbert

Member since: 30/06/22

34697 Reputation

0 comments