Introduction
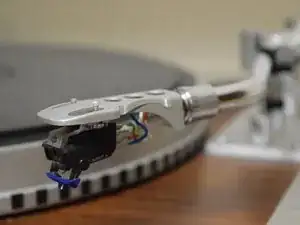
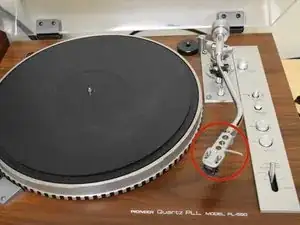
This guide is designed to show how to replace a turntable cartridge, stylus, and headshell on any turntable. You need to replace these when you start to hear static or notice your stylus is bending or cracking. Replacing these will clear up static and prevent damage to your records allowing for a better listening experience. Be aware this requires delicacy as the pieces of the turntable can be easily damaged.
Tools
-
-
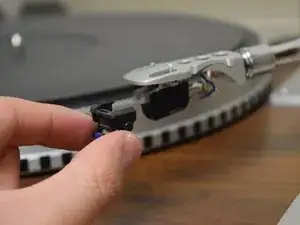
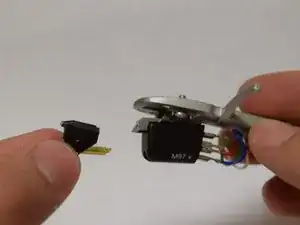
Identify the stylus (needle housing) on the headshell and gently remove it from the cartridge by wiggling it carefully. Dispose of the stylus.
-
-
-
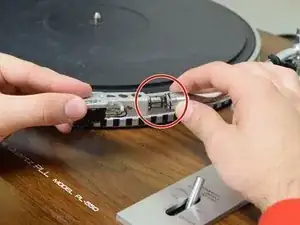
Locate the tonearm weight located at the base of the headshell. While holding the headshell, turn the tonearm weight to the right to disconnect the headshell from the tonearm.
-
-
-
Use a Phillips #0 screwdriver and remove the screws to free the cartridge. Retain the screws for reinstallation.
-
-
-
Locate the wires on the underside of the headshell and carefully disconnect the wires from the pins of the cartridge.
-
-
-
Using the Phillips #0 screwdriver, re-screw the cartridge into the headshell the same way it was removed.
-
-
-
Insert a new stylus (needle housing) into the cartridge before remounting the headshell onto the tonearm.
-
3 comments
"on any turntable"? These instructions are only for one specific tonearm and cartridge and apply to a minority of cartridges. This claim is plainly bogus and anyone with a different cartridge is likely to find the instructions useless and potentially hazardous to their equipment.
Howard -
Just commenting to disagree with above. Excellent tutorial and my audio technical cartridge and headshell are similar so it solved my issue. Thanks for the article.
Yeah, I thought the above tutorial was very informative and easy to understand
Philip -
