Introduction
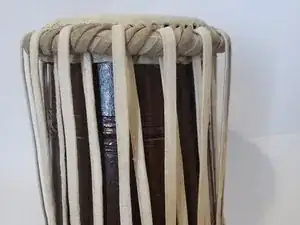
If you're looking to replace your tabla skin, here is a step-by-step process on how to do that successfully.
This guide is for musicians who have a tabla and notice the sound is not optimal, or may have ripped the tabla skin by accident and now is not playable. Fortunately for you, this guide goes in depth on how to re-strap a new skin onto a tabla.
The process of re-strapping the skin can be tedious, but with patience it can be done. This will be beneficial, because unfortunately tablas do get worn out over time and instead of having to buy a new tabla each time you can do the repairing yourself and save money.
Tools
Parts
-
-
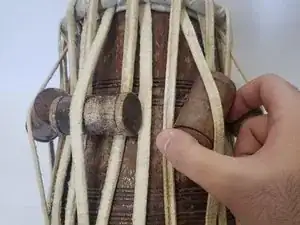
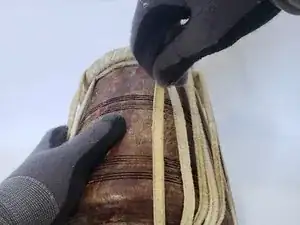
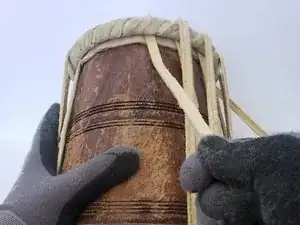
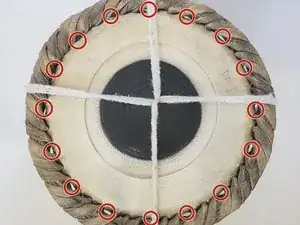
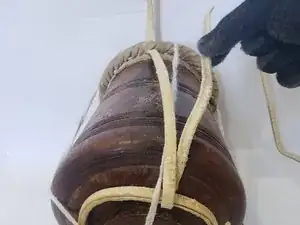
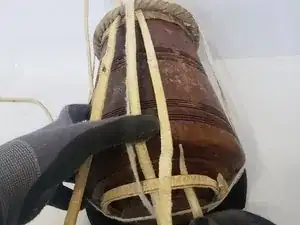
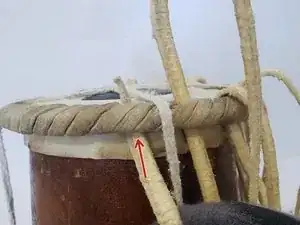
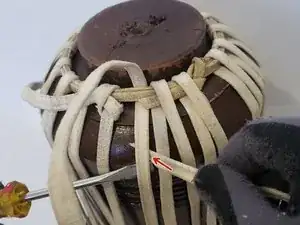
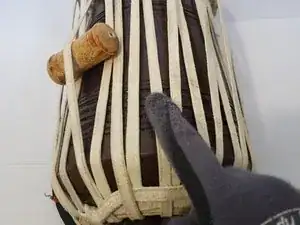
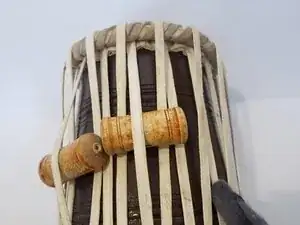
Take out the wooden pegs around the whole Tabla.
-
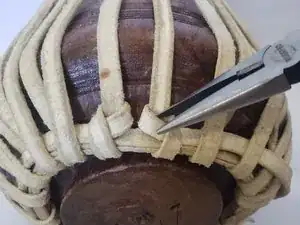
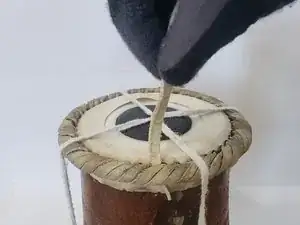
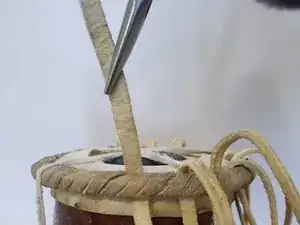
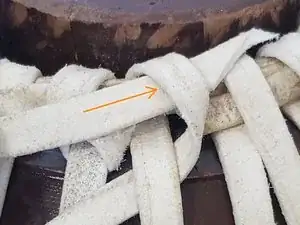
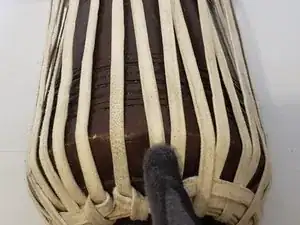
Open up the knots at the bottom of the Tabla using pliers.
-
-
-
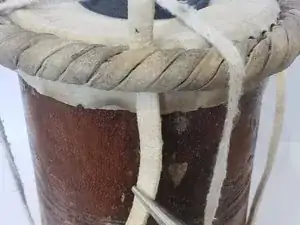
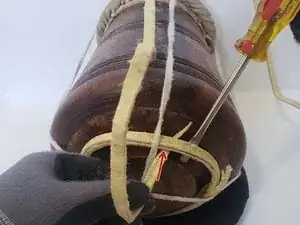
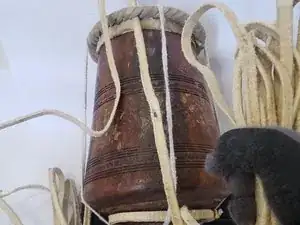
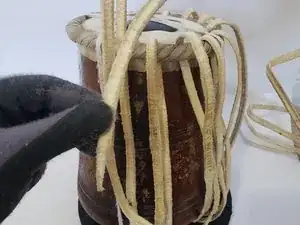
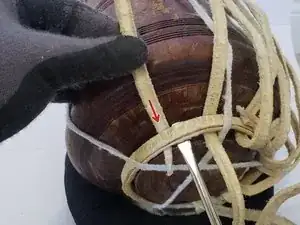
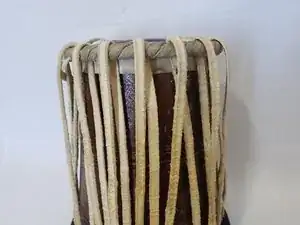
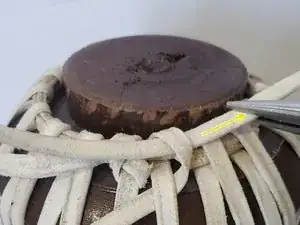
Pull the straps out of the bottom ring of the tabla and out of the tabla skin. Go around the whole Tabla.
-
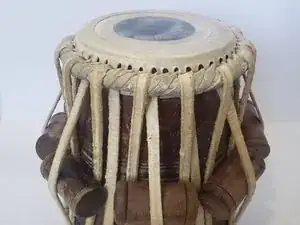
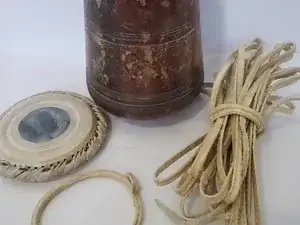
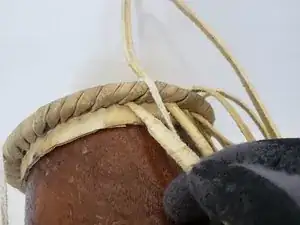
You will be left with the old tabla skin, wooden shell, Straps, and the bottom ring.
-
-
-
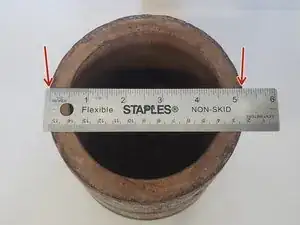
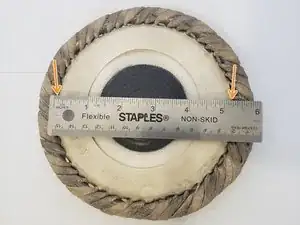
Using a ruler measure the size of the tabla shell in order to get the correct skin size. Place to the ruler across the middle of the shell to get an accurate measurement.
-
Do the same for the skin. Be sure to measure the skin from the inner skin portion and not from the edge.
-
-
-
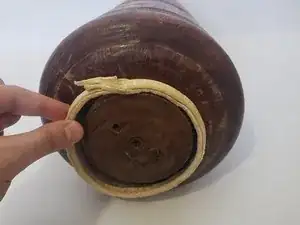
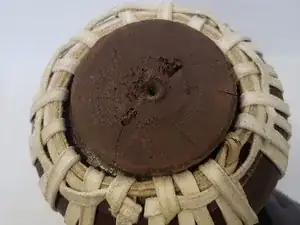
Place the ring at the bottom of the tabla.
-
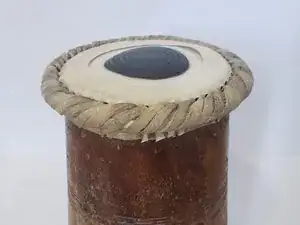
Place the skin at the top of the tabla shell.
-
Tie down the skin and bottom ring with a rope so it stays in place throughout the re-strapping process.
-
-
-
The tabla skin has 16 holes around the edge of the skin.
-
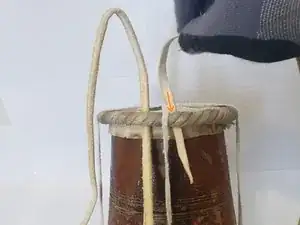
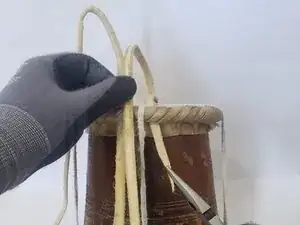
Take one end of the strap and put it through any hole.
-
Pull it through with pliers.
-
-
-
Pull the strap through the bottom ring. Making sure to go over the ring.
-
Pull the strap to get more slack and bring the strap up to the next hole and put the end of the strap through the hole making sure to go over the edge of the tabla skin.
-
-
-
Pull about half of the strap slack through the hole of the tabla skin.
-
Repeat the process of putting the strap over the tabla skin through the hole and over and through the ring at the bottom of the tabla.
-
Repeat this until the slack of the tabla that you pulled through is gone around half of the tabla.
-
-
-
Once half of the tabla is strapped, turn the tabla to the other end and start the strapping process with the rest of the slack that's left over.
-
This process is similar but instead of going over the tabla skin and over the bottom ring, go under the ring and under the tabla skin.
-
-
-
Take the strap and put it through the tabla hole from the bottom.
-
Pull and remaining slack as you go with pliers.
-
-
-
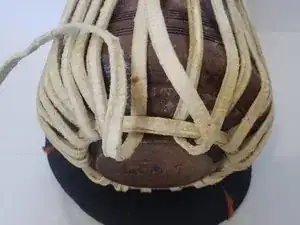
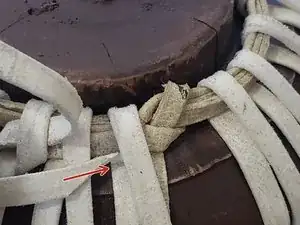
To tie the knot, take the extra slack loop it under the last strap.
-
Take the strap put it through the loop.
-
Pull with pliers to make it tight. Repeat on both sides to create two knots.
-
-
-
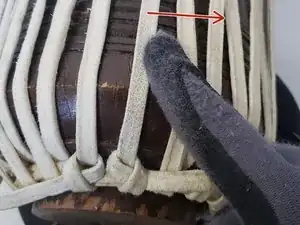
Starting from the first knot going right to left pull any extra slack around the whole tabla trying to keep the tension tight and even as possible.
-
When you reach the other end open up the knot to pull any extra slack . Repeat step 12 to tie the knot and keeping the tension tight.
-
-
-
To put in the pegs, start from the second strap after the knot going left to right.
-
Place one wooden peg under the second strap and count 4 straps, and under the 4th strap place another wooden peg.
-
Repeat this around the whole tabla.
-
-
-
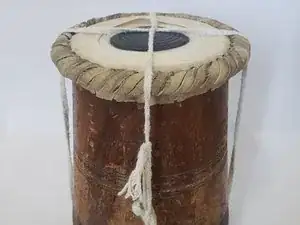
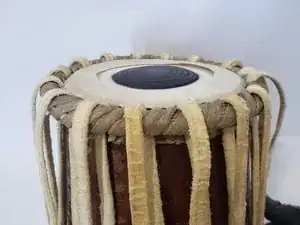
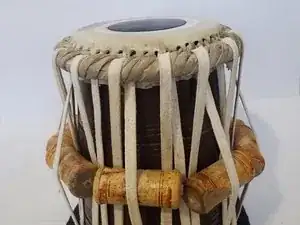
Once you have placed all the pegs you have completed your tabla.
-
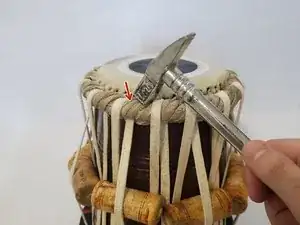
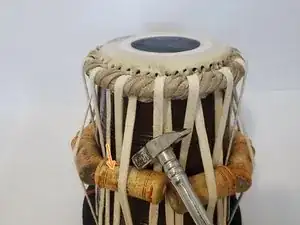
Using a hammer you can tune the tabla.
-
You can hit the tabla along the edge to tune it.
-
Or you can hit the wooden pegs to tune the tabla.
-
If the skin gets loose over time, take the wooden pegs out and pull the straps around the Tabla to take out any slack, and put the wooden pegs back in again.
