Introduction
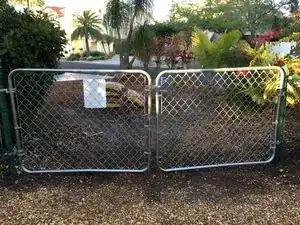
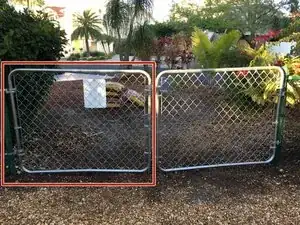
This guide explains how to replace a chain link fence gate.
Tools
Parts
-
-
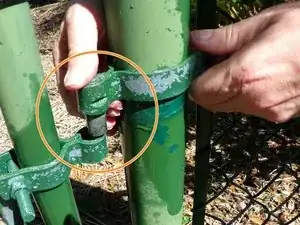
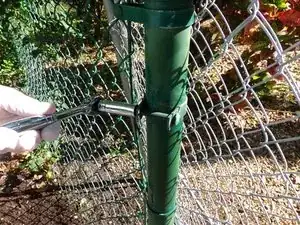
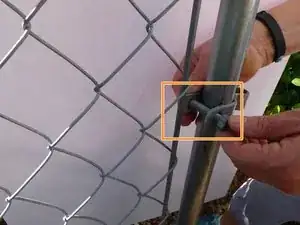
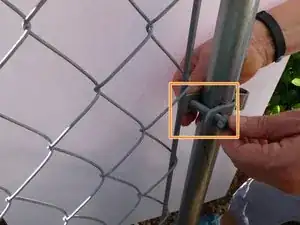
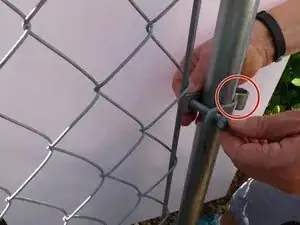
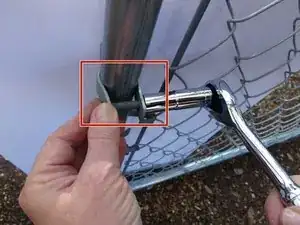
Remove the bolt from the hinge strap on the fence post.
-
Wipe the excess lubricant from the bolt to avoid slipping.
-
Slide the loosened hinge strap up to remove the pin from the loop on the gate hinge.
-
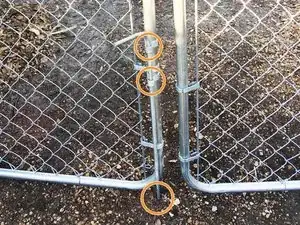
Repeat this process for the bottom hinge.
-
-
-
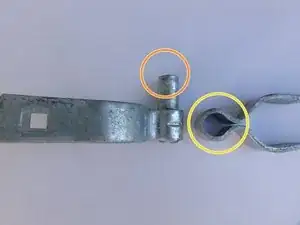
Open the Galvanized Drive Gate Set and verify that you have four hinge pairs.
-
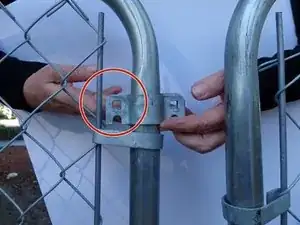
Separate one of the hinge pairs.
-
-
-
Slide the hinge strap onto the post so that the pin is facing down.
-
Slide the hinge strap onto the post so that the pin is facing down.
-
Slide a nut onto the end of the bolt.
-
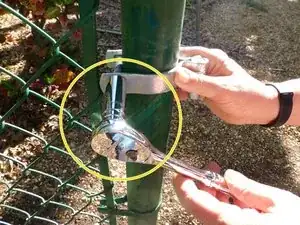
Tighten the nut using the socket wrench.
-
-
-
Slide the hinge strap onto the post so that the pin is facing up.
-
Slide a bolt through the holes in the strap.
-
Slide a nut onto the end of the bolt.
-
Tighten the nut using the socket wrench.
-
-
-
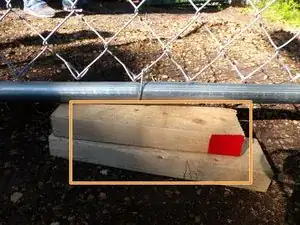
Place blocks on the ground at the where you will install the gate. These will support the gate while you are connecting the hinges.
-
Lift the gate panel into position so that the gate lines up with the fence and at the desired height. Adjust the blocks as necessary to achieve the desired height.
-
-
-
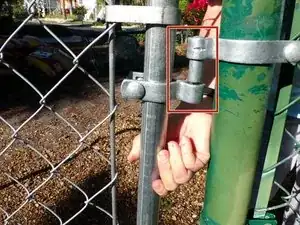
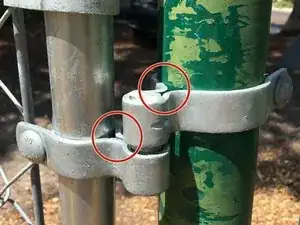
Slide the top gate hinge up as you slide the loop over the pin on the top post hinge.
-
Tighten the nut on the gate hinge straps.
-
Repeat for the bottom gate hinge.
-
-
-
Using a a 1/2" socket wrench or adjustable wrench, bolt the two latch plates on the inside of the gate frame together on one end.
-
Insert the latch between the two plates on the outside of the gate frame.
-
Insert a bolt and nut. Tighten to secure the latch.
-
-
-
Bolt the two post holders onto the gate frame.
-
Slide the post down through the post holders and secure in the ground.
-
