Introduction

This guide provides a simple method to replace broken deck boards on an outdoor wooden patio. Wooden boards can become damaged by impact or excessive use, water damage, age, rotting, fungus, or termites. By replacing the damaged boards, you can restore the structural integrity and appearance of your old deck, rather than replacing the entire thing.

By following all the processes, users will have fun by finishing their own DIY project that will bring more self-satisfaction.

  1. japJhdmvLYCGvGIU
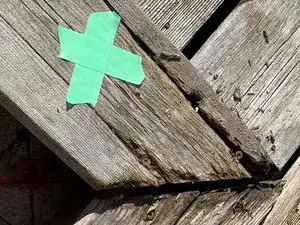
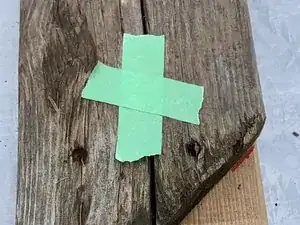
    • Inspect the damage and mark any broken boards that need to be replaced using painter's tape.

  2. HyiOHb6MEdeLXRoX
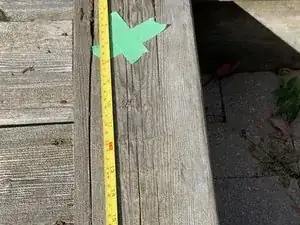
    • Measure and estimate the new boards you need to purchase.

    • We recommend using treated 5/4-inch x 6-inch lumber that you could easily get from any home improvement stores.

  3. VsPuQCU1uvWoXiYO
    VsPuQCU1uvWoXiYO
    JqeTdkvcMBANVOEl
    • Remove the broken boards.

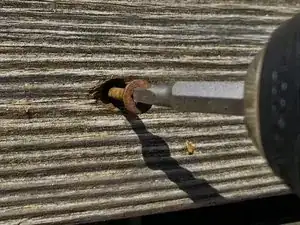
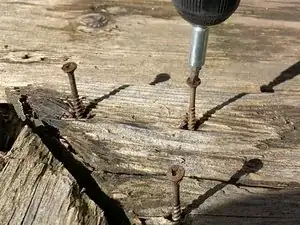
    • If your boards were originally put down with screws, then remove the old screws with a drill.

    • If your boards were originally affixed with nails, pry the nails up before removing the boards.

    • It's generally recommended to take a more gentle approach, otherwise you may destroy the joists.

  4. eKREYcFZmTTBZfwT
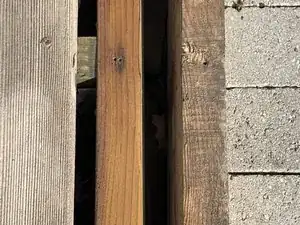
    • Check and sweep the joists.

    • In most cases, deck framing typically takes a lot longer to deteriorate because it is protected from the sun, wind, and rain by the boards above it. So joists should be in good shape.

  5. cbh652udSvlBxIA4
    cbh652udSvlBxIA4
    QvlUsIG5Jynj6Mud
    ysQqwFA15n2dphU1
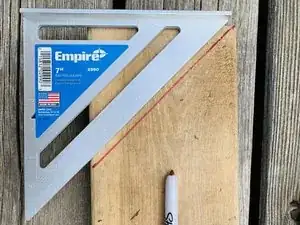
    • Measure the replacement pieces.

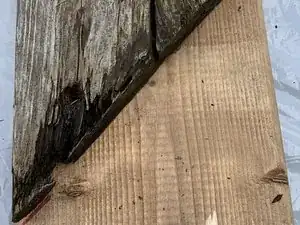
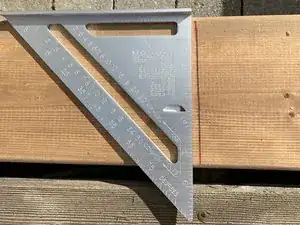
    • Put the broken board on the new board and mark the angle it should be cut at on both sides.

    • Draw the line by connecting the marked points.

  6. ZCZPAlbxrrE4rcmO
    ZCZPAlbxrrE4rcmO
    kHbTBJAKUK2uuosO
    eqBsCyCoWFGXjuAJ
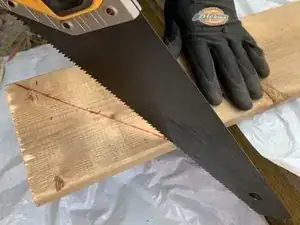
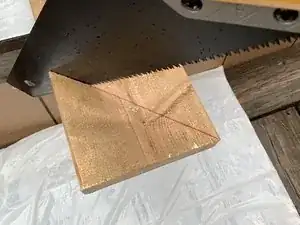
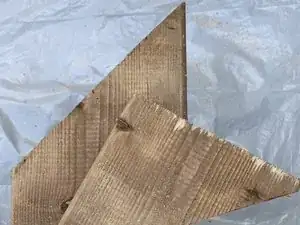
    • Use a hand saw to cut along the marked cutting line for each new board.

    • A circular saw is recommended to expedite the process if there are many broken deck boards to be replaced.

  7. pIjSaIN2UjKAit1A
    pIjSaIN2UjKAit1A
    MGlC3an2fQiG2E1W
    aLmBPTLKmiunRVCt
    • Mark up screws position on each new boards.

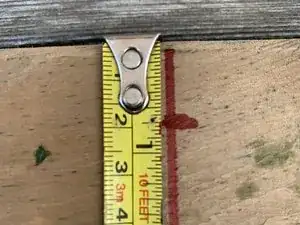
    • Line up the boards and mark the length where the screws should go.

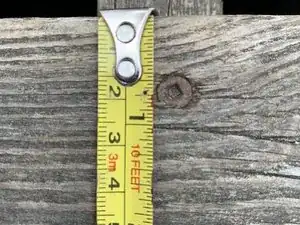
    • Measure the position of the screws from the edge on the old boards and mark the same position on the new boards.

  8. mkkTkEpr1EbcfSTW
    mkkTkEpr1EbcfSTW
    Vaja6tGodEsiiZbh
    6YPEENZVCKPZff3L
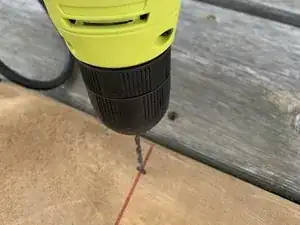
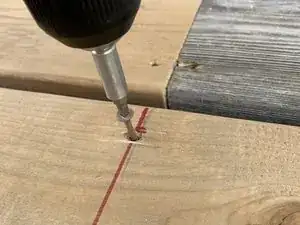
    • Pre-drill the holes at the marked spots using a 1/8th inch drill bit.

    • Drive screws into the pre-drilled holes.

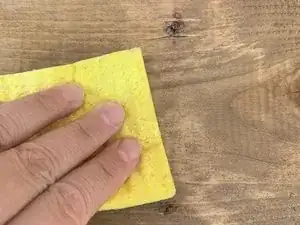
    • Use a wet scrubbing sponge to clean up the lines.

    • You may choose nails but screws are always preferable to nails when fastening deck boards.

Esther Guo

Member since: 20/09/20

169 Reputation

0 comments